
13 Small-Space Sewing Corner Ideas for Tiny Apartments
A sewing corner does not need a spare room — it needs about a square metre, a flat surface, and a system that lets you start and stop without packing everything away each time. In a tiny apartment, the trick is to treat your machine like a guest that never fully leaves: give it a home that folds, rolls, or hides, keep supplies visible enough to use but tidy enough to live with, and protect your cutting and pressing space from the rest of the room. These 13 ideas show how to carve a real sewing spot out of a closet, a wall, a windowsill, or the end of a sofa — no renovation, no dedicated room, and no more sewing on the dining table surrounded by takeaway boxes.

1. Fold a Wall-Mounted Desk Down Only When You Sew
A wall-mounted drop-leaf table is the single best invention for tiny-apartment sewing. Folded up, it is a slim shelf or a picture ledge; folded down, it is a sturdy 60–80 cm work surface at exactly the right height for your machine. Mount it at elbow height, add a small wall bracket that locks it level, and keep your machine on a nearby shelf so setup takes under a minute. The wall above the desk is bonus real estate: a rail for scissors, a small shelf for bobbins, and a pin cushion stuck to a magnetic strip. When you are done, fold it up and the room is a living room again — which is the whole point in a small home.
2. Turn a Closet Into a Sewing Nook With the Doors Off
An underused hall or bedroom closet is already a sewing room in disguise: it has walls on three sides, a light point, and a door you can close on the mess. Remove the doors (store them, do not bin them), add a shelf at desk height for the machine, and fit a second shelf above for fabric. A tension rod across the top holds hanging organizers for patterns and rulers. If you keep the closet's hanging rail at the side, works-in-progress can hang instead of creasing in a pile. A small clip-on light solves the darkness, and a curtain on a tension rod gives you the close-the-door feeling without the door itself.
3. Let a Rolling Cart Be Your Whole Sewing Station
If you truly have no spare surface, a three-tier rolling cart becomes your sewing station. The machine lives on top (or on the table you borrow), and the tiers hold fabric, thread, notions, and the iron in neat boxes. Roll it to the table to sew, roll it back to its parking spot — beside the wardrobe, behind a door, under a console — when you finish. The genius of the cart is that packing up takes seconds, so you sew more often: the biggest enemy of a sewing hobby in a small flat is not space, it is the twenty-minute setup. Choose a cart with a flat, stable top tier and locking castors so it does not wander mid-seam.
4. Mount Your Ironing Board on the Wall or a Door
Pressing is half of sewing, and a full-size ironing board eats floor space. A wall-mounted fold-down board, or a compact tabletop board that hangs on the back of a door, gives you a pressing station that appears and disappears. Keep a small iron on a heat-proof mat on a nearby shelf, and press as you go instead of batching everything at the end — your seams will look dramatically better. If you sew in a closet nook, mount the board on the inside of the neighbouring wall so pressing is one step from stitching, not a trip across the flat with a hot iron.
5. Build a Pegboard Thread Wall That Doubles as Decor
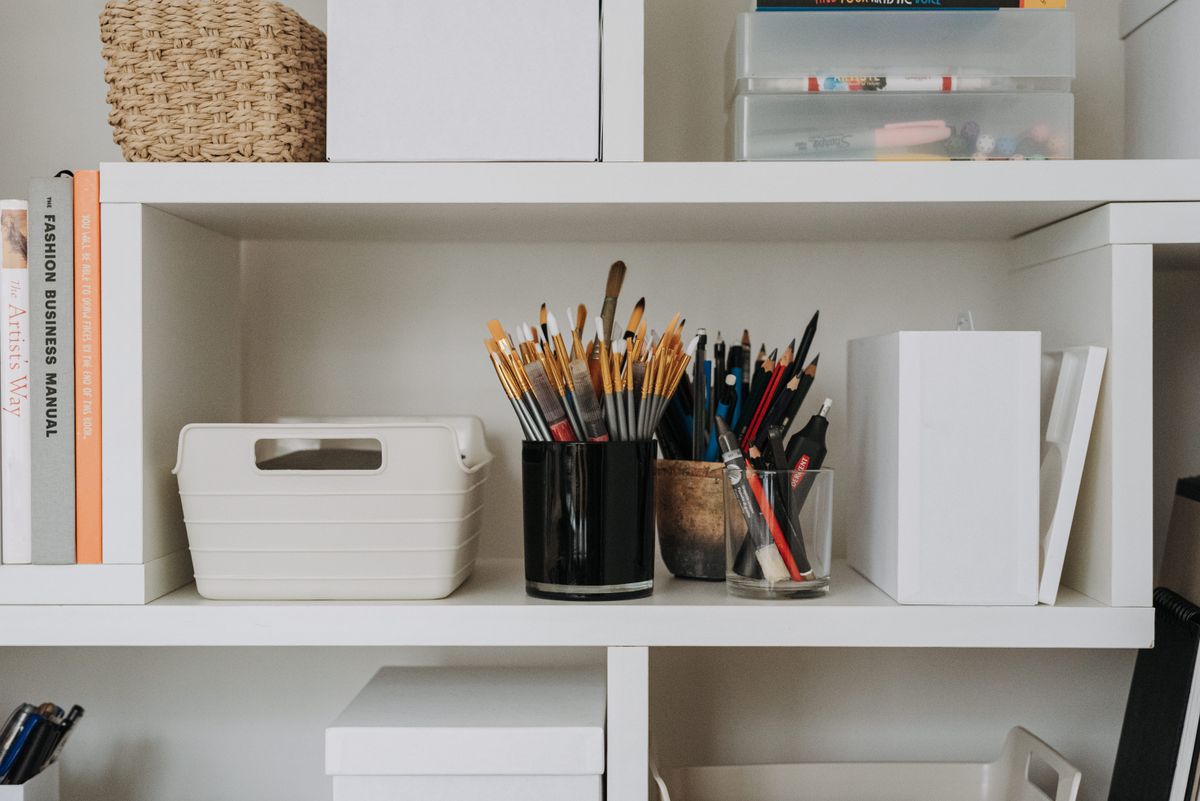
Thread spools are colourful, and a pegboard turns them into wall art. Hang a small pegboard above your sewing surface, add dowels for spools, hooks for scissors and rotary cutters, and a few small baskets for bobbins and buttons. Everything is visible at a glance — no more buying a third spool of black thread because the other two were buried in a box — and the wall stays useful rather than decorative. Paint the pegboard to match your room so it reads as intentional decor, not workshop clutter. For more small-space corner ideas that pull double duty, see our small kids' corner ideas, which use the same pegboard-and-basket logic for play and craft storage.
6. Store the Machine in a Cabinet That Closes Over It
A small sideboard, a repurposed TV cabinet, or a sewing cabinet with a lift mechanism hides the machine completely between sessions. The key detail is a shelf or drawer right beside the machine bay for the foot pedal, power cable, and the handful of feet you actually use — if those live in another room, setup friction returns. A cabinet with doors also protects the machine from dust and sunlight, which matters when it lives in a living room. If buying new is out of budget, watch for second-hand sideboards: a £30 cabinet plus a £10 shelf insert beats a £300 purpose-built sewing cabinet in a small flat every time.

7. Claim the Windowsill End for Natural-Light Sewing
Good light is non-negotiable for sewing, and the brightest spot in a small flat is usually the window. A narrow console or a shelf board fitted across a deep windowsill makes a surprisingly good sewing perch, especially for hand-sewing, mending, and cutting small pieces. Daylight shows true fabric colours — artificial light lies about navy versus black — and a window seat keeps you from hunching under a lamp. Add a small daylight bulb lamp for evenings, and keep a magnetic pin dish on the sill so pins never migrate into the sofa cushions.
8. Use Under-Bed Boxes for Fabric Stash Storage
Fabric multiplies. Under-bed boxes with clear lids are the honest answer: they hold metres of fabric flat, they slide out of sight, and the clear lid means you can see the red cotton without opening six boxes. Sort by colour family rather than project — you will actually find things — and keep a simple list on your phone of what lives in each box. Vacuum bags work for bulky wadding and interfacing, but never vacuum-store fabric you plan to cut soon; the creases take real pressing to remove. One rule keeps the stash sane: a new fabric purchase means an old one gets used or passed on.
9. Keep a Magnetic Strip for Pins, Needles, and Scissors
A magnetic knife strip, mounted at the side of your sewing surface, is the cheapest safety upgrade in this list. Pins, needles, snips, and metal rulers snap onto it instead of rolling onto the floor, where bare feet and pets find them. It also frees the pin cushion for its real job — holding pins mid-project — instead of acting as a graveyard for every needle you own. Mount it above toddler and pet height, and make it the one place every sharp thing returns to at the end of a session. In a tiny flat shared with others, that habit alone prevents most sewing-related grumbles.

10. Add a Foldable Cutting Table You Can Lean, Not Store
Cutting on the floor wrecks your back and your accuracy. A foldable cutting table — or a large cutting mat on a folding pasting table — gives you waist-height cutting that leans flat against a wall when not in use. If even that is too much, a cutting mat on top of the bed with a firm board underneath works for small pieces, and a rotary cutter beats shears for speed on straight cuts. Protect the table surface with a self-healing mat, and mark your most-used measurements on the mat's edge with tape so you are not hunting for a ruler every five minutes.
11. Choose a Chair That Stores Your Current Project
Your sewing chair can carry its weight in storage: a chair with a basket underneath, a tote hung on the back, or a small caddy beside it holds the project you are mid-way through. This matters because the number-one cause of abandoned sewing in small flats is the half-finished project with nowhere to live — it ends up on the dining chair, then the sofa, then a bag, then forgotten. A project bag per project, labelled with the pattern name, keeps works-in-progress portable and dignified. When a friend visits, the bag goes in the wardrobe and the room is tidy in thirty seconds.
12. Light the Corner Like a Workstation, Not a Living Room
One overhead room light is never enough for sewing. Layer three lights: a daylight task lamp clamped or standing at the machine needle, a small strip light under the shelf above your work surface, and the room's normal ambient light for everything else. The needle light alone will transform your accuracy — you will see stitching lines, fabric grain, and mistakes before they become unpicking sessions. LED strips with adhesive backing cost very little, run cool, and tuck under a shelf invisibly. If your corner is a closet nook, a battery puck light on the ceiling of the nook fills the gap a wall lamp cannot reach.
13. Hide It All Behind a Curtain and Call It Done
Not every sewing corner needs to look like a sewing corner. A ceiling- or tension-rod curtain across an alcove, a pretty fabric cover over the machine, and matching boxes on the shelves turn a working corner into a calm backdrop. The curtain is also a psychological switch: drawn, the flat is a home; open, it is a studio. Choose a curtain fabric you love, because you will see it every day, and keep the rail easy to slide — a curtain that sticks shut will simply stay open. For more ideas on making a tiny room work twice as hard, see our small dorm room decor ideas, which are built on exactly this hide-it-or-show-it balance.


Conclusion: A Sewing Corner Is a Habit, Not a Room
The best sewing corner in a tiny apartment is the one you actually use, and that comes down to setup time, not square metres. Pick one idea from this list — the fold-down desk, the rolling cart, the closet nook — and build it this weekend. Keep your machine accessible, your sharps on the magnet, and your current project in one bag, and you will sew more in a month than you did in the last year of sewing on the dining table. Small space is not the enemy of a sewing hobby; a twenty-minute setup is. Remove that, and the corner takes care of itself.



0 Comments