
13 Small-Space Craft Corner Ideas for Tiny Apartments
A craft corner is not a spare room — in a tiny apartment, it is a well-organized square of space where sewing, painting, or paper crafts can start in minutes and disappear just as fast. The difference between a craft corner you actually use and a pile of supplies in a closet is simple: a work surface that stays clear, supplies you can see and reach, and a pack-away system that takes under five minutes. The thirteen ideas below cover sewing, painting, and paper crafts, with fold-down tables, rolling carts, and storage that fits a corner, a closet, or a single wall — most of it renter-friendly and under $100.

1. Claim a Corner, Not a Room
Every craft corner starts with a decision: one corner belongs to making things. Choose a corner near a window for natural light, or beside a bookshelf you already own, and define it with a small rug or a different wall color so it reads as its own zone. A corner as small as 3 by 3 feet is enough for a fold-down table and a cart, and zoning it mentally matters as much as physically — when you step into the corner, you are crafting, not tidying the apartment. Keep the corner's footprint fixed: supplies may rotate in and out, but the boundary does not grow. If the corner starts swallowing the room, it is time to edit supplies, not expand the zone.
2. Install a Fold-Down Wall Table
A fold-down wall table is the single best craft surface for a tiny apartment, because it gives you a full work surface that vanishes when you are done. Mounted at standard table height, about 30 inches, a table 36 by 24 inches folds flat against the wall and holds a sewing machine, a painting board, or a paper trimmer. Wall-mounted brackets rated for 50 pounds or more cost $40 to $80, and the table can be a simple plywood panel painted to match your walls. Add a fold-down leg or a support chain for stability, and keep the wall above it free for a pegboard or shelf so the whole station — surface plus storage — lives on one wall.
3. Keep a Rolling Cart as Your Craft Station
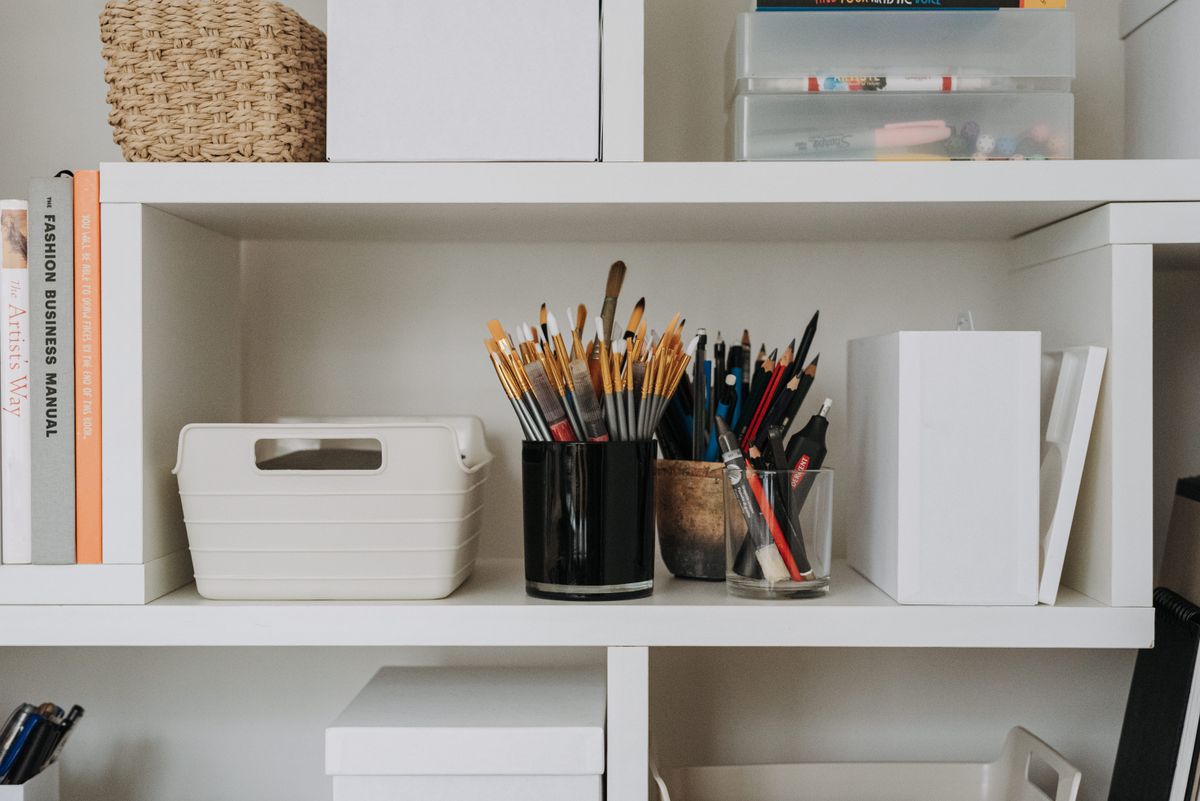
A three-tier rolling cart is the craft corner for people who craft in more than one spot, because the station moves to you. The top tier holds your current project, the middle holds the tools you reach for constantly — scissors, rulers, brushes — and the bottom holds bulk supplies and works in progress. A sturdy metal cart costs $30 to $60, rolls to the window for daylight or to the sofa for an evening session, and tucks beside the table when not in use. Add small cups or jars to each tier so items do not slide around, and restock the cart weekly from your main storage so it never becomes a dumping ground for unrelated clutter.
4. Hang a Pegboard for Tools You Grab Constantly
Pegboards turn a blank wall into visible, grabbable storage, which is exactly what crafting needs — if you can see the tool, you will use it. A 24 by 36-inch pegboard mounted above your table holds scissors, rotary cutters, rulers, paintbrushes, thread spools, and ribbon on hooks and small baskets, all at arm's reach. Paint the board to match your walls so it looks intentional, and outline each tool's spot with a marker or tape so everything returns to its place after a session. A pegboard costs $20 to $40 with hooks included, needs only two wall mounts, and frees every drawer and shelf for the supplies that do not hang well.

5. Build a Sewing Station That Stores the Machine
A sewing machine is the bulkiest craft tool, so its storage decides whether sewing happens or not. Keep the machine on a dedicated shelf or inside a cabinet at table height, with the power cord and foot pedal stored in the same spot, so setup takes under two minutes. A machine cover or a lidded basket protects it from dust between sessions, and a small thread rack — wall-mounted or on a stand — keeps your most-used spools visible and untangled. Store fabric in the same zone, folded on a shelf or rolled upright in a bin, so you never have to hunt across the apartment for matching thread and cloth. When setup is this fast, sewing becomes a weeknight habit instead of a weekend project.
6. Give Painting a Washable Zone
Painting in a small apartment feels risky until you make one surface fully washable, and then it feels freeing. Cover your table with a silicone craft mat or an old shower curtain, keep a jar of water and a rag permanently at the corner, and store paints upright in a caddy so tubes and jars do not leak into drawers. A small easel that folds flat, or a tabletop easel that hangs on the wall, holds canvases up to 16 by 20 inches without taking floor space. Choose water-based paints — acrylics and watercolors — for apartment crafting, since they clean up with water and do not smell, and keep one dedicated "paint shirt" on a hook so you never hesitate to start.

7. Organize Paper Crafts by Project, Not by Supply Type
Paper crafters usually sort by supply — all cardstock together, all stickers together — but sorting by project works better in a small space. Keep one clear box or large envelope per active project, containing its paper, embellishments, and instructions, so starting a session means opening one box instead of gathering from ten drawers. Label each box with the project name and a photo of the finished idea if you have one, and cap active projects at three so the corner never fills with half-started work. Bulk paper stores flat under a bed or on a high shelf in a portfolio case, while the project boxes live in the craft corner itself, ready to grab and go.
8. Store Small Supplies in Clear Jars and Labeled Bins
Small craft supplies — beads, buttons, sequins, pins, brads — vanish into drawers, so store them where you can see them. Clear glass jars on a shelf, a spice rack repurposed for beads, or a hardware organizer with small drawers keeps every tiny item visible and countable at a glance. Label each jar with its contents and color family, and keep one empty "odds and ends" jar for the pieces that do not fit a category yet. Clear storage also stops duplicate buying: when you can see that you already own twelve red buttons, you will not buy a thirteenth pack. A set of jars costs under $20 and transforms the most chaotic drawer in the apartment.
9. Store Fabric and Yarn Upright, Never in Piles
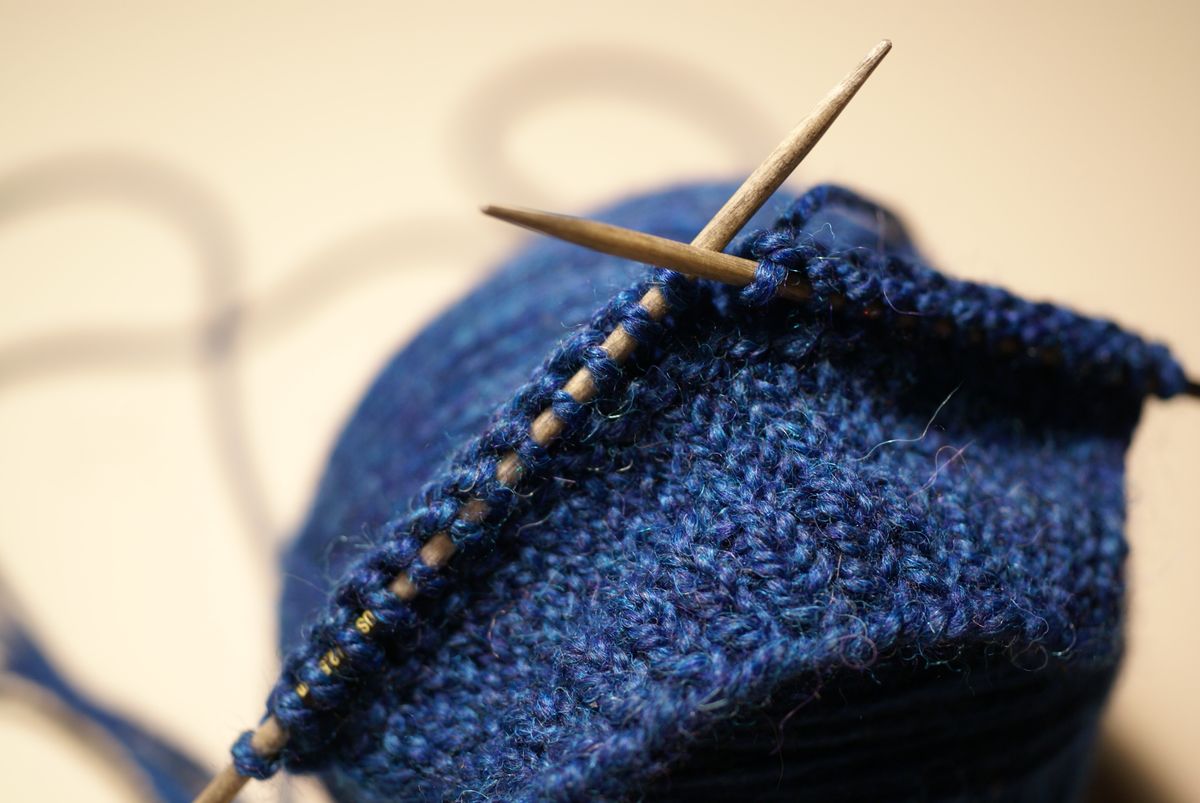
Piles are where craft supplies go to be forgotten, so store fabric and yarn upright where you can see every option. Fabric folded into a bookshelf like books, or rolled upright in a basket, lets you pull one piece without collapsing a stack, and yarn in a clear bin or a hanging shoe organizer stays untangled and visible. Sort by color family rather than by project, since color is how you actually choose materials, and keep a small swatch card — a clipped corner of each fabric — in a ring binder for planning projects away from the shelf. Upright storage also shows you what you own at a glance, which is the best cure for buying supplies you already have.
10. Light the Corner Like a Workbench
Crafting in dim light strains your eyes and dulls your colors, so light the corner in two layers: daylight when possible, and a bright task lamp for evenings. Position the table near a window for daytime work, and add an adjustable-arm lamp with a daylight bulb (5000 to 6500K) for true color matching — essential for painting and fabric work. A clip-on lamp costs $15 to $30 and attaches to a shelf or table edge without taking surface space, while a magnifying lamp helps for fine sewing and detailed paper work. Keep the lamp's cord managed with a clip so it does not drag across your work, and your corner will feel like a proper studio even at midnight.

11. Keep One Project Out and the Rest Packed Away
The golden rule of small-space crafting is simple: one project out, everything else packed away. A visible work in progress keeps you motivated and makes it easy to pick up for twenty minutes, while stored projects stay clean, complete, and ready for their turn. Use clear stackable boxes on a closet shelf or under the bed for waiting projects, each labeled with its name and what it still needs, so nothing is forgotten. When you finish a project, the celebration includes clearing the table completely before starting the next one — a clean surface is the best invitation to begin again.
12. Add a Mini Pressing Spot for Sewing
Crisp seams make sewing look professional, and a mini pressing spot makes crisp seams possible in a tiny apartment. A tabletop ironing board that folds flat, or a wool pressing mat that lives on your table and rolls up for storage, gives you a heat-safe surface without a full-size ironing board. Keep a small iron — a mini craft iron costs $25 to $40 — stored in the same spot as the mat, with a heat-resistant pouch for safety. Press seams as you sew rather than saving them all for the end, and your finished pieces will look store-bought instead of homemade, even in a corner no bigger than a closet.
13. Finish Every Session With a Five-Minute Tidy and an Idea Board
The habit that keeps a craft corner alive is a five-minute tidy at the end of every session: tools back on the pegboard, scraps in the bin, the current project in its box, and the table wiped clean. Pair it with an idea board — a corkboard or a magnetic board above the table — where you pin fabric swatches, paint color tests, magazine clippings, and project ideas, so inspiration stays visible even when supplies are packed away. The tidy takes five minutes and saves twenty the next time you sit down, and the idea board turns a plain corner into a place that feels creative. If you share the apartment, a craft corner that resets itself is also a craft corner nobody complains about. For more small-space zoning ideas, see our tiny home office ideas and our small kids' corner ideas for corners the whole family can share.

Conclusion
A small-space craft corner is not about having every supply — it is about having the right surface, visible storage, and a pack-away routine that makes starting easy. Begin this weekend with the corner itself: a fold-down table, a rolling cart, and a pegboard. Then add the storage that fits your craft — jars for small supplies, upright bins for fabric and yarn, a washable mat for painting — and finish with the five-minute tidy that keeps it all working. Within a month, crafting will be something you do most evenings, not something you plan for someday.



0 Comments