
13 Tiny Kitchen Breakfast Bar Ideas for Small Kitchens That Need a Morning Spot
A breakfast bar is the hardest-working few feet in a tiny kitchen: a place to drink coffee, eat toast, and chat with whoever is cooking, all without a dining table taking over the room. Unlike a breakfast nook, which is a seated corner with a table and bench, a breakfast bar is the counter itself — a ledge, a peninsula, a fold-down flap, or a rolling cart that gives you a perch at counter height. That distinction matters, because a bar borrows space the kitchen already has (a countertop edge, a windowsill, a wall) instead of demanding a whole new footprint. The thirteen ideas below cover every version that works in a tiny kitchen, with the stool heights, clearances, and renter-friendly options that make each one comfortable rather than cramped.
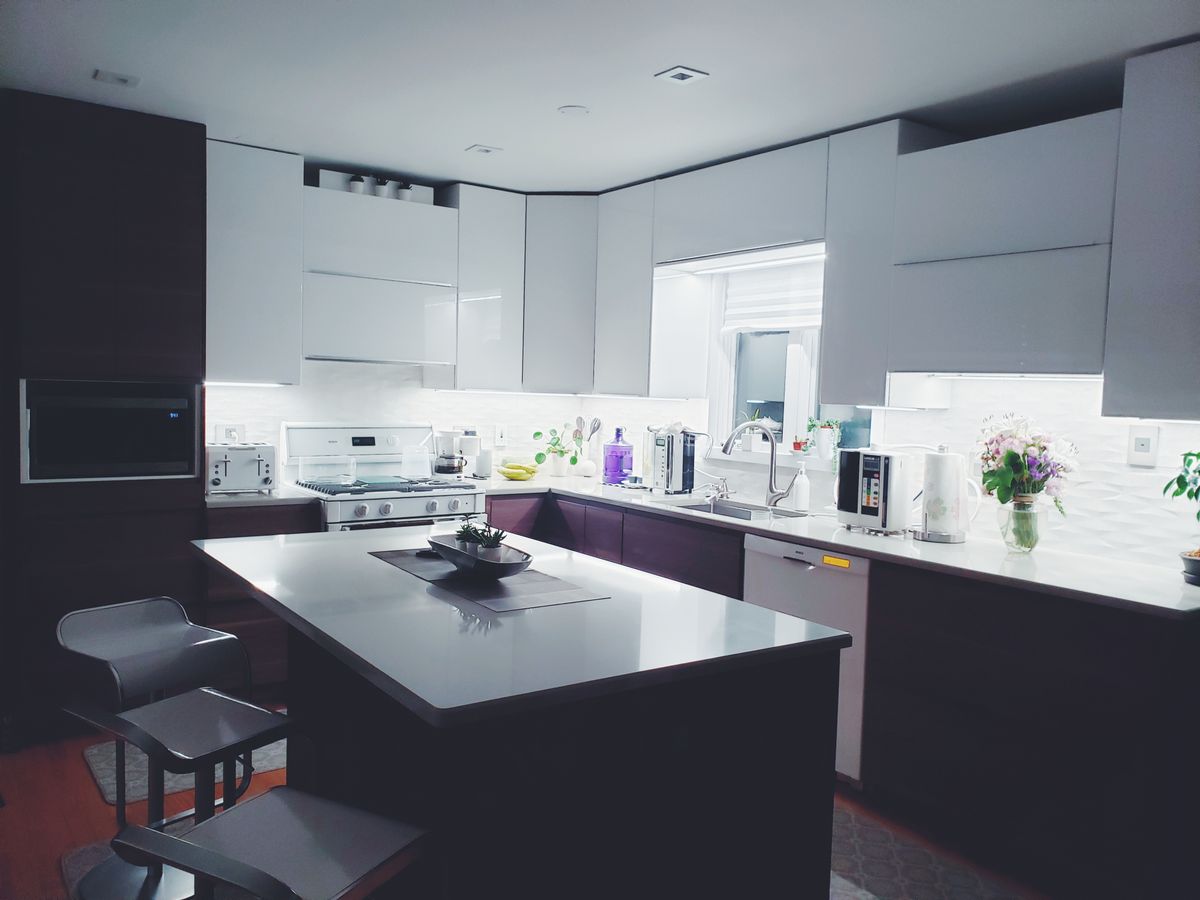
1. The Classic Peninsula Bar
A peninsula bar is a countertop that extends from a wall or cabinet run into the room, creating a bar on one side and workspace on the other. In a tiny kitchen, a peninsula 36–48 inches long and 15–18 inches deep seats two people comfortably without blocking the walkway, as long as you leave at least 36 inches of clearance behind the stools. Choose a counter height of 36 inches with counter stools (seat height 24–26 inches) so the bar doubles as extra prep space, or raise it to 42 inches with bar stools (seat height 30 inches) if you want a visual divider between kitchen and living area. A peninsula is the best first choice for renters too, because a freestanding kitchen cart or a butcher-block extension can create the same shape without any construction.
2. A Fold-Down Wall Bar
When floor space is truly zero, a fold-down bar is the answer: a wall-mounted flap, 24–36 inches wide, that folds up into a counter and folds flat against the wall when you are done. Mount it at 36 inches high, use heavy-duty brackets rated for at least 50 pounds, and pair it with a single folding stool that hangs on the wall beside it. The bar holds two mugs, two plates, and a laptop — exactly a breakfast for two — and disappears completely after the meal, which is why it works in studios and galley kitchens where a permanent bar would block the path. Budget $40–$120 for the flap and brackets, and choose a wood or butcher-block top that matches your counters so the folded flap reads as wall decor rather than clutter.
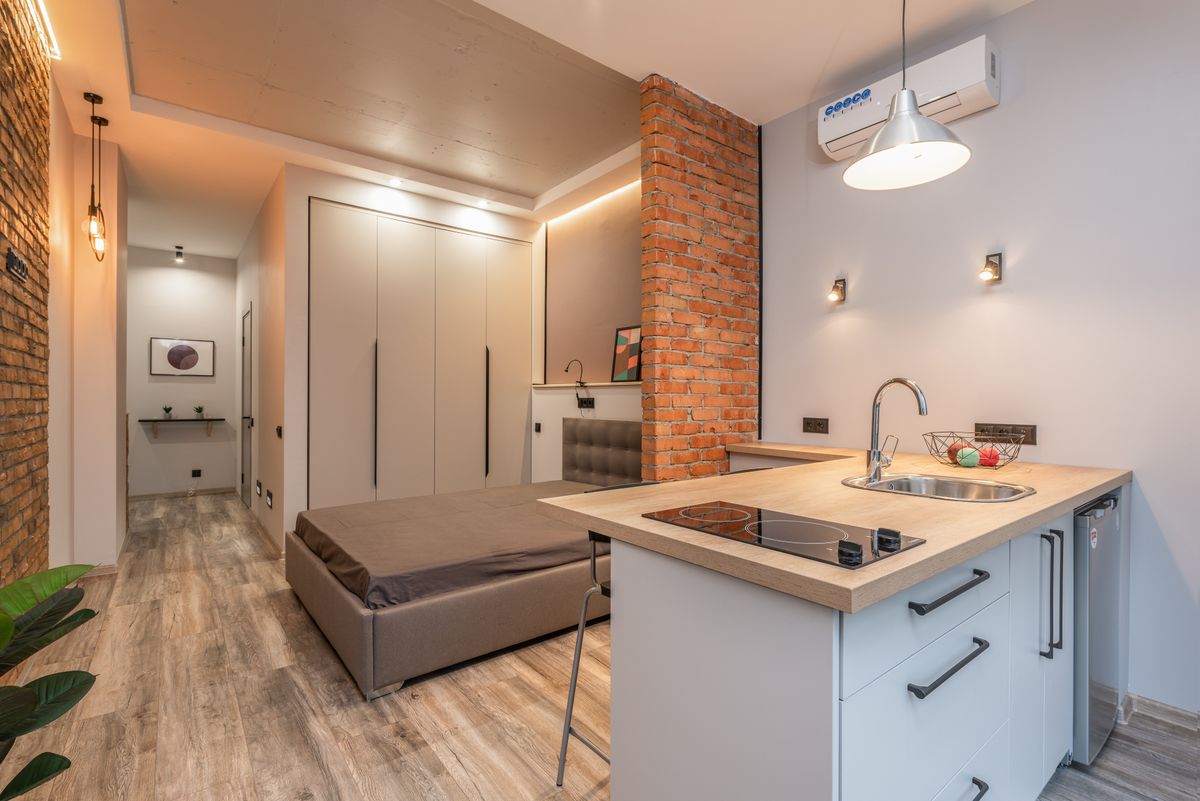
3. The Windowsill Breakfast Bar
A deep windowsill is a breakfast bar waiting to happen. If your kitchen window sill is at least 10–12 inches deep, it already holds a mug and a plate; extend it with a wall-mounted shelf board or a narrow countertop offcut to 15–18 inches deep, and you have a sunny bar for one or two people with the best view in the apartment. Morning light makes this the most pleasant bar in the house, and it costs almost nothing — a pine board, two brackets, and a stool. Keep the bar clear of plants and clutter in the morning, use a small tray for salt, sugar, and napkins so nothing migrates to the sill permanently, and choose a backless stool that slides fully underneath so the window stays accessible for cooking ventilation.
4. A Rolling Kitchen Cart Bar
A rolling cart with a butcher-block top is a breakfast bar that moves: roll it against the counter for extra prep space, pull it out for breakfast, then park it beside the fridge when the meal is over. Choose a cart 24–36 inches wide with locking casters, a top at counter height (36 inches), and a lower shelf for bowls and placemats. The mobility is the point — in a tiny kitchen, a bar that can leave the room when you need floor space is worth more than a fixed one that is always in the way. Budget $60–$150, look for a solid top rather than a thin laminate one (it will hold hot mugs and cutting boards), and add two stackable stools so seating never becomes the reason the bar goes unused.
5. The Counter Overhang Bar
If you already have a kitchen island or a counter run, a simple overhang turns it into a bar without adding any furniture. Extend the countertop by 12–15 inches on the seating side — with a standard 36-inch counter, that gives enough knee room for comfortable sitting — and support it with brackets or corbels rated for the span. This is the cheapest breakfast bar of all if you are already replacing a countertop, and it works even in a rental if you use a clamp-on or freestanding counter extension board instead of modifying the counter itself. The rule that matters is knee clearance: at least 12 inches of overhang and 15 inches of width per person, or legs will feel cramped and the bar will go unused no matter how pretty it looks.
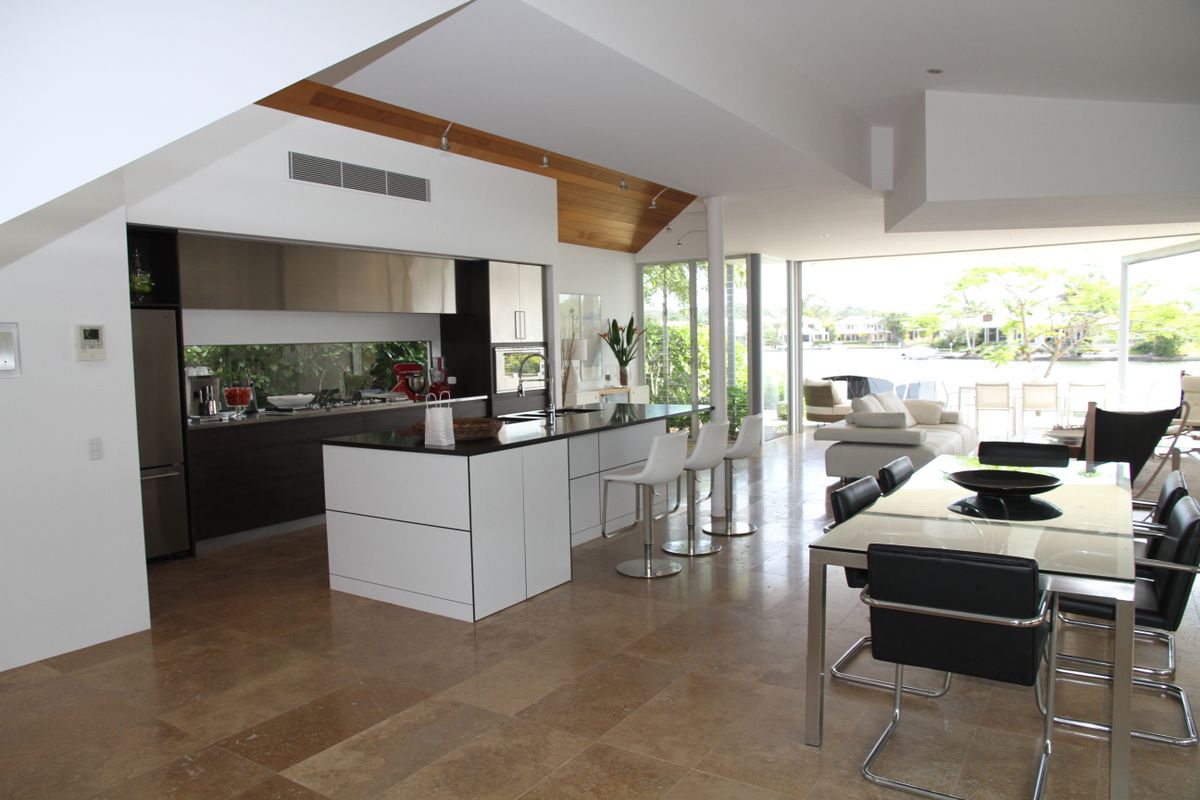
6. A Narrow Ledge Bar Along a Blank Wall
Every tiny kitchen has a blank wall — beside the fridge, in the hallway to the kitchen, or on the side of a tall cabinet — and a narrow ledge bar turns it into seating. Mount a shelf board 12–15 inches deep at 36–42 inches high, running 48–60 inches along the wall, and you have a bar for two or three people that takes zero floor space beyond the stools. Use floating shelf brackets rated for dining weight, and finish the ledge in the same material as your counters so it looks intentional. This bar is also a homework and laptop station during the day, which makes it the most-used surface in many small apartments. Keep a rail or small shelf above it for mugs and a tiny plant, and the wall becomes a complete morning station.
7. The Breakfast Bar With Built-In Storage
In a tiny kitchen, a bar should earn its footprint by storing something too. A peninsula or cart bar with open shelves underneath holds cookbooks, cereal boxes, and placemats; a ledge bar with hooks below holds mugs; a fold-down bar with a shallow cabinet behind it hides breakfast supplies. The trick is to store only breakfast things in the bar zone — oats, coffee, mugs, bowls — so mornings run on autopilot and the bar never becomes a junk shelf. A small basket or tray per person keeps the system tidy, and clear jars for coffee and tea make the bar look like a café rather than a cupboard. When storage and seating share one piece of furniture, a tiny kitchen gains both without losing a single square foot.
8. Backless Stools That Disappear Under the Bar
The stools make or break a breakfast bar, and in a tiny kitchen the right stool is a backless one that slides fully underneath. Backless stools take no visual space, tuck away completely when the meal is over, and cost $25–$60 each, while a stool with a back blocks the walkway and the view. Choose a seat height 10–12 inches below the bar top (24–26 inches for a 36-inch counter, 30 inches for a 42-inch bar), a footrest ring for comfort, and a weight rating that suits everyone in the household. If you need back support for longer sits, choose a low-back stool that still slides under, or keep one comfortable chair with a back for the person who lingers and backless stools for everyone else.

9. A Two-Level Bar for Cooking and Eating
A two-level bar solves the classic tiny-kitchen conflict: the cook needs counter space and the eater needs a perch, and one surface cannot do both at once. Raise the eating side 6 inches above the work counter (36 inches for work, 42 inches for eating) so crumbs and splashes stay on the lower level while mugs and plates sit safely above. A raised bar also hides kitchen mess from the living area, which matters in a studio where the kitchen is always visible. Build it with a butcher-block riser or a second countertop tier, keep the raised section 12–15 inches deep, and use bar-height stools on the eating side. The split level looks custom and costs far less than a new island.
10. A Bar for One: The Solo Morning Perch
Not every breakfast bar needs to seat a crowd — in a one-person household, a bar for one is often the most-used version. A 24-inch-wide ledge, a windowsill extension, or the end of a counter gives one person a proper perch with room for a mug, a plate, and a phone or book, and leaves the rest of the kitchen free. The solo bar is also the easiest to keep beautiful: one stool, one placemat, one small vase, and nothing else. If guests come, a folding stool extends it to two. Design for your real mornings, not an imagined dinner party, and the bar will be used every day.
11. Light the Bar Like a Café
A breakfast bar feels inviting when it has its own light, separate from the kitchen's overhead fixture. A single pendant hung 30–36 inches above the bar, a small wall sconce, or a battery puck light under a shelf all create a warm pool of light that says "sit here." Choose warm white bulbs (2700–3000K) and a dimmer if possible, so the bar glows softly in the early morning and brightens for cooking prep. Pendant lights cost $30–$90 and, in a rental, plug-in pendant kits with adhesive hooks avoid any wiring. One well-placed light does more for a breakfast bar than any decor object, because it marks the spot as a destination.

12. Style the Bar for Breakfast, Not for Display
A breakfast bar that is styled like a showroom shelf will not survive a real morning. Style it for use instead: a tray holding sugar, spoons, and napkins; a small jar of utensils; a mug tree or hooks for the two or three mugs you actually use; and one plant or candle for warmth. Everything on the bar should be something you reach for at breakfast, and everything else should live in a cupboard. Clear the bar each evening as part of the kitchen tidy — thirty seconds — and mornings start clean instead of starting with a clear-up. This functional styling is also what makes the bar photograph well: a lived-in, ready-to-use bar looks more appealing than a bar covered in objects nobody touches.
13. Make the Bar Work All Day, Not Just at Breakfast
The best tiny-kitchen bars earn their space from morning to night: breakfast perch at 7 a.m., laptop station at noon, homework spot at 4 p.m., and a serving ledge at dinner. Support that all-day life with a power outlet or a small power strip nearby, a stool comfortable enough for an hour, and a surface that wipes clean in seconds. Keep a small basket underneath for chargers and notebooks so work things do not colonize the breakfast tray, and agree a simple rule — the bar is cleared after each use — so the next person always finds it ready. For the wider kitchen around the bar, our tiny kitchen organization ideas keep every inch working, and if you want a seated corner instead of a counter, our small apartment breakfast nook ideas cover that style instead.
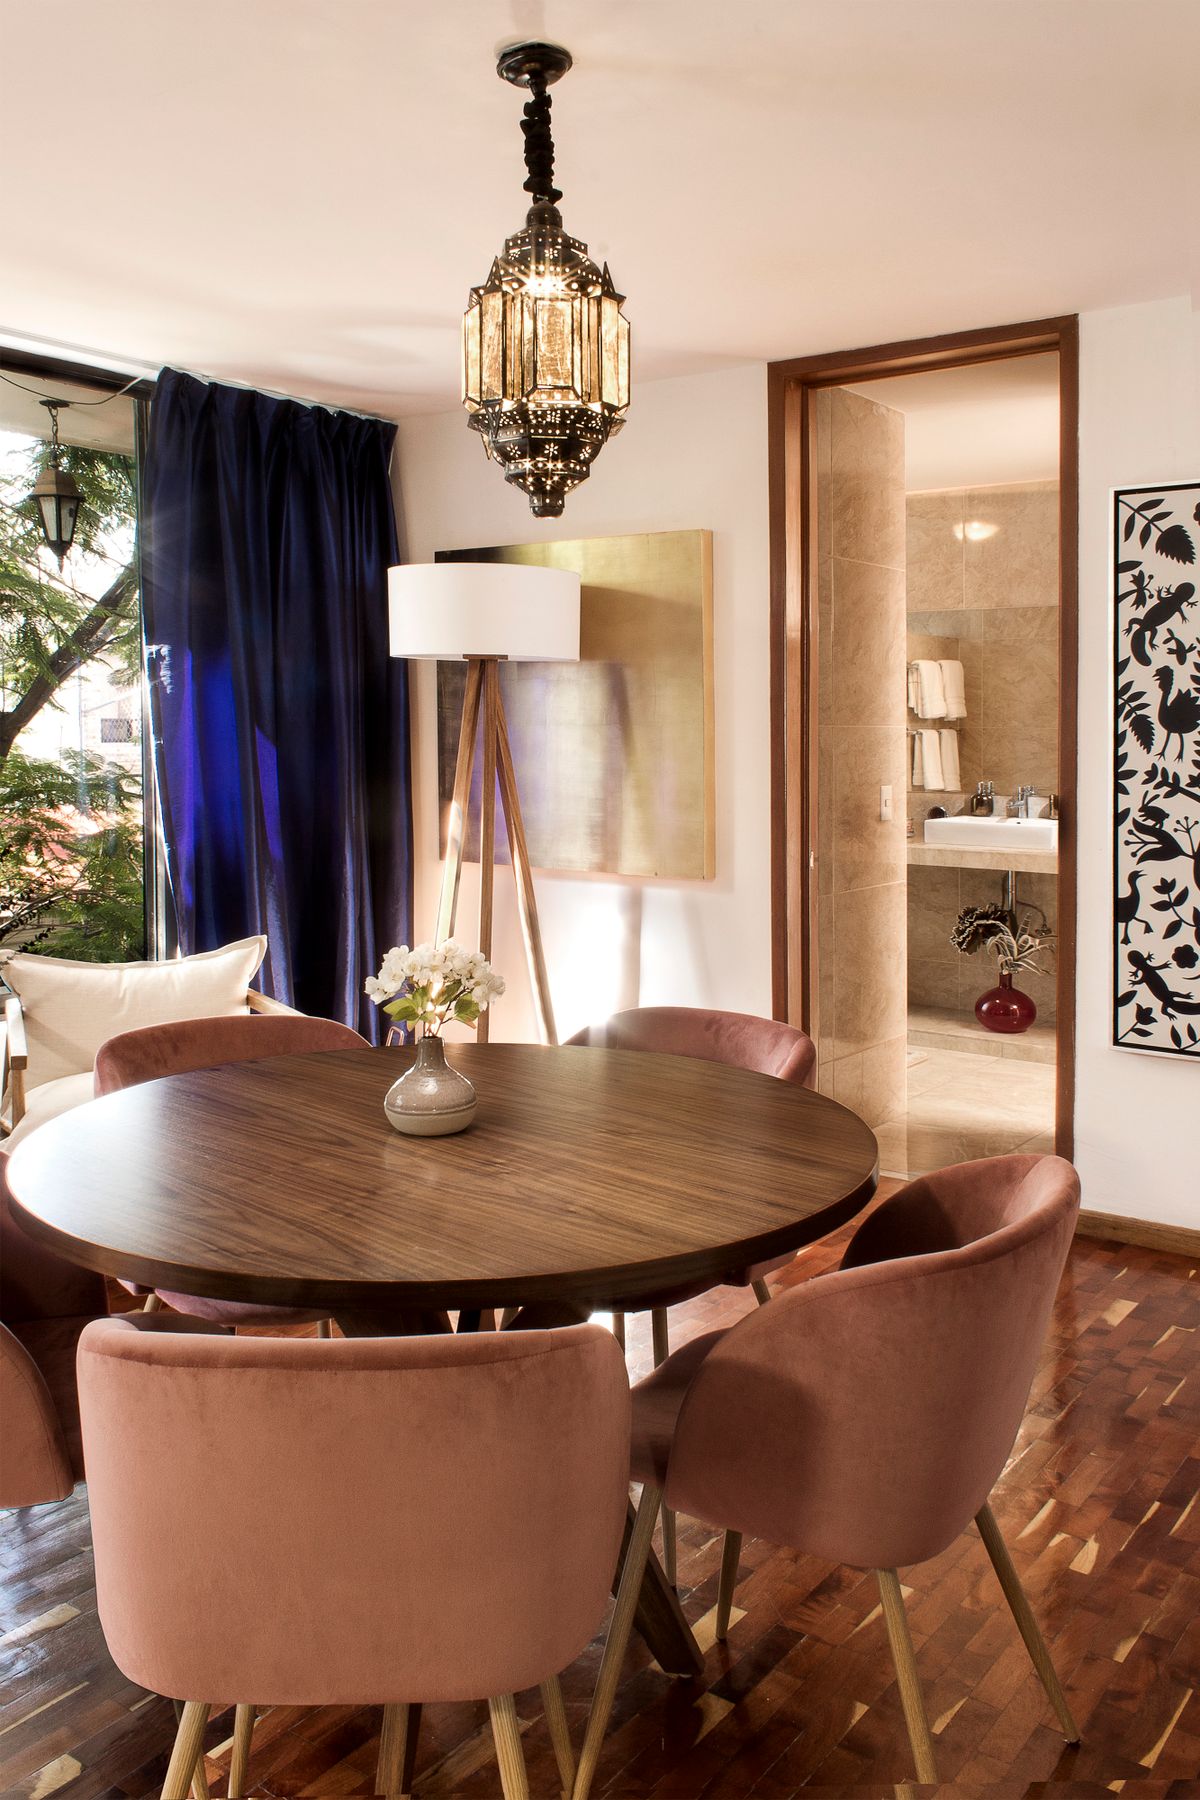


Conclusion
A tiny kitchen does not need a dining table to give you a good breakfast spot — it needs a bar that fits the space you already have. Start by measuring the wall, the windowsill, the counter edge, and the clearance behind the stools. Then choose the simplest bar that fits — a fold-down flap, a ledge, a rolling cart, or a counter overhang — and pair it with stools that slide fully underneath. Add one warm light and a tray of breakfast essentials, and the bar will be used every morning. That is the test of a good breakfast bar: whether it makes tomorrow morning easier than today.



0 Comments