
12 Tiny Kitchen Countertop Organization Ideas That Keep Counters Clear
A tiny kitchen counter disappears fast. One toaster, a knife block, a fruit bowl, and suddenly there is nowhere left to chop an onion. The problem is rarely that you own too much — it is that everything lives on the counter by default, with no zone, no height, and no home off the surface. These 12 ideas move things up, down, and into zones: trays that corral the daily essentials, rails and risers that use vertical space, appliance garages that hide the bulky machines, and a daily-use zone that keeps only what you truly touch every morning on the counter. All are renter-friendly and suited to US, Canadian, UK, and Australian apartments and small houses.
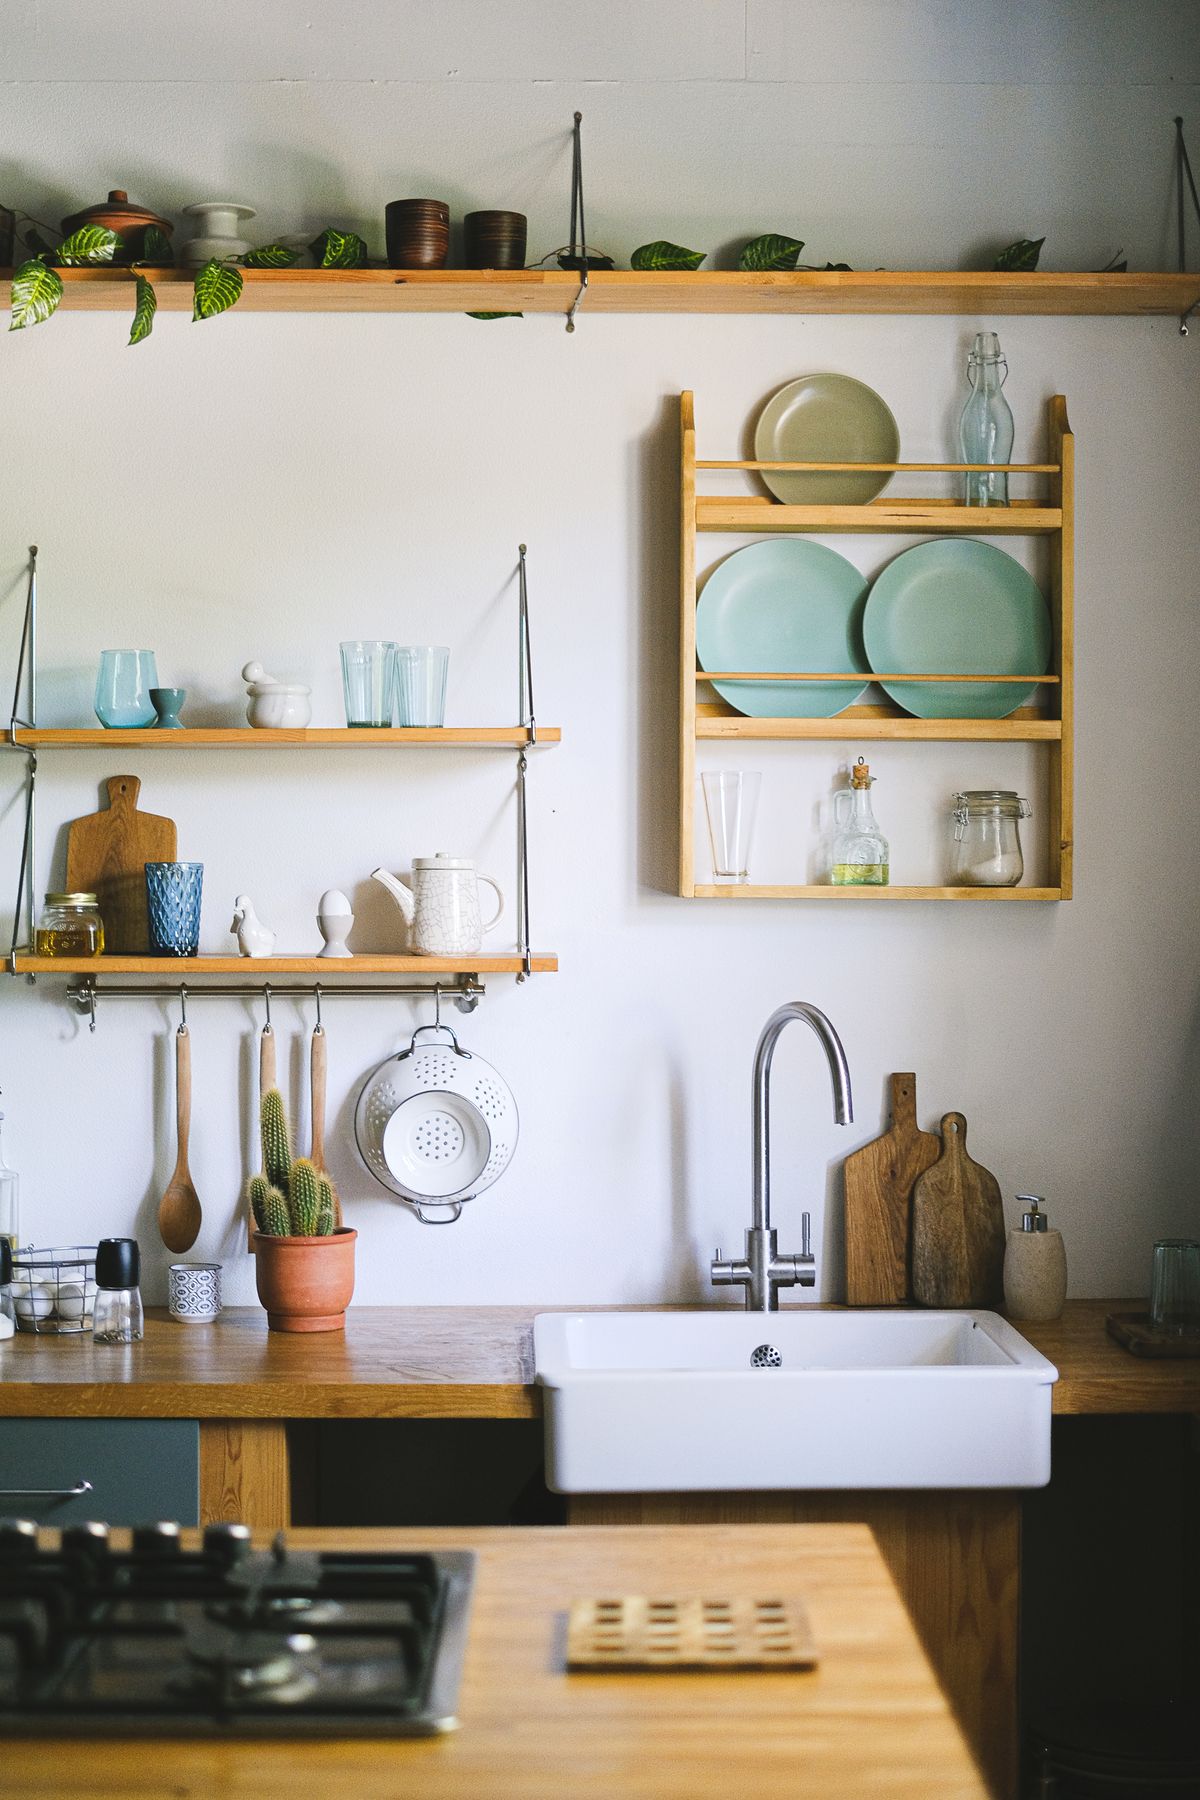
1. Define a Daily-Use Zone — and Evict Everything Else
Start by choosing one small zone, roughly the size of a chopping board, for the things you genuinely use every single day: the kettle or coffee maker, salt and pepper, and a small oil bottle. Everything else — the blender you use weekly, the stand mixer you use monthly, the bread maker you used twice — moves off the counter to a cabinet, a shelf, or the top of the fridge. This single decision frees more space than any organizer, because it stops the counter from becoming default storage. Be honest about "daily": if you have not touched it in the last week, it is not daily, and it does not earn counter space.
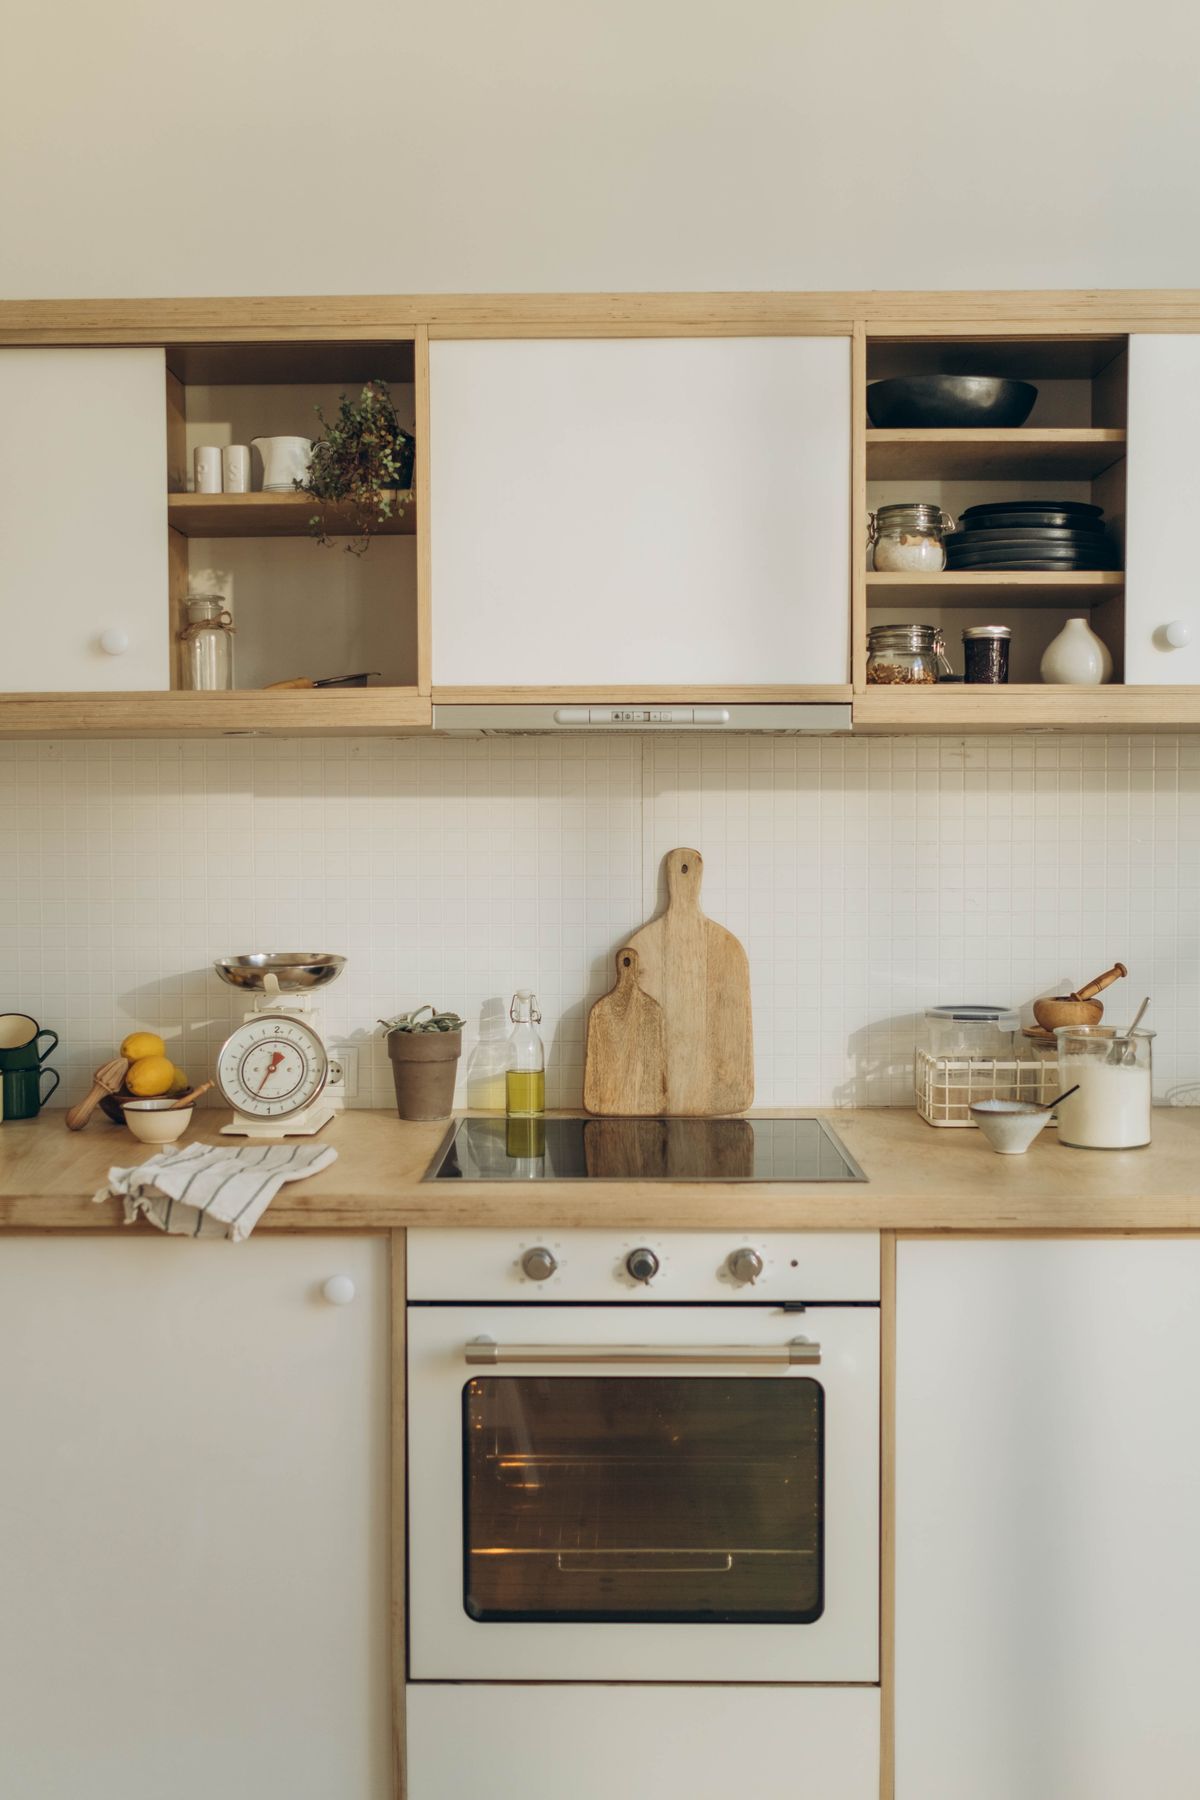
2. Corral the Essentials on One Tray
A tray turns five scattered items into one intentional group — and one group is far easier to move when you need the whole counter for cooking. Put the daily oils, salt, pepper, and a small utensil pot on a single tray near the stove, and slide the whole tray aside when you prep. Choose a tray with a lip so bottles cannot slide off, and a wipeable surface, since cooking splashes land here first. A wooden tray warms up a plain kitchen; a marble or stone tray wipes clean in seconds. Either way, the rule is simple: if it does not fit on the tray, it does not live by the stove.
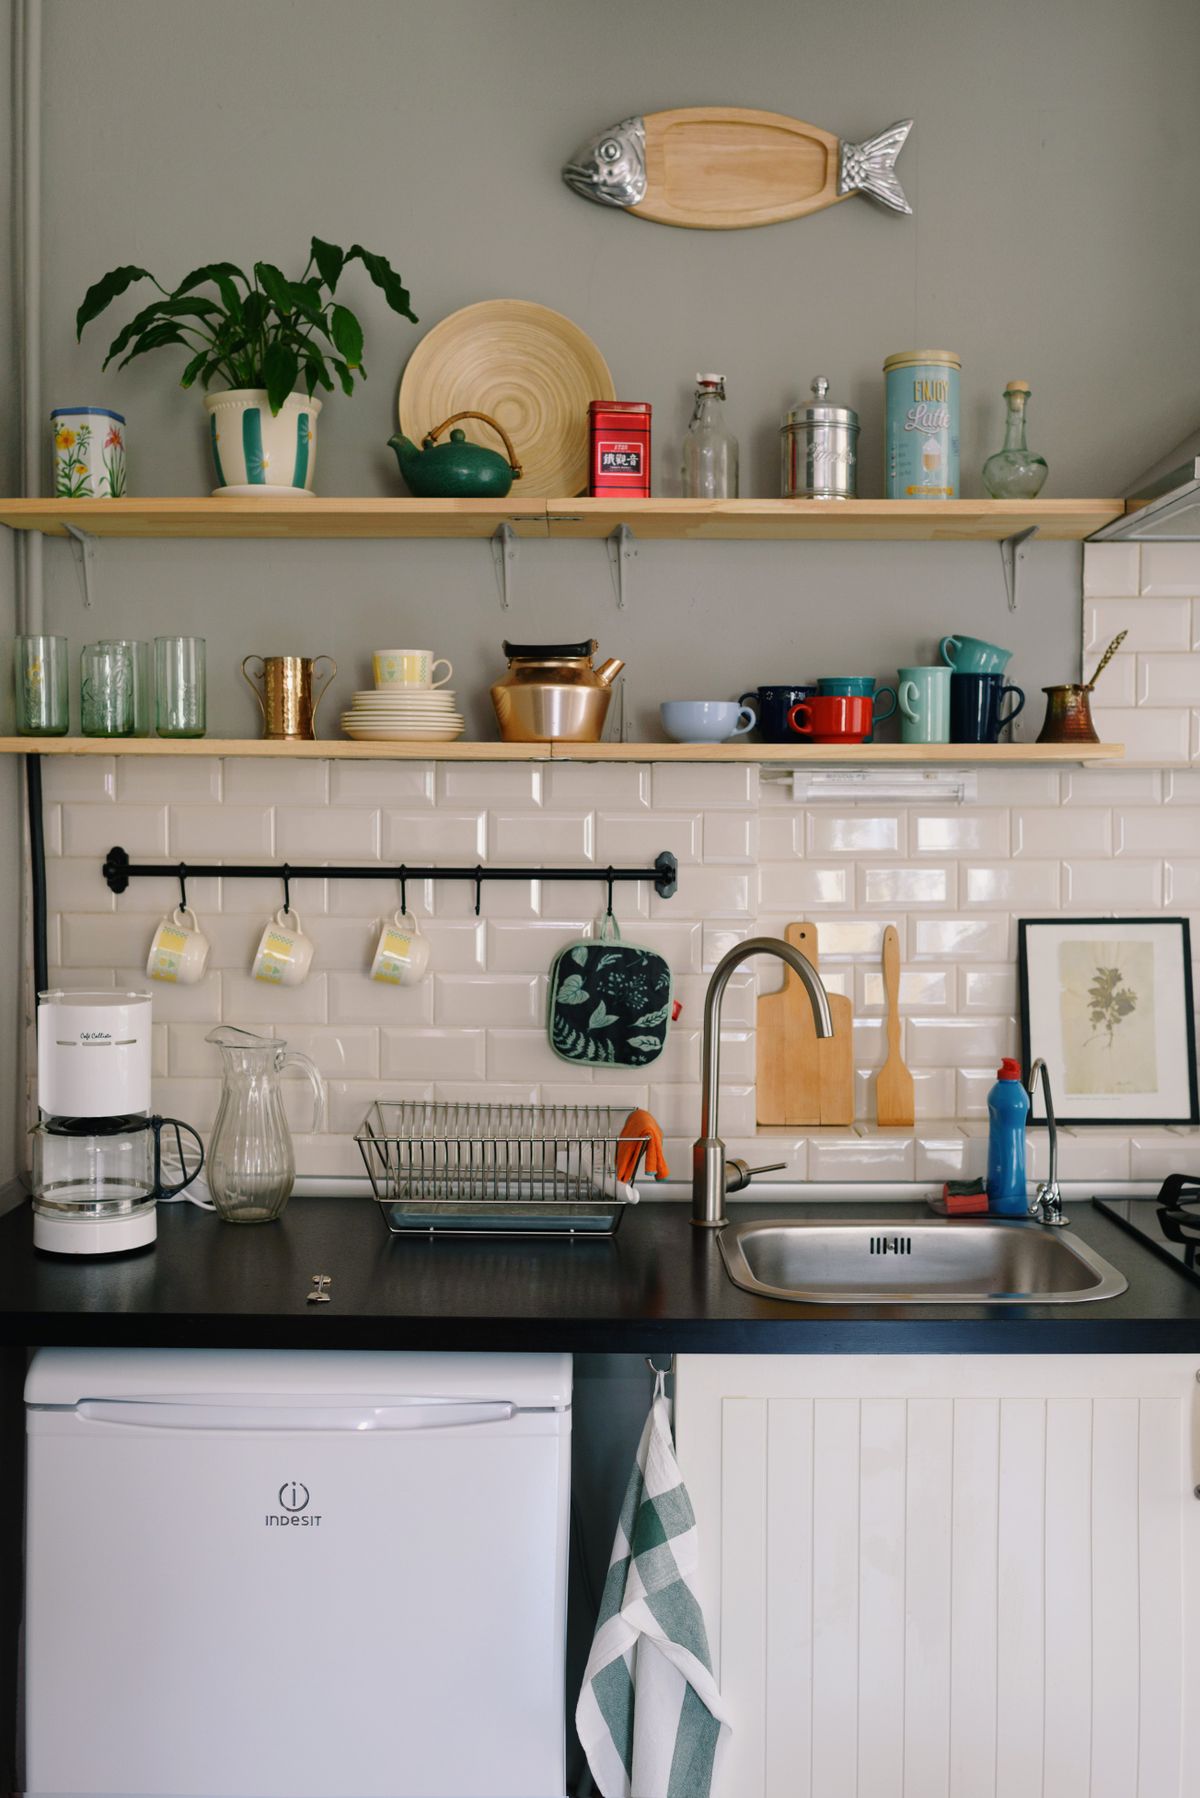
3. Hang a Rail and Get Utensils Off the Surface
Utensil crocks eat a surprising amount of counter, and they collect crumbs at the bottom. A wall rail with S-hooks — mounted with screws into studs where allowed, or a tension-mounted rail where it is not — holds spatulas, ladles, scissors, and measuring cups on the wall instead. Keep only the five tools you reach for most on the rail, and store the rest in a drawer, so the rail stays useful rather than becoming a second junk drawer on display. Hang the rail at a height where hooks clear the backsplash but stay within easy reach, and keep anything that drips, like a wet ladle, over the sink side.
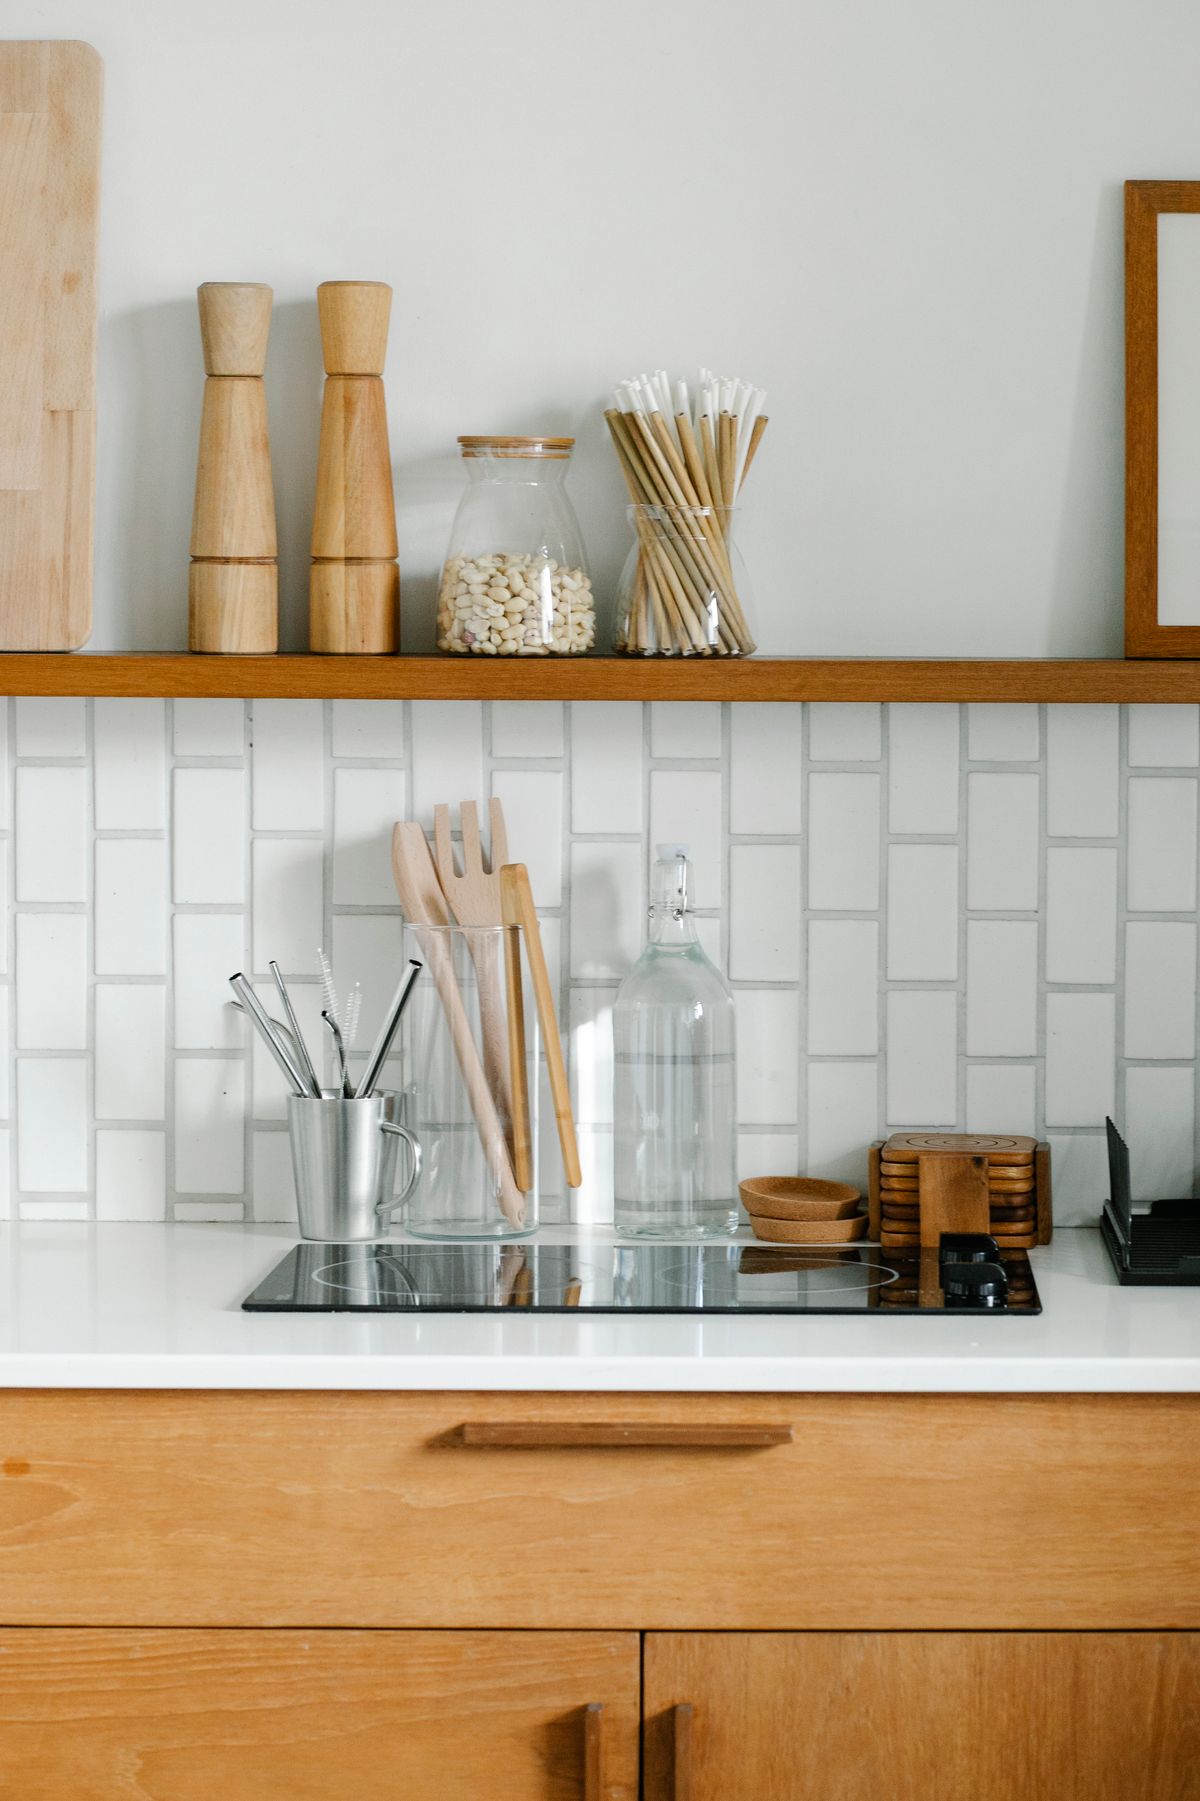
4. Add a Riser or Shelf Above the Counter
Counter space is usually measured in square feet, but the air above it is free. A small riser — a mini shelf that sits on the counter — creates a second level for mugs, small jars, or a spice collection, while the space beneath still holds something else. Stackable risers work in corners, beside the sink, and over a coffee station, and they fold flat if you move. Do not overload a riser with heavy items like a full kettle; keep it to light, frequently grabbed things, and leave the main counter clear for actual cooking. In a very small kitchen, even one riser beside the stove changes how much prep space you feel you have.
5. Build an Appliance Garage for the Bulky Machines
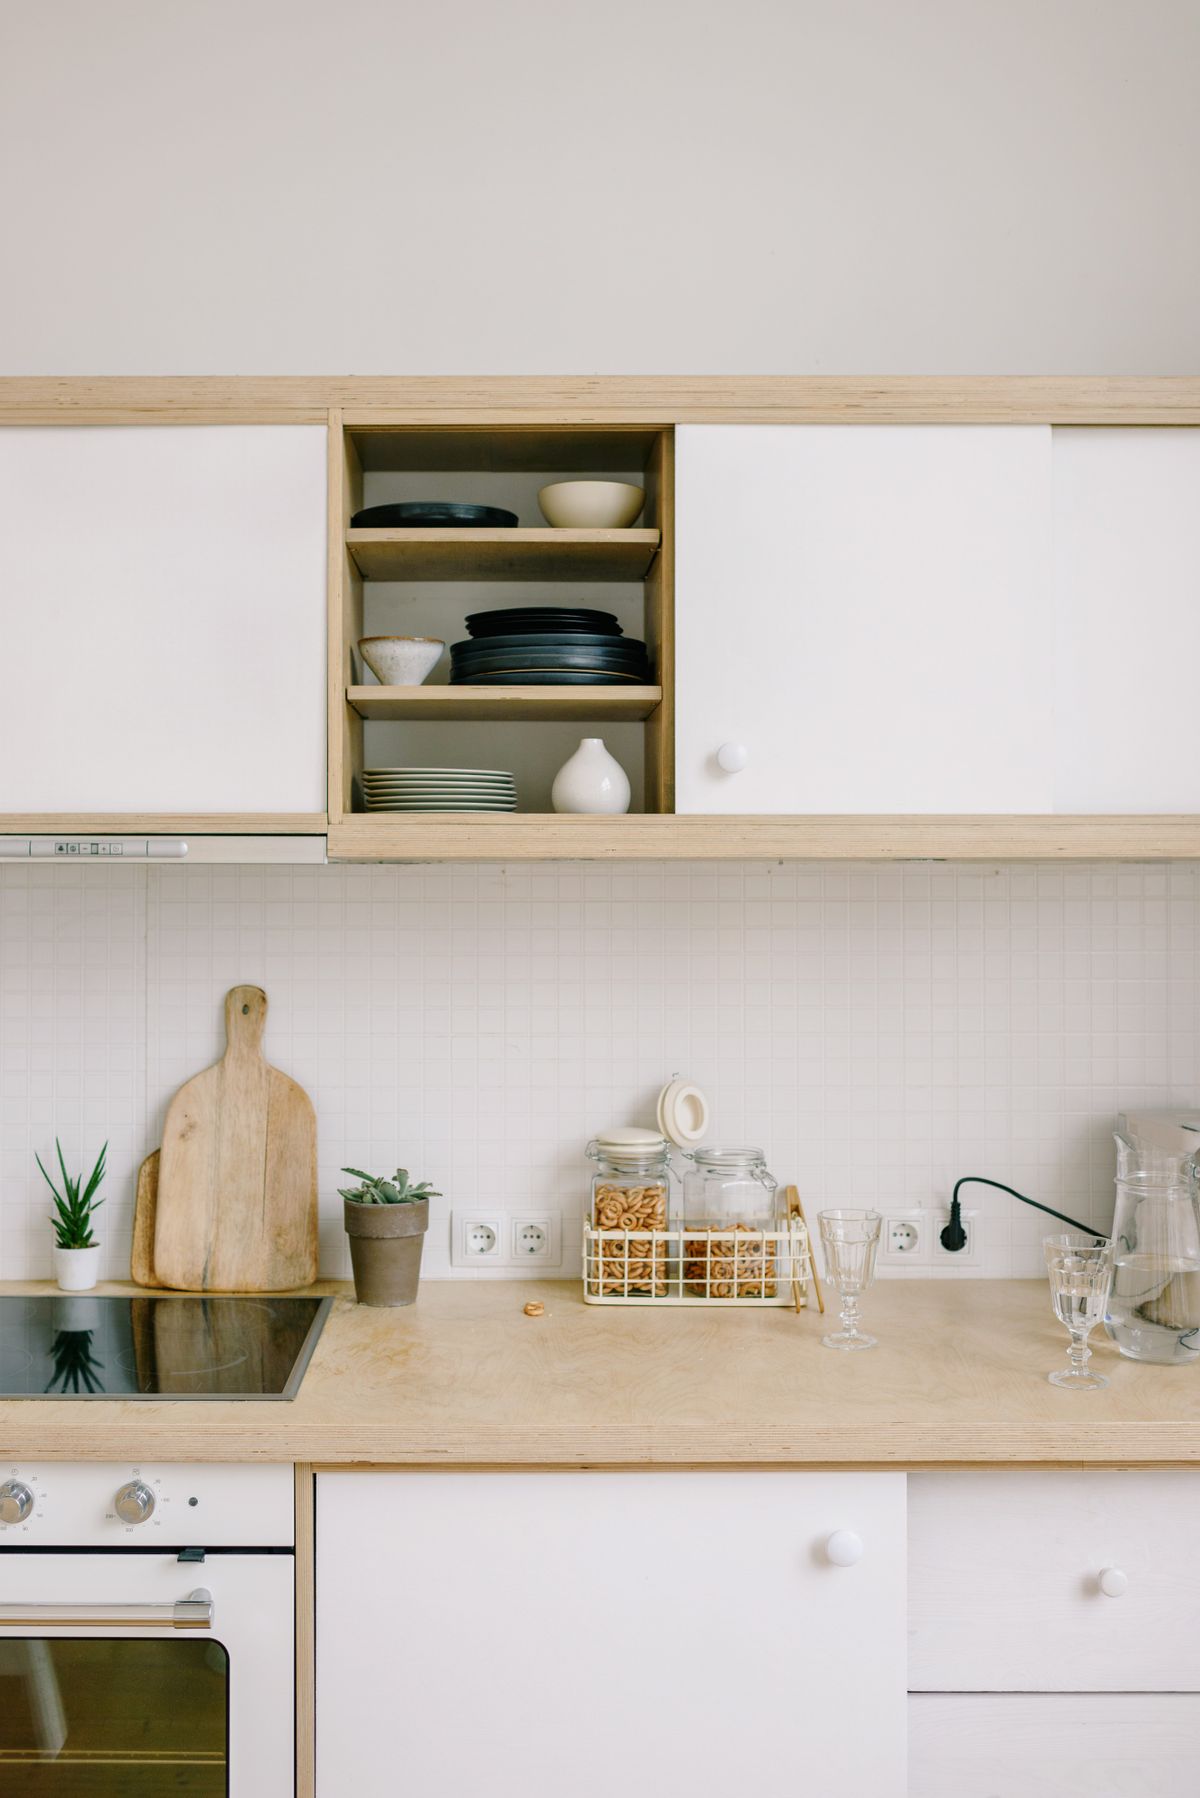
Toasters, blenders, and food processors are the biggest counter thieves, and they are also the ugliest to look at all day. An appliance garage — a small cabinet or a lidded box that sits on the counter with a roll-up or lift-up door — hides them while keeping them plugged in and reachable. You can buy one, or improvise with a large bread box or a small cabinet turned to face the wall. The key is a door you actually close: an open shelf full of appliances is just a cluttered shelf. Keep the garage near an outlet, leave ventilation space around anything that heats up, and unplug toasters when they are parked inside.
6. Move Knives to a Magnetic Strip or Drawer Block
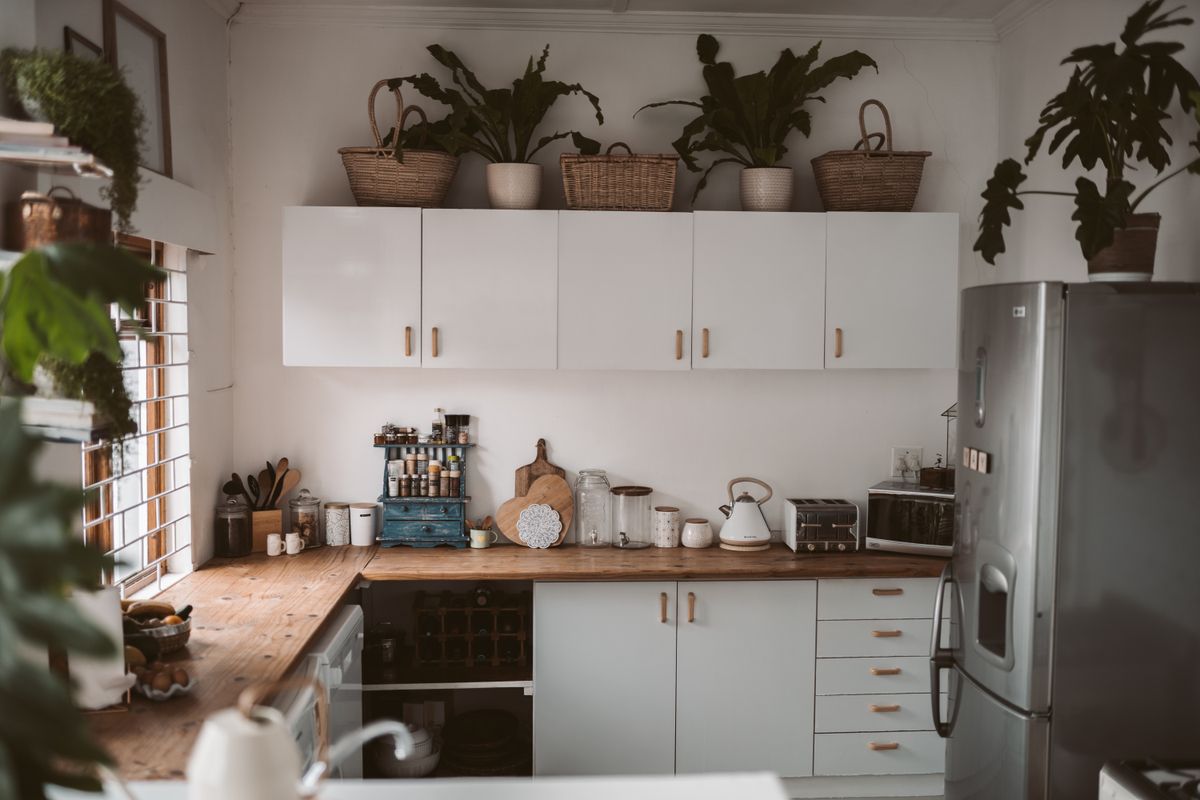
A knife block is a bulky footprint for tools you use one at a time. A magnetic strip on the wall frees the whole block's worth of counter, keeps blades visible and easy to grab, and looks deliberately designed rather than improvised. If wall mounting is not allowed, a slim in-drawer knife block does the same job inside a drawer, with blades protected and the counter completely clear. Either way, store knives with the edge protected and out of reach of small children, and never toss loose knives into a drawer with other utensils. One strip or drawer block usually holds a full everyday set.
7. Create a Coffee or Tea Station in One Corner
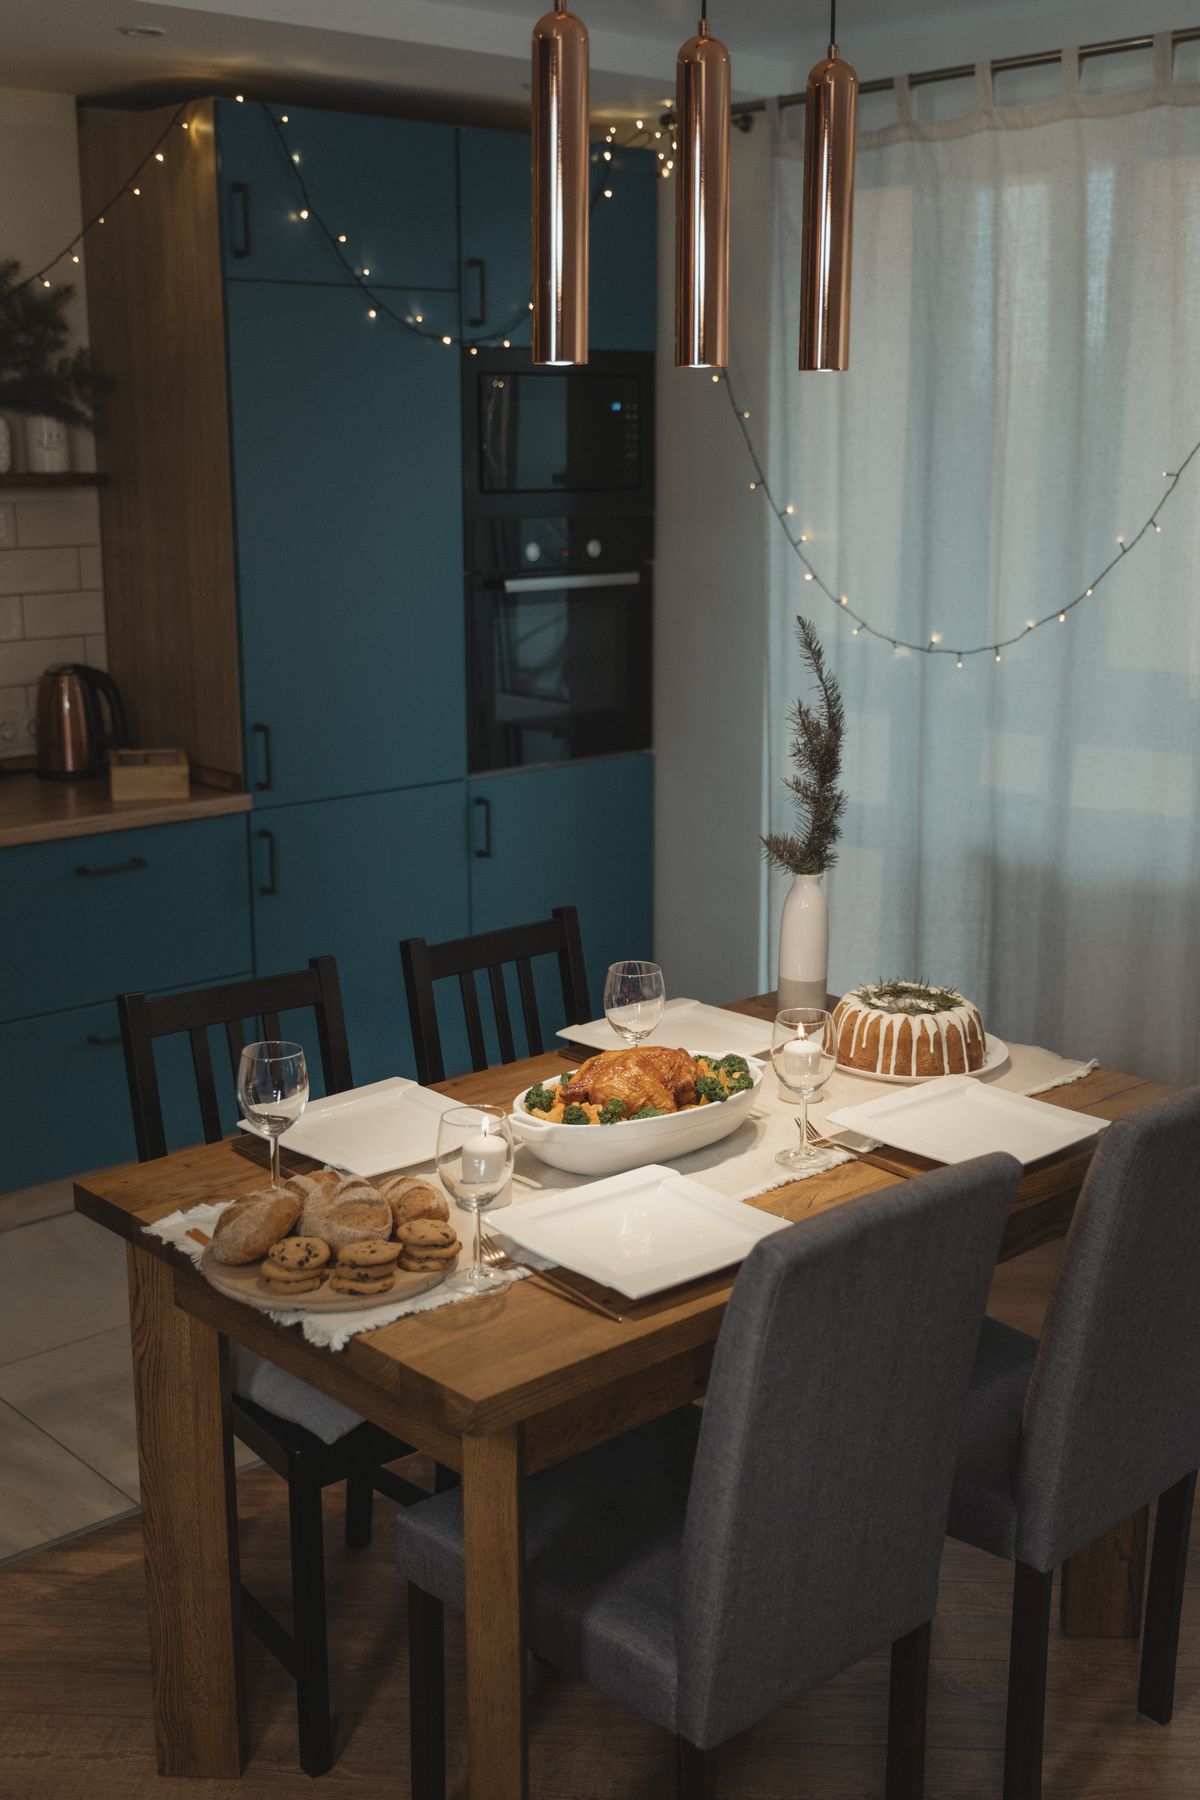
Coffee and tea gear spreads: machine, mugs, filters, sugar, spoons, and a tin of beans, each in a different spot. Gather it all into one corner station on a small tray or a riser, with mugs hung on hooks underneath a cabinet if you have them. When everything for the morning drink lives in one square foot, the rest of the counter stays free, and the morning routine gets faster because you are not opening four cabinets half-awake. Keep the station near the water source and an outlet, and wipe the tray weekly — coffee rings and sugar spills concentrate exactly here.
8. Use the Sink Edge and Windowsill as Overflow
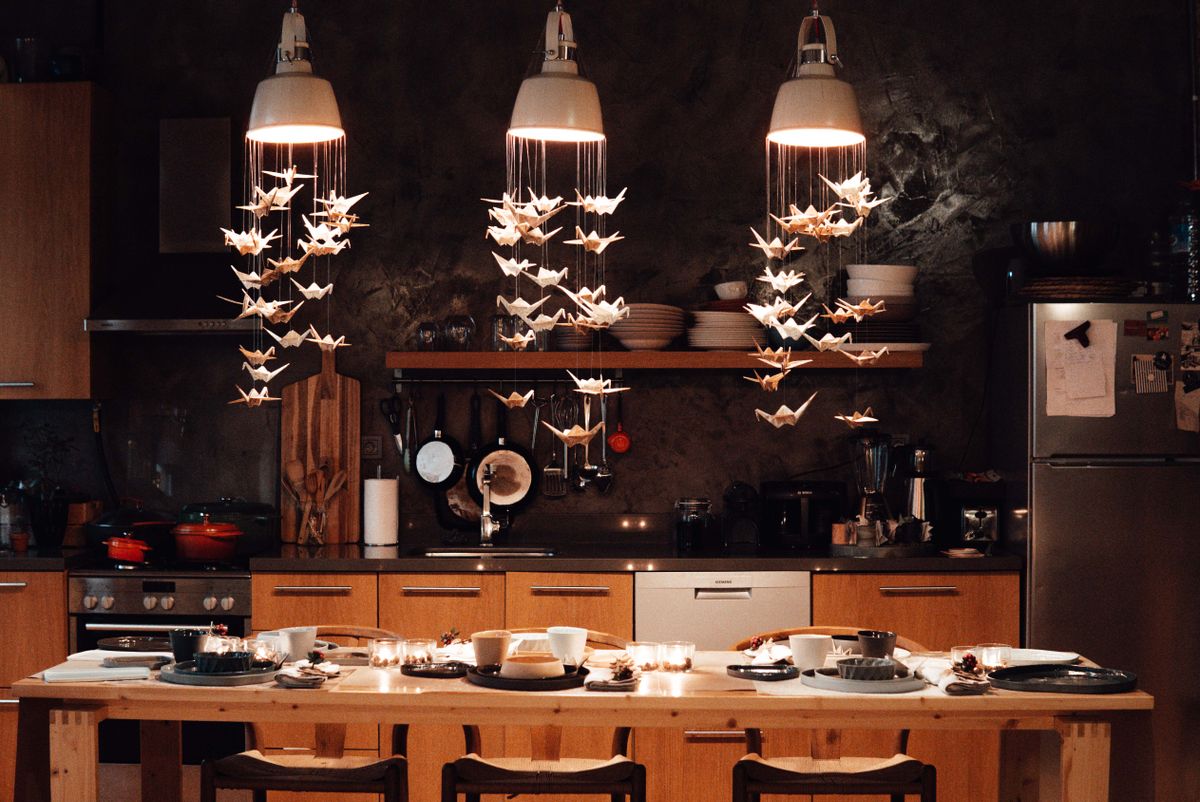
In a tiny kitchen, the sink edge, the windowsill, and the top of the microwave are legitimate extra surfaces — if you treat them deliberately. A small dish rack that drains into the sink, a soap tray on the sill, and a single plant or a small jar on the windowsill keep those spots useful without letting them become dumping grounds. The rule is one purpose per spot: the windowsill holds herbs or soap, not mail, keys, and a spare charger. A sink caddy that hangs inside the sink also frees the counter beside it, which is often the most valuable six inches in the whole kitchen.
9. Store Cutting Boards Vertically, Not in a Stack
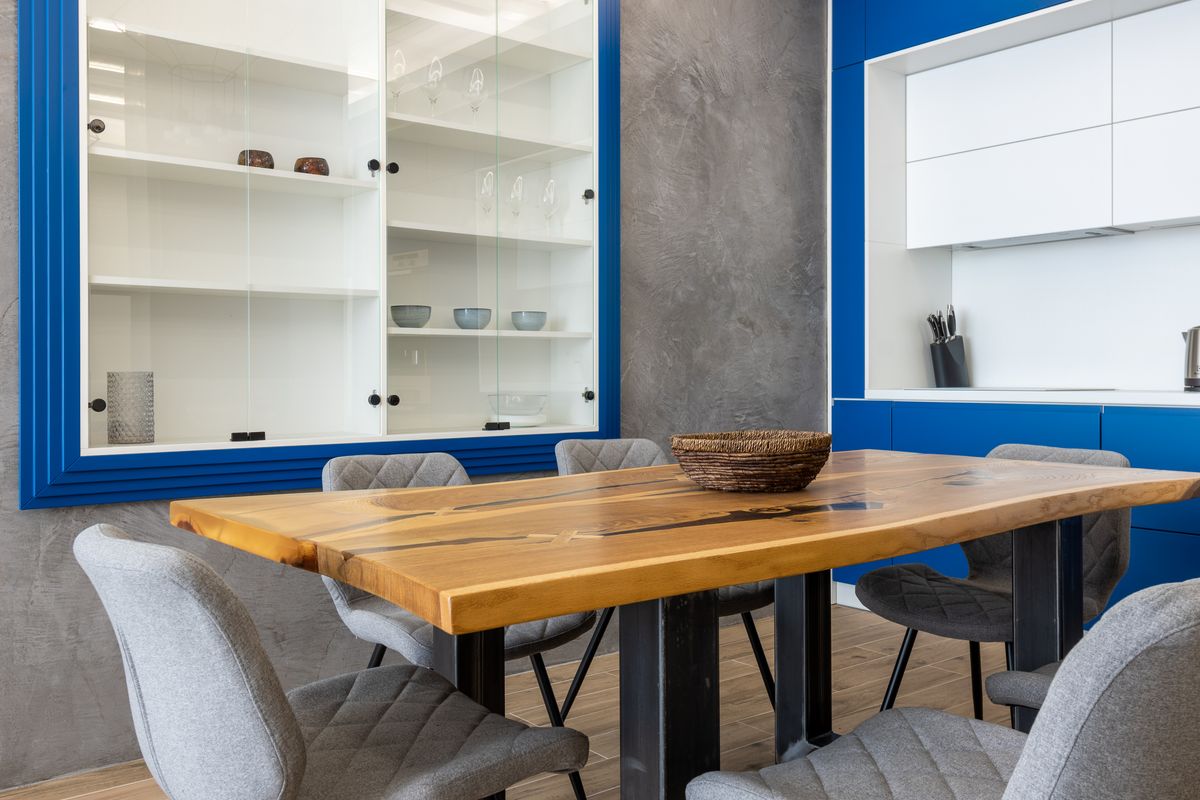
A stack of cutting boards flat on the counter or in a cabinet is awkward to use: you lift three boards to reach the fourth, and the stack slides everywhere. Stored vertically — in a file organizer, a tension divider, or a narrow slot beside the fridge — boards slide out one at a time and take up only a few inches of width. The same vertical trick works for baking trays and cooling racks, which are equally awkward flat. Keep the board you use daily at the front of the row, and dry boards fully before sliding them back, so moisture never sits between them.
10. Give Fruit and Vegetables a Hanging or Tiered Home
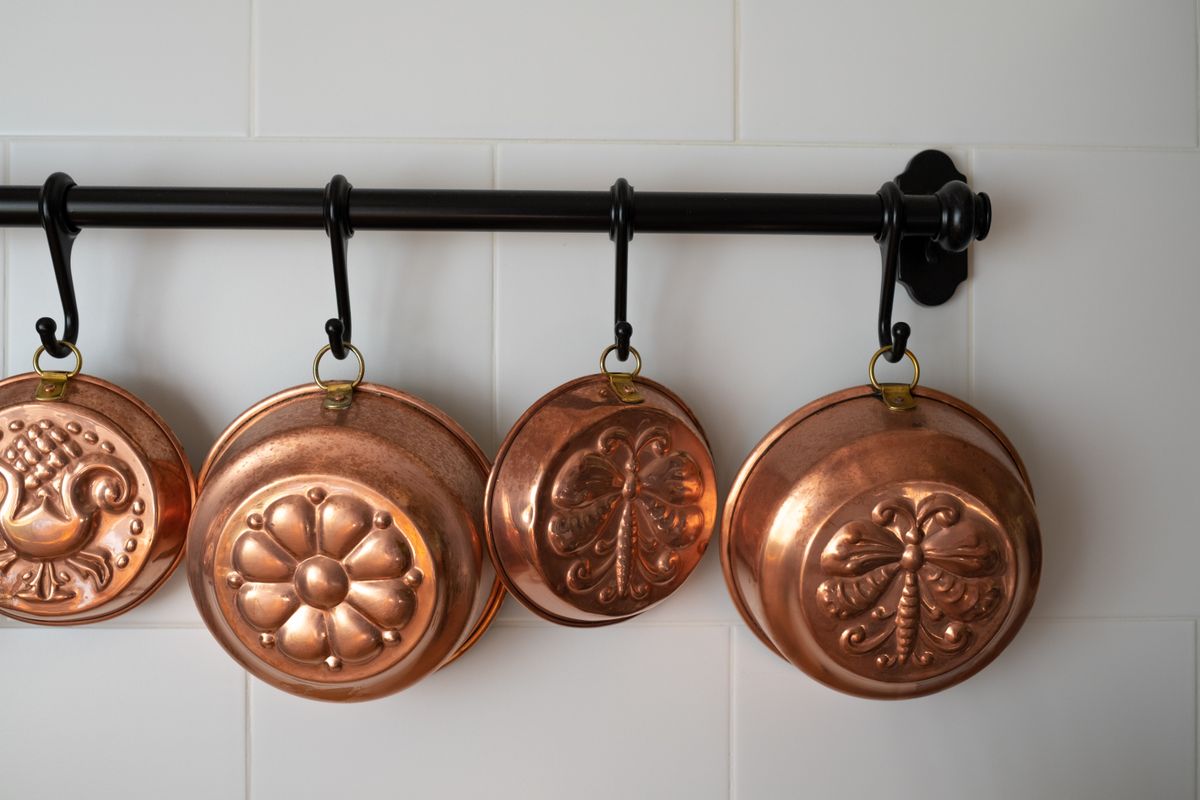
A fruit bowl is a classic counter occupant, but a tiered stand or a hanging basket holds the same fruit in half the footprint — and a hanging basket uses no counter at all. Tiered stands also keep produce visible, so bananas get eaten before they turn and onions stop hiding behind the toaster. Hang a basket from a cabinet hook or a ceiling hook where the lease allows it, and keep potatoes and onions in a dark, ventilated spot rather than in sunlight on the counter. Whatever you choose, keep produce in one place: scattered fruit across two counters is how a small kitchen starts to feel chaotic.
11. Keep a Clear Prep Zone — Always
The most important countertop rule is also the simplest: protect one clear stretch, at least the size of a large chopping board, and never let anything live there permanently. That zone is where you chop, mix, and plate, and keeping it clear means you never have to clear the counter before you can start cooking — which is the friction that makes small kitchens feel unusable. If your kitchen is truly tiny, this zone might be the only clear stretch you have, and that is fine: everything else in this article exists to protect it. When guests visit, this zone is also where you set out food, so it earns its keep twice.
12. End Every Day With a Two-Minute Counter Reset
Counters do not stay clear by themselves; they stay clear because someone resets them. A two-minute nightly reset — wipe the surface, return the tray to its spot, put the day's dishes away, and move anything that migrated onto the counter back to its home — keeps the system working with almost no effort. Do it while the kettle boils or after dinner, and make it a habit rather than a chore: two minutes nightly beats a thirty-minute weekend clear-out, and it means you wake up to a kitchen that feels calm. Pair the reset with emptying the dish rack, so the morning starts with a clear sink as well as a clear counter.
Before you buy anything, run through this checklist: measure your counter depth and the clearance under your upper cabinets before ordering any riser, garage, or rail; count what actually lives on the counter today and sort it into daily, weekly, and rarely used before buying a single organizer; and choose renter-friendly fixings where drilling is restricted — tension rails, adhesive hooks, and freestanding risers. Start with the daily-use zone and one tray, and add the rail and riser only once that first zone stays clear for a week. Keep safety in mind: never hang heavy items above the stove, and keep knives and hot appliances out of reach of children.
Final Thoughts
Start with the daily-use zone and a single tray — those two moves alone can return half your counter. Then add the rail and the appliance garage, and protect your clear prep zone every night with the two-minute reset. For more tiny kitchen ideas, see our guides on tiny kitchen organization ideas you will want to copy and small kitchen open shelving ideas. If you only do one thing this weekend, clear everything off the counter, keep back only what you used in the last week, and live with that smaller set for seven days — most tiny kitchens feel twice as big after that single honest sort. Repeat the sort each season, because new gadgets creep back quietly, and a short seasonal check keeps the counter clear all year long.



0 Comments