
Every tiny pantry has the same mystery: you know you bought the rice, the pasta, or the peanut butter, but you cannot find it when you need it. The search starts, the shelves get shuffled, and dinner gets later. A tiny pantry is not a storage failure, it is a system failure, and systems can be fixed in one weekend without buying a whole new kitchen. The trick is not more space. It is visibility, zones, and one home for every category, so the thing you want is always the thing you see first.
The fourteen ideas below are sized for the pantries most small homes actually have: one narrow closet, a couple of deep cabinets, or a few shelves in a corner. Start with the zone system, then add the containers and tools that fit your shelves, and stop buying duplicates by accident.
1. Empty It Completely Before You Organize Anything
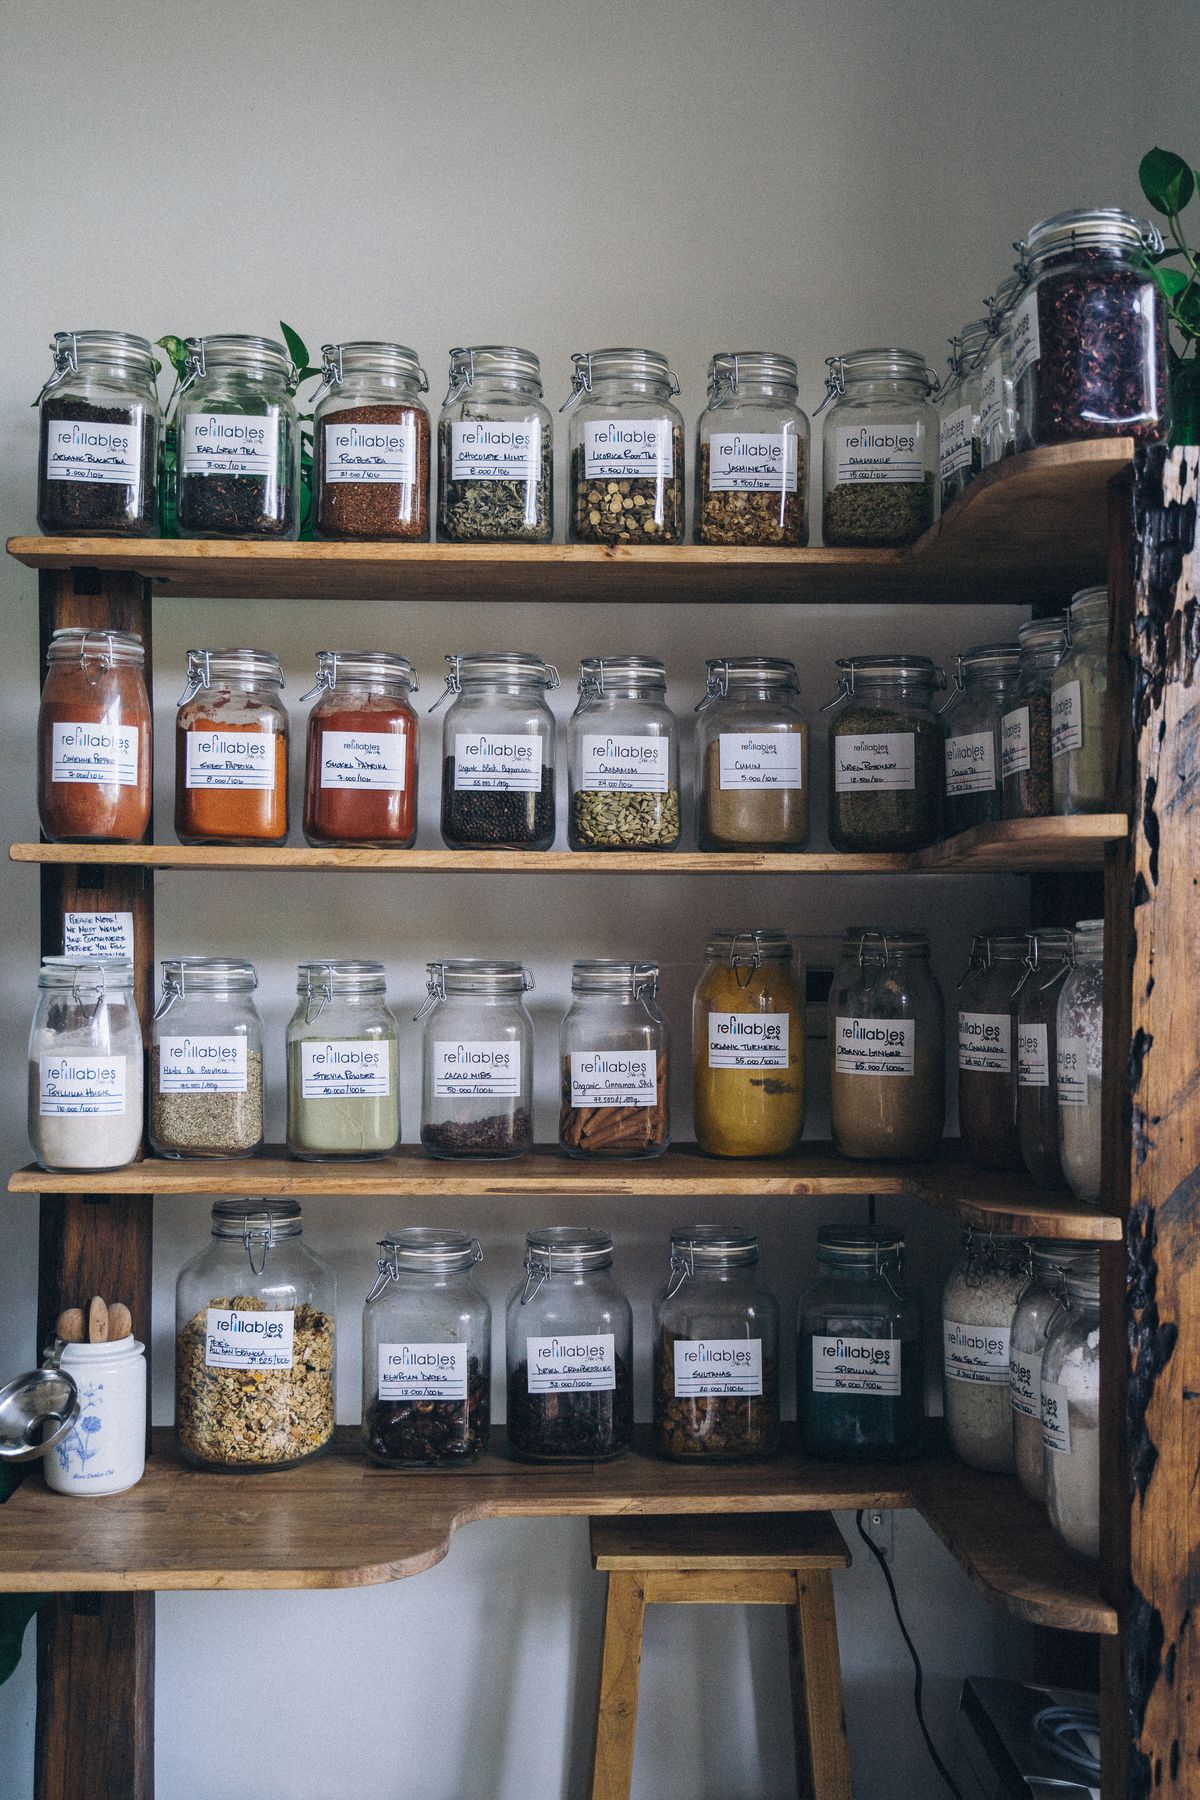
Do not organize around what is already there. Take everything out, wipe the shelves, and sort items into four piles: keep, toss, donate, and relocate. Toss anything expired, stale, or open for more than a year, and donate sealed extras you will never use. Most tiny pantries lose a full shelf to expired items and duplicates, so this step alone often frees 20 to 30 percent of your space. Only put back what you actually cook with, and keep a small box by the door for items that belong in another room, like cleaning supplies that wandered into the food shelves.
2. Sort by Zone, Not by Size or Color
A pantry organized by zone answers the question "what am I making?" instead of "where does this fit?" Create five zones: breakfast, grains and pasta, canned goods and sauces, snacks, and baking. Put each zone on its own shelf or in its own bin, with the most-used zone at eye level, between about 48 and 60 inches high. Breakfast near the front, baking up high where it is reached weekly rather than daily, and heavy cans low so nothing falls on you. When every item has a zone, putting groceries away takes two minutes instead of ten, and anyone in the household can find things.
3. Decant the Five Foods You Use Most
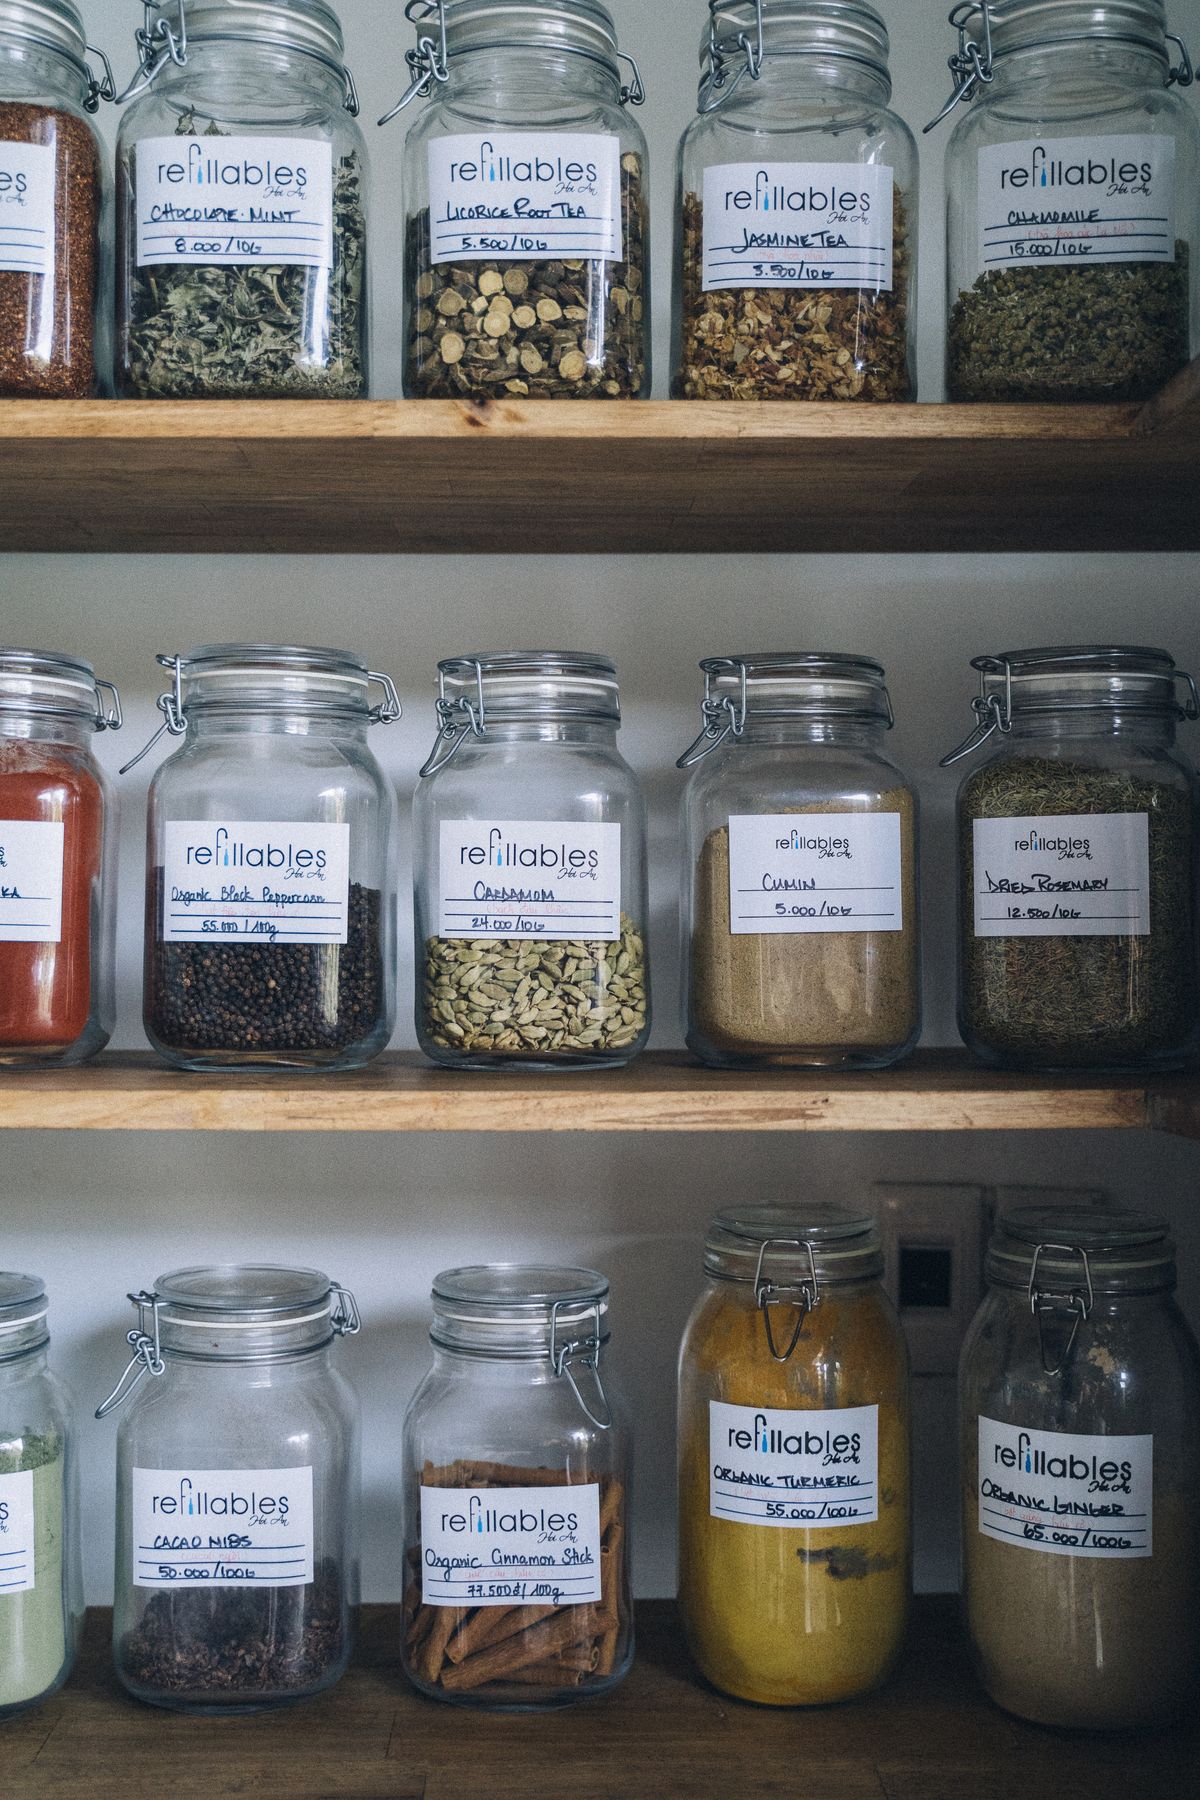
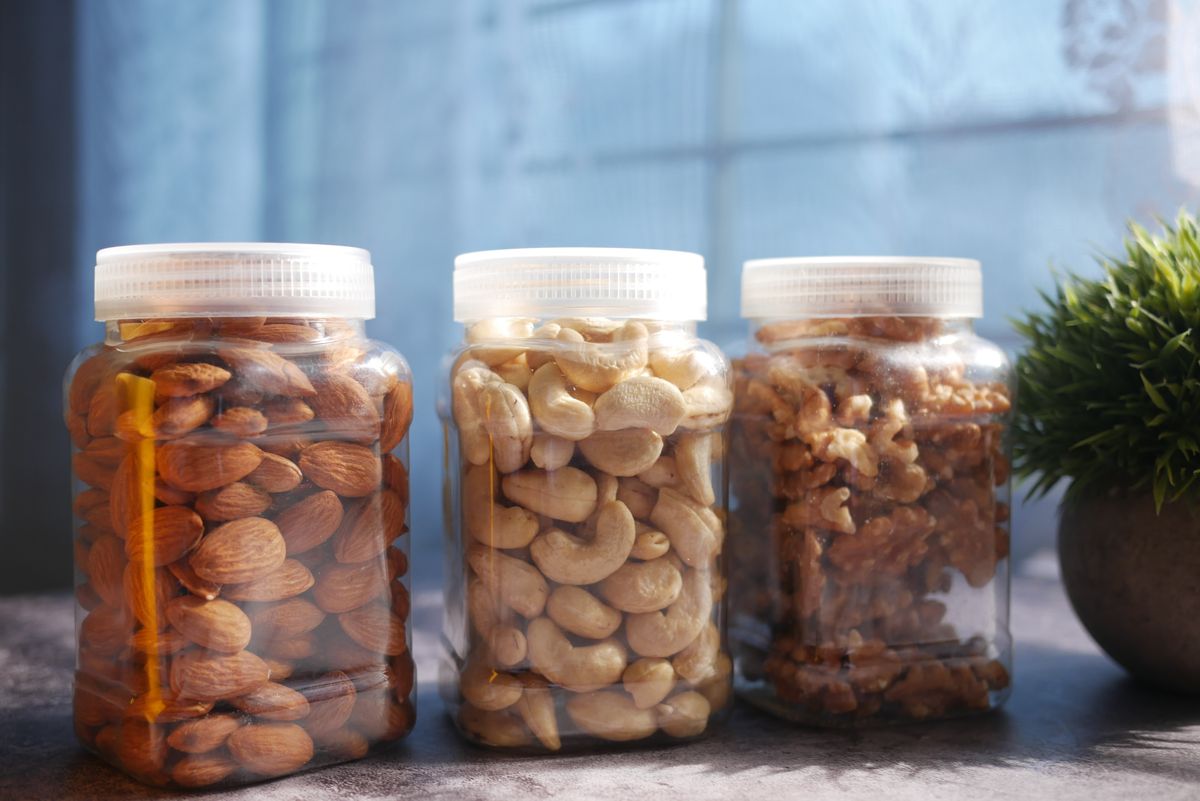
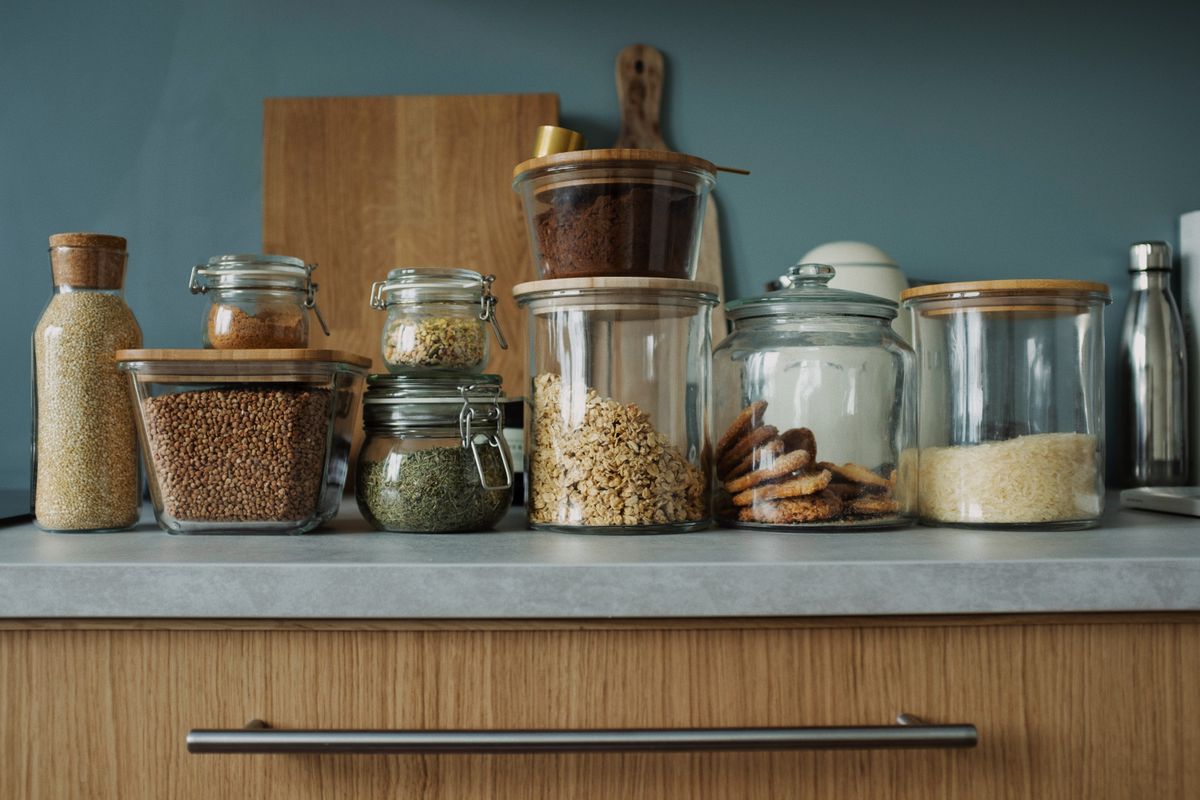
Decanting everything is a waste of time and money, but decanting the five staples you reach for daily changes everything. Rice, oats, flour, sugar, and coffee or pasta, in clear, airtight containers with a scoop or pour spout, let you see at a glance what is running low. Choose square containers over round ones, because squares waste about 25 percent less shelf space. Label each container on the front and on the lid, with the item name and the date you filled it, and keep the original bag's cooking instructions folded inside the lid until you know them by heart.
4. Use Clear Bins as Drawers for Deep Shelves
Deep pantry shelves are where food goes to disappear. A clear bin, about 10 to 12 inches wide and as deep as your shelf, turns a deep shelf into a drawer you can pull out, look into, and push back. One bin for snacks, one for canned goods, one for baking, each labeled on the short end that faces you. Measure shelf depth and height before buying, leaving at least an inch of clearance above the bin so you can lift items out. Bins with handles are worth the extra dollar, because you will pull them out with one hand while holding a recipe with the other.
5. Put a Turntable in Every Corner and Deep Cabinet
Corner cabinets and deep shelves waste the back third of their space, and a turntable recovers it. A 10-inch turntable for spices and a 15-inch turntable for oils, vinegars, and sauces lets you spin to the item you need instead of moving five bottles to reach the sixth. Keep turntables to one layer of items, because stacking on a turntable defeats the purpose and causes falls. For very deep cabinets, a two-tier turntable with a raised back row works even better, as long as the tallest bottle still clears the shelf above it.
6. Give Spices a Single, Visible Home
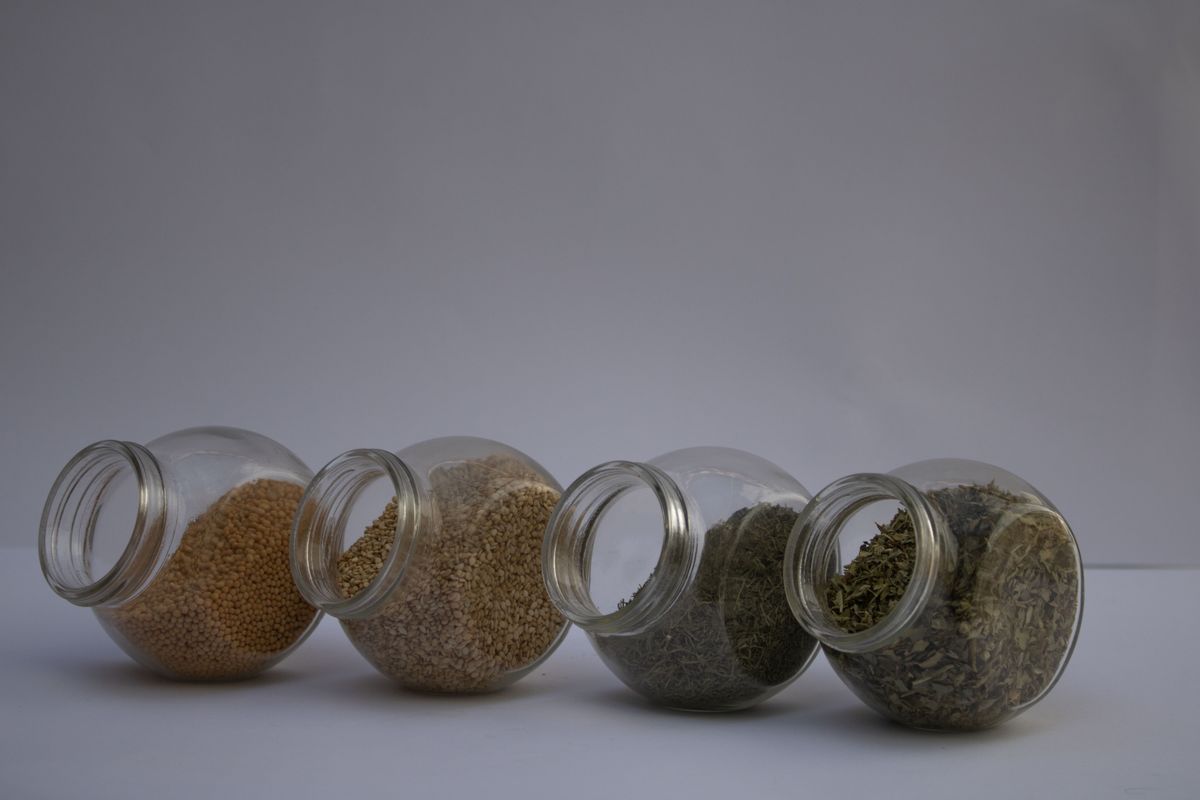
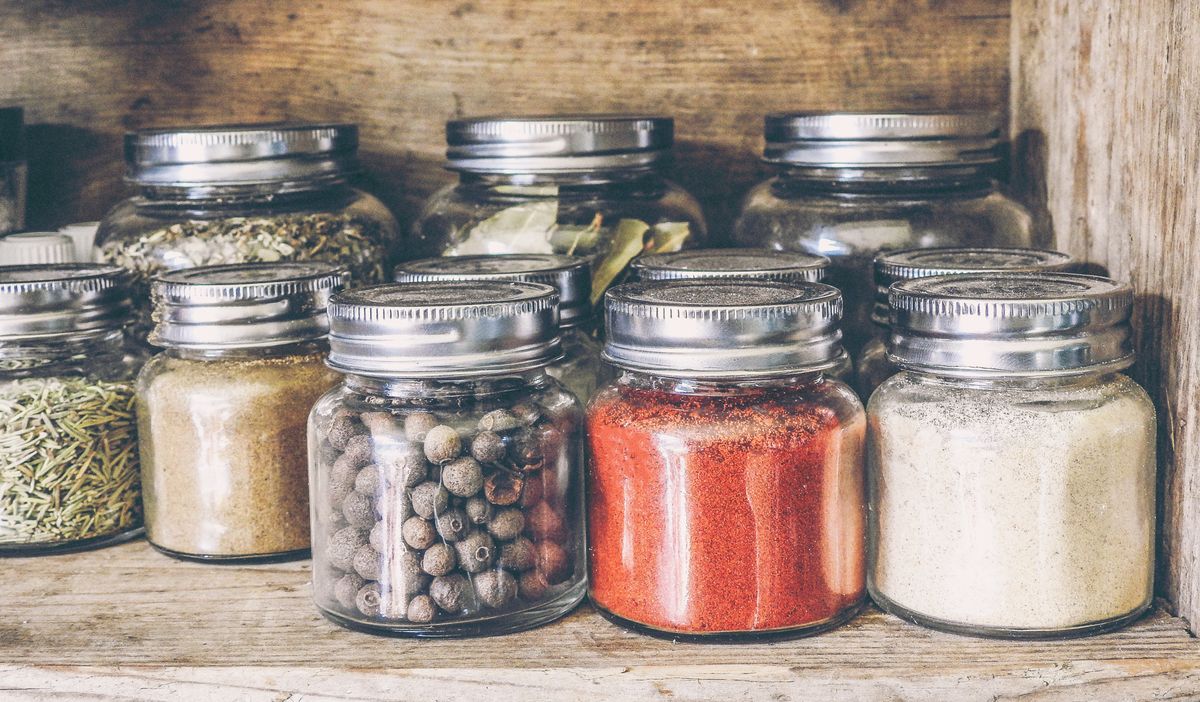
Spices are the smallest pantry items and the biggest source of the "where is it?" search. Pick one system and commit to it: a tiered rack inside a cabinet door, a drawer insert with jars lying flat and labels on top, or a magnetic board on the inside of the pantry door. Keep the twenty spices you actually use, and store the rest in a labeled backup bin elsewhere. Alphabetical order sounds fussy, but it cuts search time to seconds, and grouping by cuisine, like Italian, Mexican, and baking, works just as well if that matches how you cook.
7. Use the Inside of the Door
The inside of a pantry door is free, unused real estate. A slim over-the-door rack, about 3 inches deep, holds spice jars, small cans, packets, and snack bars without blocking the door from closing. Measure the gap between the door and the shelf edge first, and choose a rack that hooks over the top without screws, so renters can use it too. Keep only light items on the door, under about 10 pounds total, because a heavy door rack swings, rattles, and eventually damages the hinges. Check the door closes fully after loading it, before you call the job done.
8. Line Up Cans Like a Tiny Grocery Store
Cans stored two deep become a guessing game, so store them in a single row, labels facing out, like a shop shelf. A small stepped riser, about $10, lifts the back row so every label is visible, and a narrow can rack that dispenses from the front keeps the oldest can in front automatically. Group cans by type, soups together, beans together, tomatoes together, and keep a count on a small whiteboard or phone note when you stock up. When you can see every can, you stop buying a fourth tin of tomatoes while the first three hide at the back.
9. Make a Snack Zone the Whole Household Understands
Snacks scattered across three shelves get eaten at random and replaced at random, which is how a pantry ends up with seven half-open bags. Give snacks one bin, at a height children or all adults can reach, and set a simple rule: if it is not in the snack bin, it is not a snack. Decant chips and crackers into clear containers or clip bags tightly after opening, and keep a small basket for single-serve items like granola bars. Review the bin weekly when you unpack groceries, and move anything unopened for a month into the donate box.
10. Label Everything, Even If You Think You Will Remember
You will not remember, and neither will anyone else in the house. A label maker, masking tape and a marker, or simple chalk labels all work, as long as the label is on the front of the container and large enough to read from arm's length. Label the bin, not just the shelf, because bins move and shelves get rearranged. Include the item name and, for baking and bulk goods, the date opened. Labels are also what make a system survive a busy week, because a guest, a partner, or a teenager can put groceries away correctly without asking you where things go.
11. Keep a Running "Running Low" List on the Door
The best pantry system fails if nobody knows what is out. Stick a small whiteboard or a notepad on the pantry door, and make it a household habit: when you finish something, or when a container drops below a quarter full, write it on the list immediately. Before shopping, photograph the list instead of rewriting it. This single habit ends the two classic pantry problems, buying a duplicate of something you already have, and discovering mid-recipe that you are out of the main ingredient. Review the list every Sunday, even if you are not shopping that day.
12. Store Bulk Buys in a Separate Overflow Spot
Bulk buys are the enemy of a tiny pantry, because a twelve-pack of cans or a five-pound bag of rice does not fit the daily system. Keep one overflow spot, a labeled bin on top of the pantry, in a hall closet, or on a high shelf, and restock the daily pantry from it as items run out. Never store overflow on the daily shelves, where it buries the items you use and makes the pantry look full when it is actually disorganized. When the overflow bin is empty, that is your signal to buy more, and when it is full, that is your signal to stop buying that item.
13. Protect Food From Heat, Light, and Pests
A pantry near an oven, a dishwasher, or a sunny window ages food faster, so keep staples in the coolest, darkest part of the kitchen you have. Airtight containers protect flour, rice, and cereals from pantry moths and moisture, and a bay leaf tucked into a flour container is a traditional, harmless deterrent many cooks still use. Wipe shelves monthly, check for torn bags, and store pet food separately from human food, because pet food odors transfer easily. If you find pests, empty the affected shelf, clean it thoroughly, and transfer everything into sealed containers before restocking.
14. Do a Five-Minute Weekly Pantry Reset
A pantry stays organized only if it is maintained, and maintenance takes five minutes, not an hour. Once a week, while you unpack groceries, pull out anything expired, push items forward, wipe one shelf, and check the running-low list. Return anything that migrated to the wrong zone, and take out anything that belongs elsewhere. This weekly reset is what separates a pantry that looks good on organizing day from a pantry that still works three months later, and it is the habit that finally ends the daily "where is it?" search for good.


What to Buy First, and What to Skip
If you are starting from scratch, buy in this order: clear bins for deep shelves, one turntable for the most-used cabinet, a label maker or a roll of masking tape and a marker, and square airtight containers for your five most-used staples. That kit, usually under $50 in total, fixes most tiny pantries on its own. Skip matching container sets for everything, specialty organizers for items you rarely use, and any system that requires decanting food you buy in small amounts anyway. A system you can maintain on a busy Tuesday beats a beautiful system that collapses by Friday, so start small, live with it for two weeks, and only then add the next piece.
Start this weekend with the empty-and-sort step, then build your five zones and your running-low list. You do not need a bigger pantry. You need a pantry where everything is visible, everything has a zone, and everything gets put back in the same place. Do that, and the next time you reach for the rice, it will be exactly where you left it.



0 Comments