
12 Renter-Friendly Kitchen Backsplash Ideas (No Tile, No Damage)
A plain kitchen wall above the counter makes the whole kitchen feel unfinished, but renters cannot just tile over it and hope the landlord will not notice. The good news is that renter-friendly backsplashes have improved dramatically: peel-and-stick tiles, removable panels, and clever cover-ups now look genuinely good, not like a temporary fix. These 12 ideas protect your walls from splashes, add color and pattern, and come off cleanly at move-out. All are suitable for US, Canadian, UK, and Australian rentals, with notes on heat, steam, and removal.
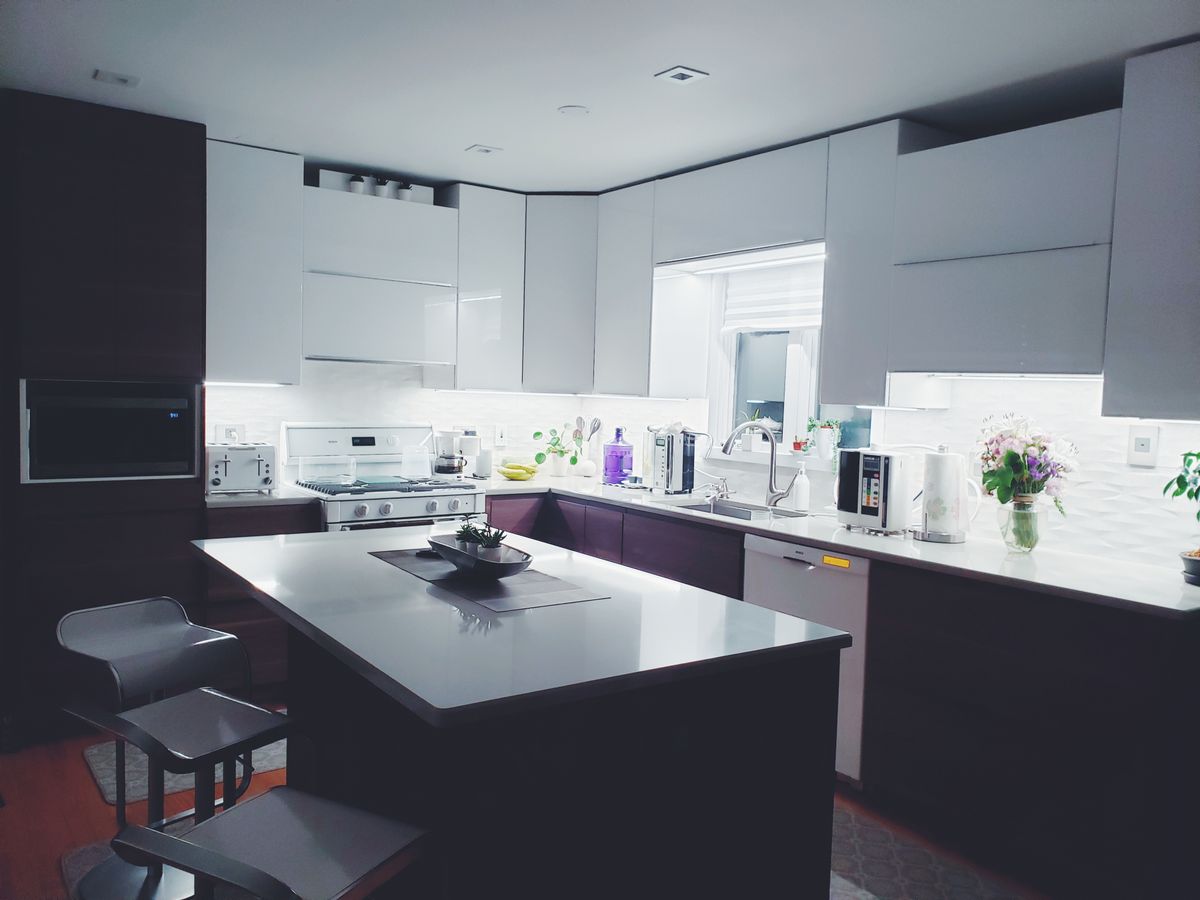
1. Peel-and-Stick Tiles: The Renter's Classic
Peel-and-stick tiles are the most popular renter backsplash for a reason: they install in an afternoon, need only a utility knife and a level, and remove without damaging most painted walls. Choose thicker, gel-style tiles over paper-thin vinyl, since they read as real tile from a normal distance and survive wiping. Clean and dry the wall first, work in small sections, and keep a spare box — matching a discontinued pattern later is nearly impossible. Test one tile behind the stove for a week before committing to the whole wall.
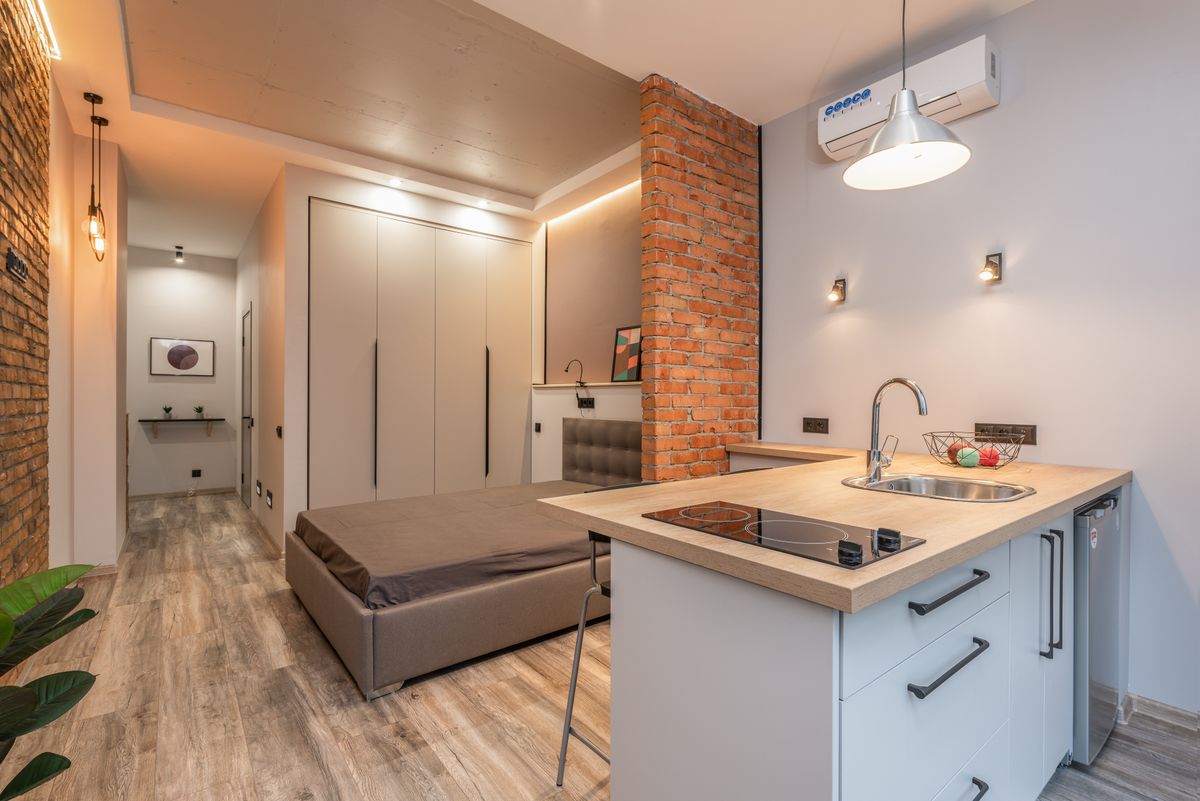
2. Check the Heat Zone Before You Stick Anything
The wall directly behind a gas stove gets hotter than most peel-and-stick products tolerate, and heat is the main reason renter backsplashes fail. Keep adhesive tiles at least a few inches from open flames, and use a heat-resistant panel — stainless steel, tempered glass, or a metal sheet — in the hottest zone. Electric and induction stoves are more forgiving, but steam from a kettle still loosens weak adhesive over time. When in doubt, put the pretty tiles on the side walls and a practical panel behind the stove.
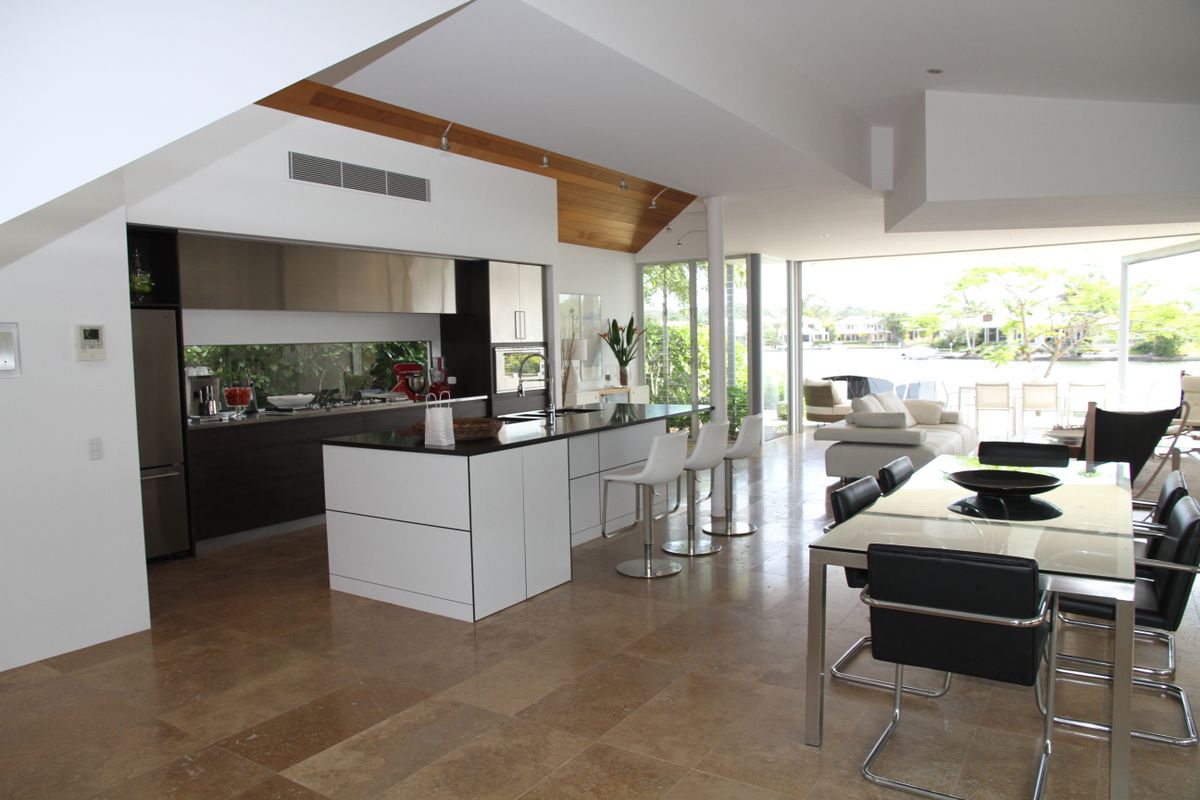
3. Removable Wallpaper as a Bold Backsplash
Removable wallpaper gives you patterns — bold florals, geometrics, terrazzo — that tiles cannot match at the same price, and it covers a whole wall quickly. Choose a vinyl-coated, wipeable removable paper, not a paper-based one, since kitchen steam and splashes will ruin the latter. Seal the bottom edge with a clear, removable caulk strip or a thin trim piece where it meets the counter, so water does not creep underneath. Removal is usually clean if the wall was painted with a standard eggshell or satin finish.

4. A Leaned Panel: Zero Adhesive at All
If your lease forbids even removable adhesive, lean a panel against the wall instead. A sheet of stainless steel, a framed acrylic panel, or a large cutting-board-style panel propped between counter and upper cabinets protects the splash zone with no fixing at all. It wipes clean, moves with you, and can be swapped in minutes. Secure the top edge with a removable clip or a small bead of museum putty so it cannot slide forward onto the stove, and never lean glass where it could fall into a hot pan.

5. Beadboard Panels for a Cottage Look
Lightweight beadboard panels, cut to fit and held with removable adhesive strips or a few small nails into the countertop trim, give a classic cottage kitchen feel without tiling. Paint them in a wipeable satin or semi-gloss paint so splashes wipe off, and caulk the counter joint with a removable sealant. Beadboard suits farmhouse, coastal, and traditional kitchens especially well, and a single panel often covers the main cooking wall in a small apartment. Keep the paint color close to the cabinets for a built-in look.
6. Tin-Style and Metal Panels for Character
Pressed-tin-look panels, in lightweight plastic or real metal, add vintage character and reflect light, which helps a dark galley kitchen feel brighter. Plastic versions cut with scissors and stick with adhesive strips; metal versions need a few screws, so check the lease first. Either way, seal the edges near the sink and stove, since water behind a metal panel can stain the wall it was meant to protect. A single accent panel behind the stove, with plainer walls elsewhere, is often more effective than covering every wall.
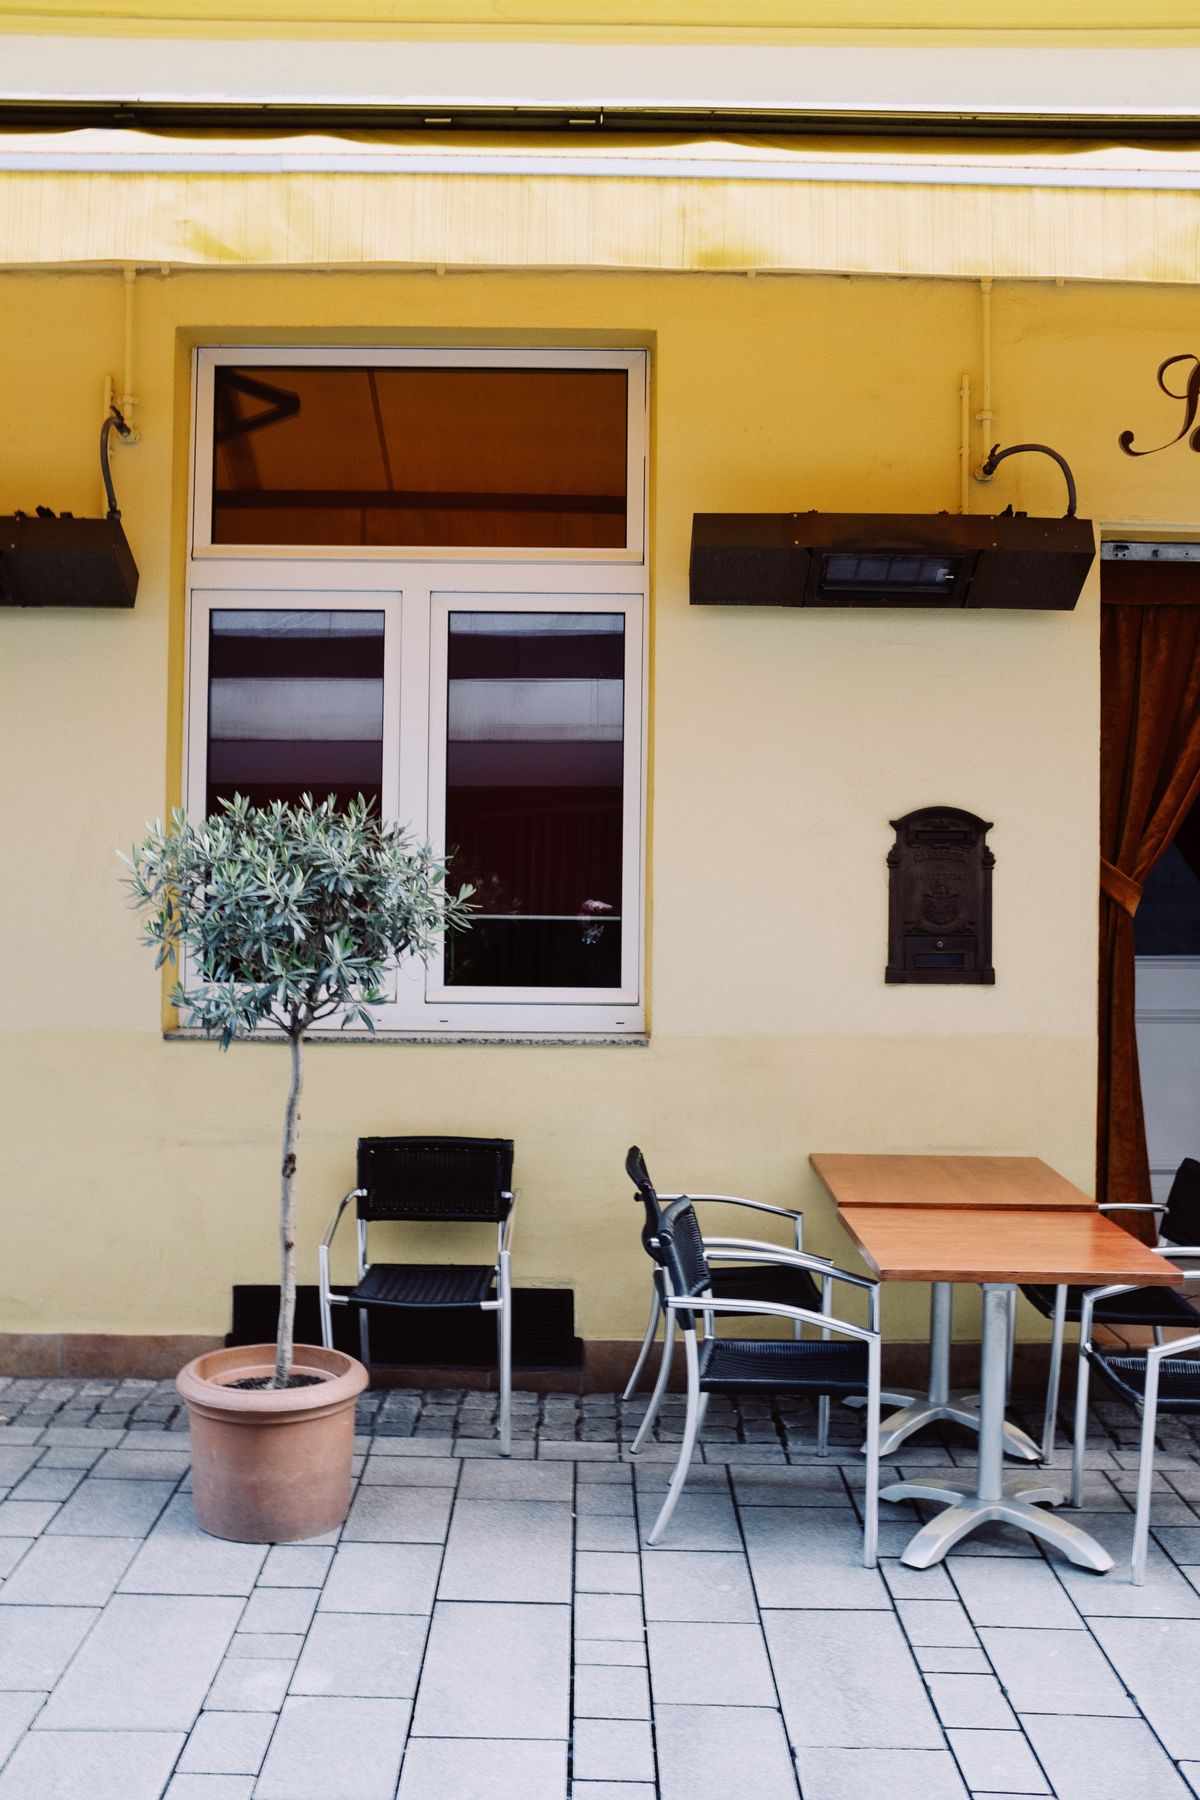
7. Paint It: The Cheapest Backsplash of All
Sometimes the best renter backsplash is not a product at all, but a coat of wipeable paint. A semi-gloss or satin paint in a bold color, or a simple two-tone stripe, transforms the wall for the price of a sample pot, and repainting white at move-out is usually expected anyway. Use a paint rated for kitchens and bathrooms so it resists moisture, and let it cure fully before scrubbing splashes. This is the lowest-risk option for landlords, and it pairs well with a small leaned panel behind the stove.

8. Contact Paper and Vinyl Rolls for a Quick Refresh
Adhesive vinyl rolls — marble-look, wood-look, or solid color — cover large areas fast and cost very little, making them ideal for a first apartment or a short lease. The finish matters: matte vinyl hides wall imperfections better than glossy, which shows every bump. Apply with a smoothing card to avoid bubbles, and overlap seams away from the sink where water collects. Vinyl is also the easiest option to replace in sections: if one strip peels, cut a new piece rather than redoing the wall.

9. Open Shelving as a Living Backsplash
A single open shelf above the counter, styled with everyday items, acts as a visual backsplash even though the wall behind it stays bare. Hang a rail with hooks for utensils, add a small shelf for oils and spices, and the wall reads as finished because the eye follows the objects, not the blank paint. This works best when the shelf itself is renter-friendly — mounted into studs with small holes that patch easily, or a tension-mounted rail. Keep items you use daily on it, so it stays functional, not just decorative.

10. Chalkboard and Magnetic Panels for a Working Wall
A chalkboard or magnetic panel backsplash turns the kitchen wall into a working surface: shopping lists, recipes, kids' art, and magnets holding notes. Use a framed panel leaned or hung with removable hooks, and choose chalk markers over dusty chalk near food. Magnetic paint exists, but a panel is cleaner to remove and gives a stronger magnet hold. This idea suits busy households best, where the wall earns its keep daily rather than just looking pretty in photos.
11. Protect the Sink Zone Differently From the Stove Zone
Different kitchen walls face different enemies: the sink wall gets water, the stove wall gets heat and grease, and the prep wall gets mostly admiration. Treat them differently. Use a fully waterproof panel or tile at the sink, a heat-resistant panel at the stove, and a lighter decorative option — wallpaper, paint, or open shelving — at the prep wall. Zoning your backsplash this way costs less than covering everything in the most expensive material, and each zone actually performs better.
12. Plan Removal on Installation Day
Every renter backsplash should be installed with its removal in mind. Photograph the bare wall before you start, keep the product packaging and any spare pieces, and note which adhesive you used. At move-out, remove slowly with a hair dryer to soften adhesive, clean residue with warm soapy water, and touch up paint where needed. Landlords are far more forgiving of a backsplash that was clearly planned and cleanly removed than of a surprise discovery on inspection day — and you keep your deposit.
Before you buy, run through this checklist: measure the full backsplash area including outlets, and buy 10 percent extra for cuts and mistakes; test your chosen product behind the stove and beside the sink for a week, checking for peeling, heat damage, and steam loosening; and confirm your lease wording on adhesive and wall changes, keeping a written note if the landlord approves. Order samples first — colors and tile thickness look very different under kitchen lighting than on a phone screen — and keep one sample for move-out matching if a section needs replacing later.
Final Thoughts
Start with one wall, ideally the cooking wall, and choose the option that fits your heat zone and your lease. A clean, wipeable backsplash makes cooking feel better every single day. For more kitchen ideas, see our guides on small apartment kitchen decor ideas and tiny kitchen organization ideas you will want to copy. If you only tackle one wall this weekend, make it the cooking wall, and choose the option that fits both your heat zone and your lease: a clean, wipeable surface there changes cooking every single day. Test it behind the stove for a week first, keep the spares and packaging for move-out, and extend the same finish to the sink wall only once you know it survives steam and splashes.



0 Comments