
12 Small Kitchen Holiday Baking Station Ideas for Tiny Kitchens
Holiday baking in a tiny kitchen sounds impossible until you have a station: one defined zone where the mixer, the flour, the cookie sheets, and the cooling racks live together for the season, instead of scattered across every cabinet. Thanksgiving and Christmas baking means batches — cookies for neighbors, pies for family, bread for the table — and batches need flow: measure, mix, bake, cool, pack. Without a station, every batch starts with a 20-minute hunt and ends with flour on every surface. These 12 ideas build a baking zone that fits a small kitchen, works for renters, and packs away cleanly in January — sized for real tiny kitchens in the USA, Canada, the UK, and Australia, where holiday baking season runs from November through December.
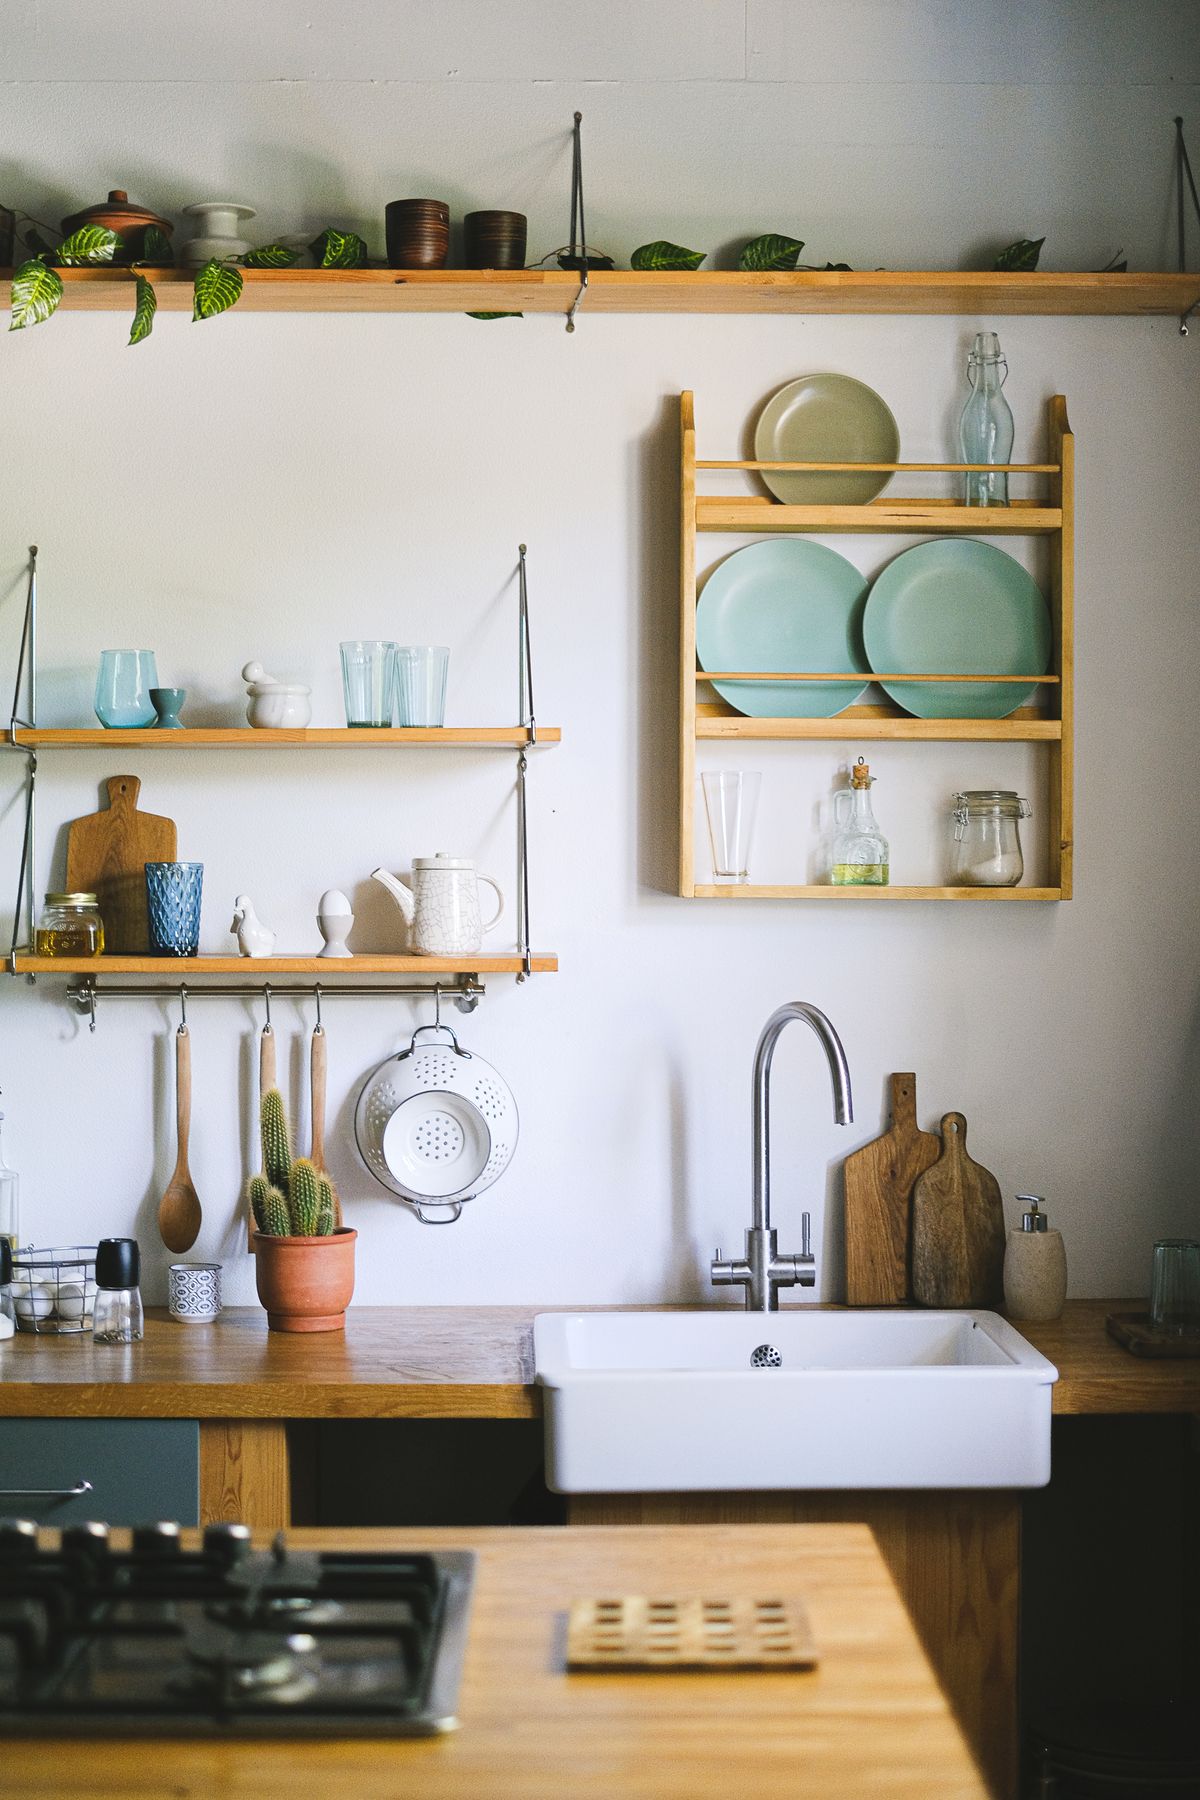
1. Claim One Zone and Defend It All Season
A baking station starts with a decision, not a purchase: pick one stretch of counter — ideally 24 to 36 inches wide, near the oven and an outlet — and declare it the baking zone from November through December. Everything baking-related lives there or within one step of it; everything else moves elsewhere for the season. A small tray or a strip of tape on the counter edge can mark the boundary in a shared household, so nobody parks the mail or the keys in your flour zone. This single decision saves more time than any organizer, because it ends the daily re-clearing of the counter before every batch. If counter space is truly zero, claim a rolling cart (idea 3) as the zone instead — the principle is the same: one place, defended.
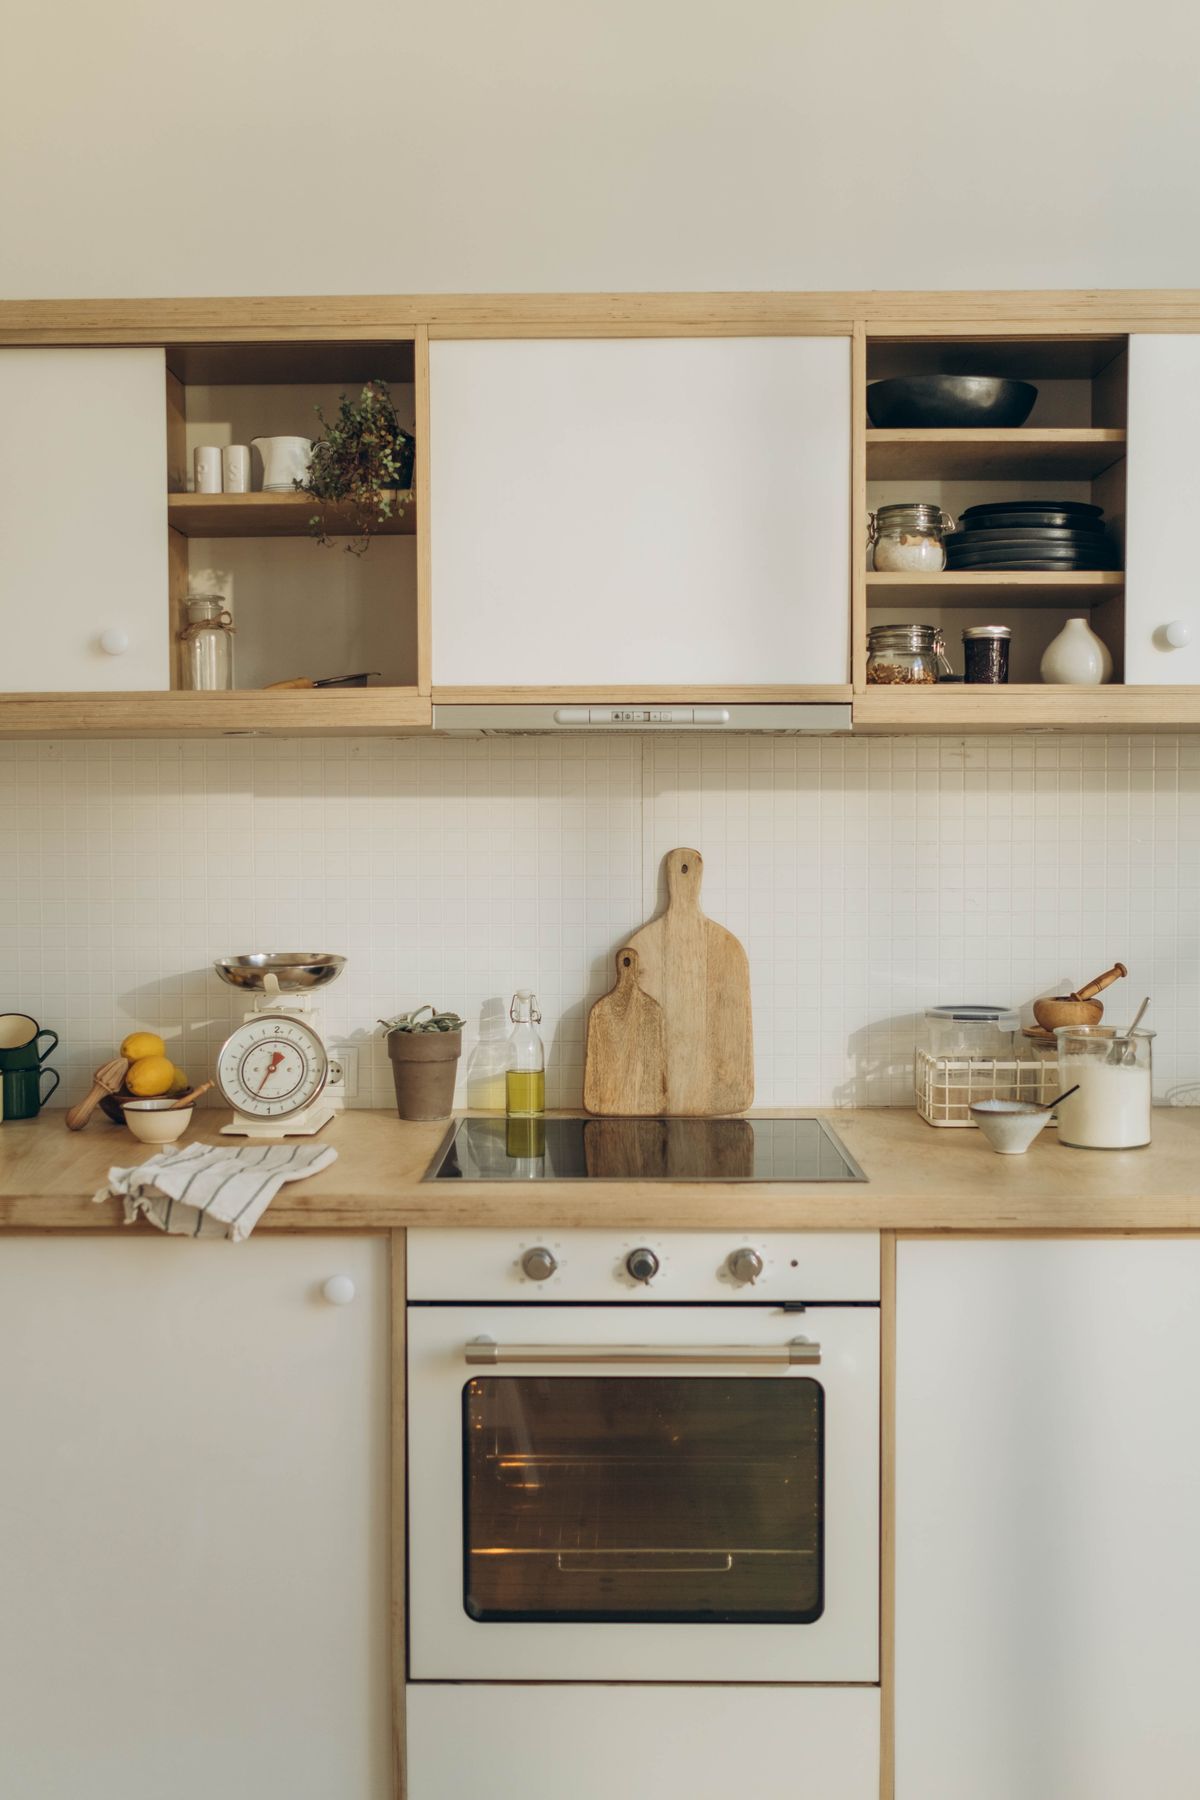
2. Park the Mixer Where It Can Stay Plugged In
A stand mixer is the heaviest, most awkward baking tool to haul out of a cabinet — which is why it often stays buried and unused. Give it a permanent seasonal home on the counter or on a sturdy shelf within reach of an outlet, with at least 15 inches of clearance above it so the head can lift and ingredients can be added. A mixer cover (roughly $10–$20) keeps flour dust off between bakes, and a silicone mat underneath stops it creeping across the counter at high speed. If counter space cannot spare the footprint, a mixer lift shelf inside a lower cabinet or a dedicated shelf in a pantry cabinet works — the rule is that the mixer moves at most one step, never from a high shelf with both hands full. Budget for the shelf or cover, not a new mixer: the one you own is fine.
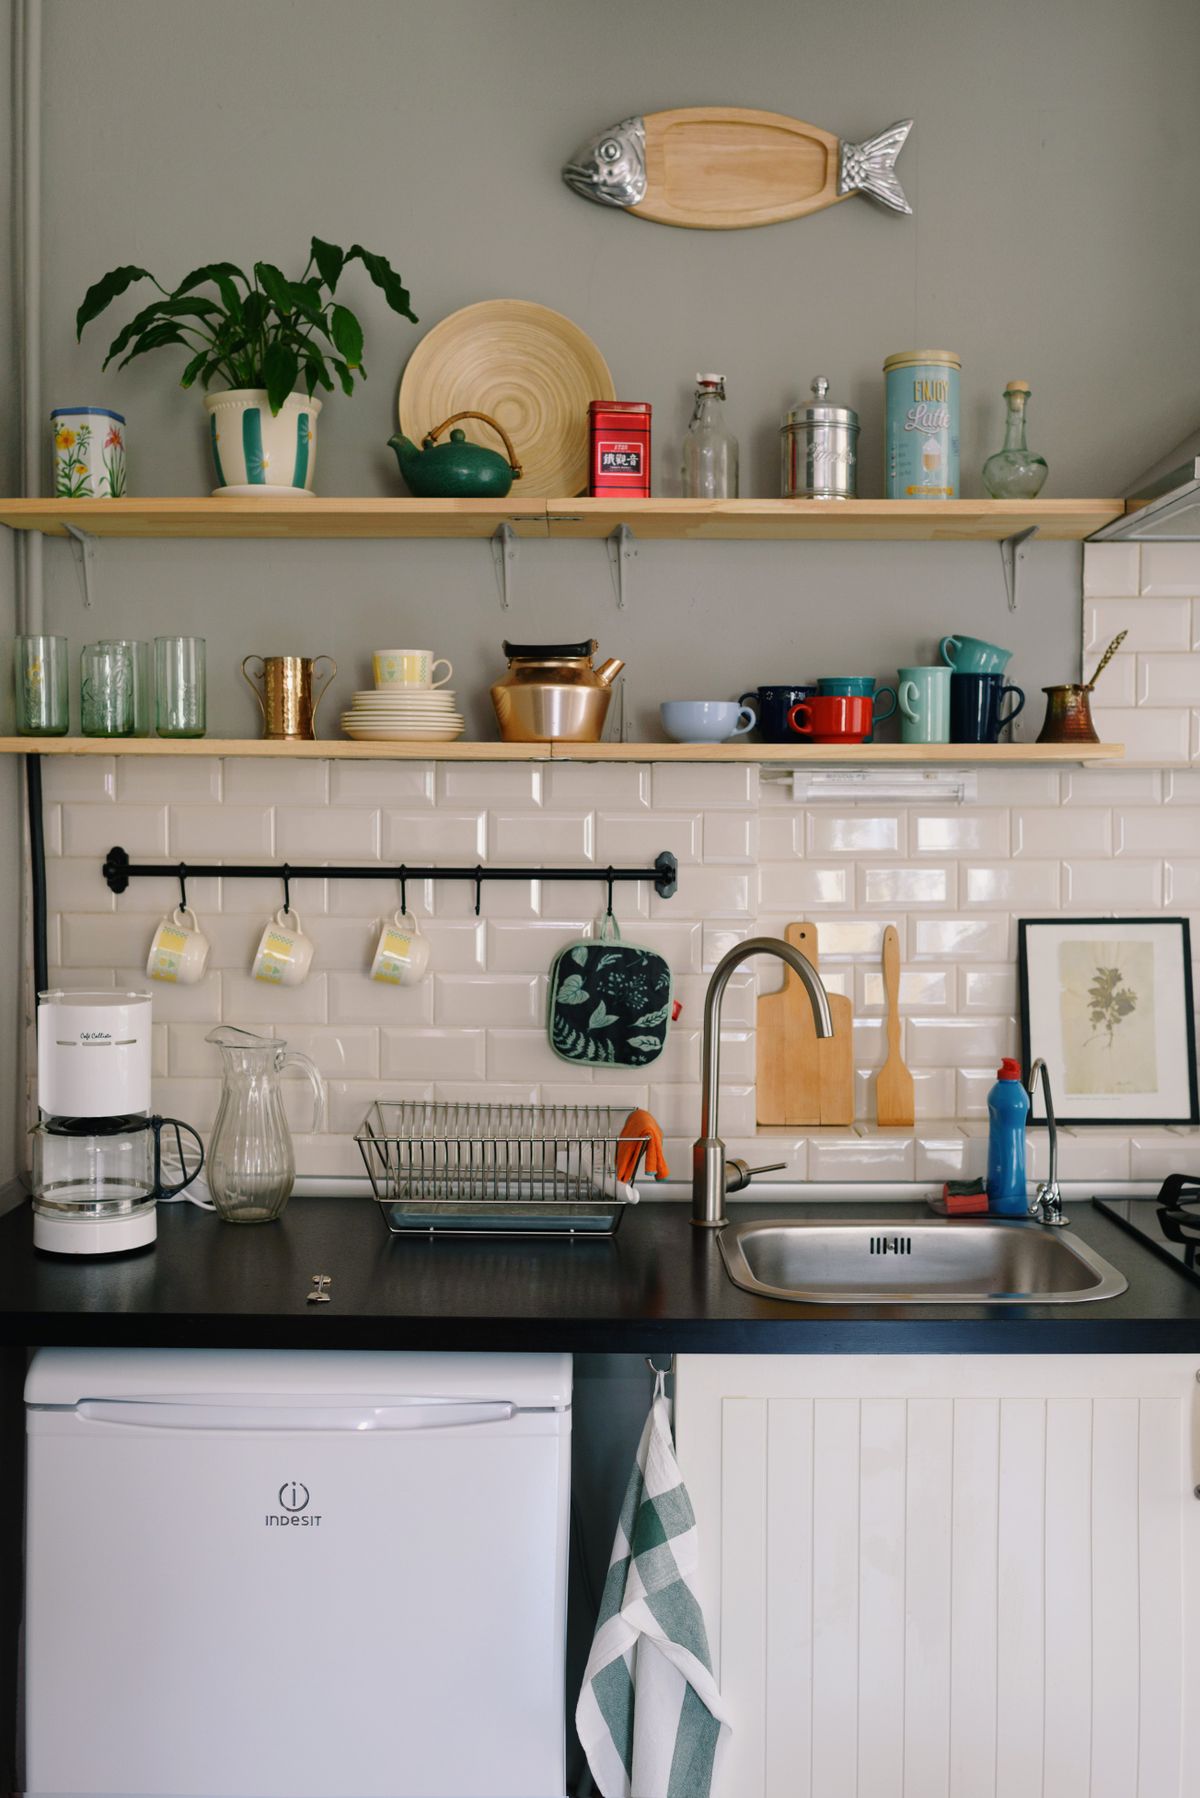
3. Use a Rolling Cart as a Pop-Up Baking Station
When the counter is full, a rolling cart becomes the baking station: a 3-tier cart roughly 15 by 12 inches in footprint, about $30–$60, that holds flour and sugar on one tier, tools on another, and finished trays on the third. Roll it to the oven when you bake, roll it to a corner or closet when you are done, and never let it become permanent clutter by giving it a parking spot in advance. Choose a cart with locking wheels — a cart that rolls while you pour batter is a disaster — and a top tier that wipes clean, because flour gets everywhere. In the smallest kitchens, a narrow cart that slides into the gap between the fridge and the counter (often 6 to 10 inches wide) is the secret extra storage that costs no floor space at all.
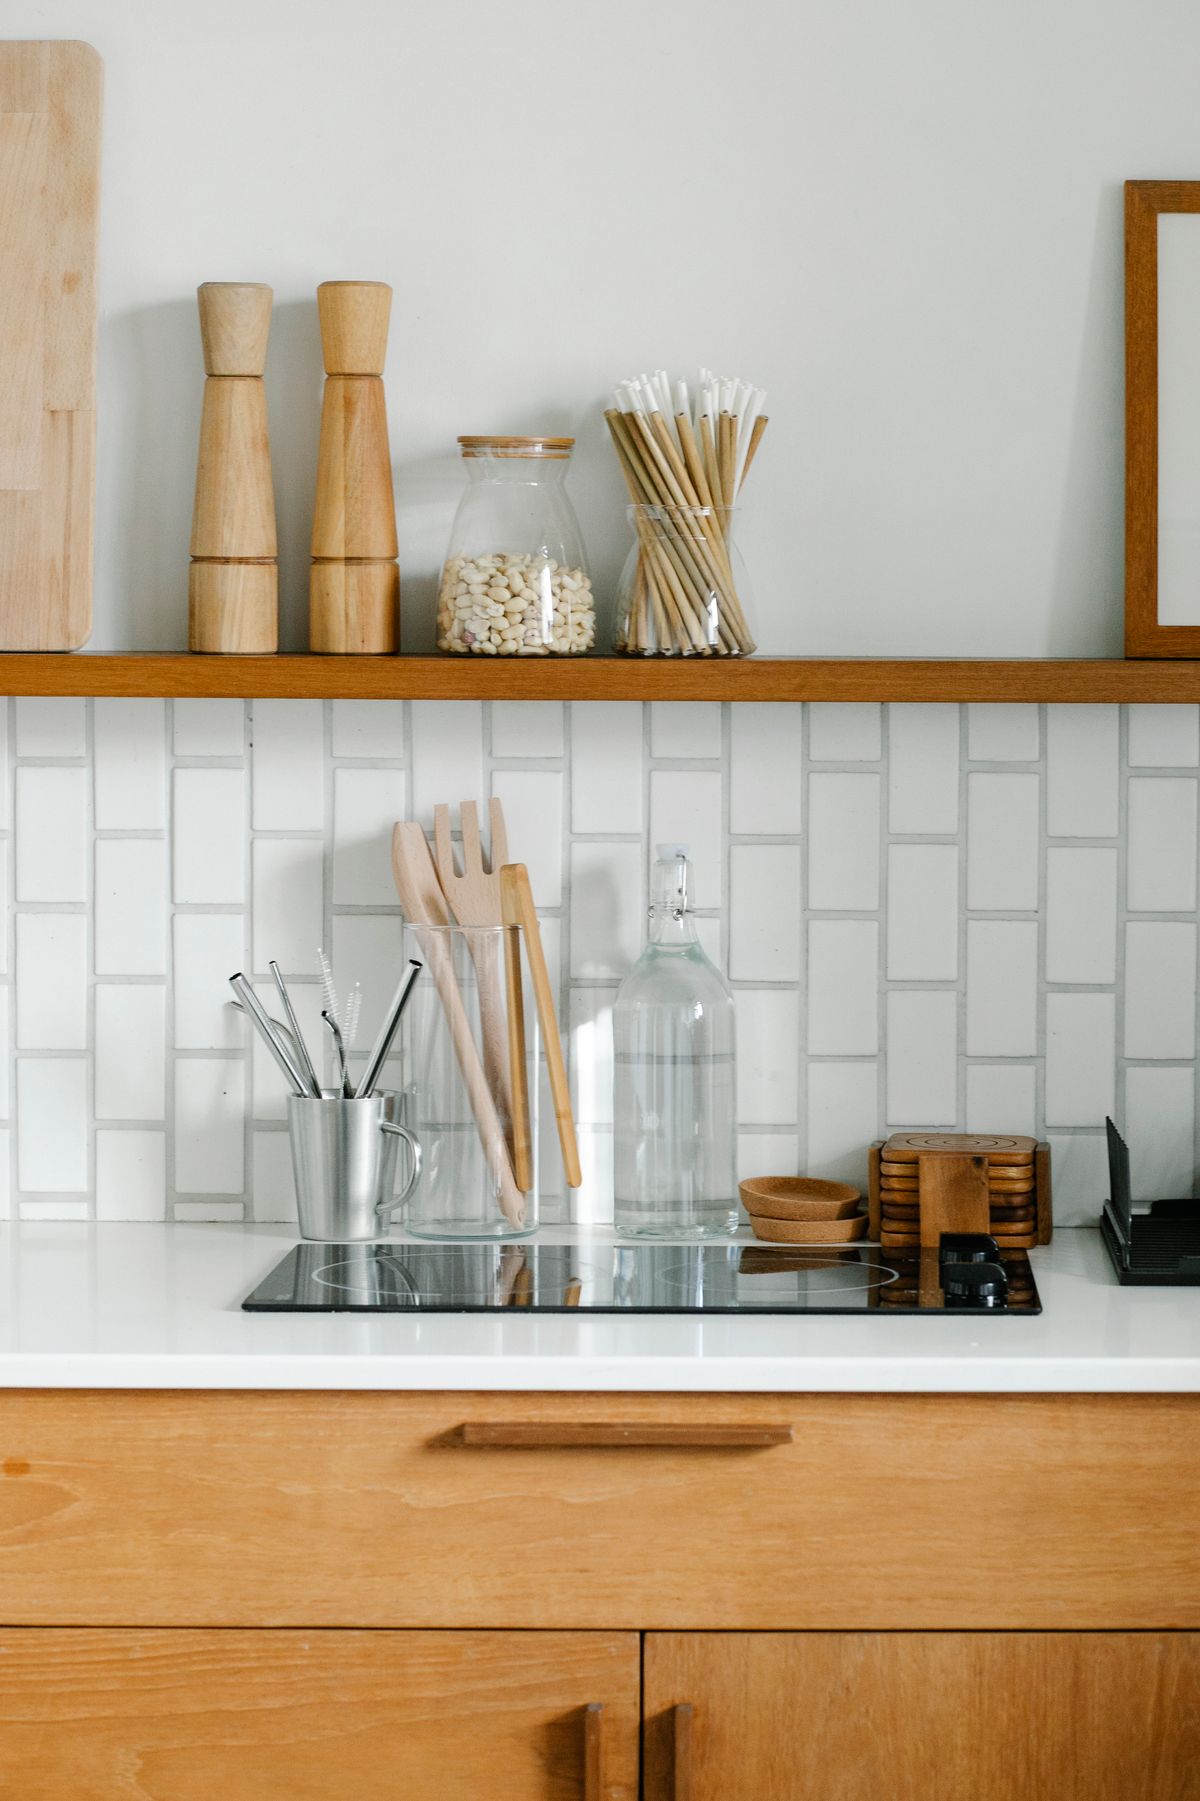
4. Decant Flour, Sugar, and Dry Goods Into Clear, Labeled Jars
Holiday baking uses flour and sugar by the cup, and wrestling open bags over a small counter spills half of it. Decant the season's staples — flour, granulated sugar, brown sugar, powdered sugar, cocoa — into clear, airtight jars or canisters, labeled with the contents and the date opened. Clear jars let you see at a glance when you are running low before a big baking day, and a wide mouth fits a measuring cup without a funnel. Budget roughly $20–$40 for a set of five or six canisters, or reuse large glass jars for $0. Keep the jars on one shelf or tray within the baking zone, with scoops inside the two most-used jars, and store backup bags in a higher cabinet so the zone itself never holds more than one batch's worth of clutter.
5. Store Cookie Sheets and Cooling Racks Vertically
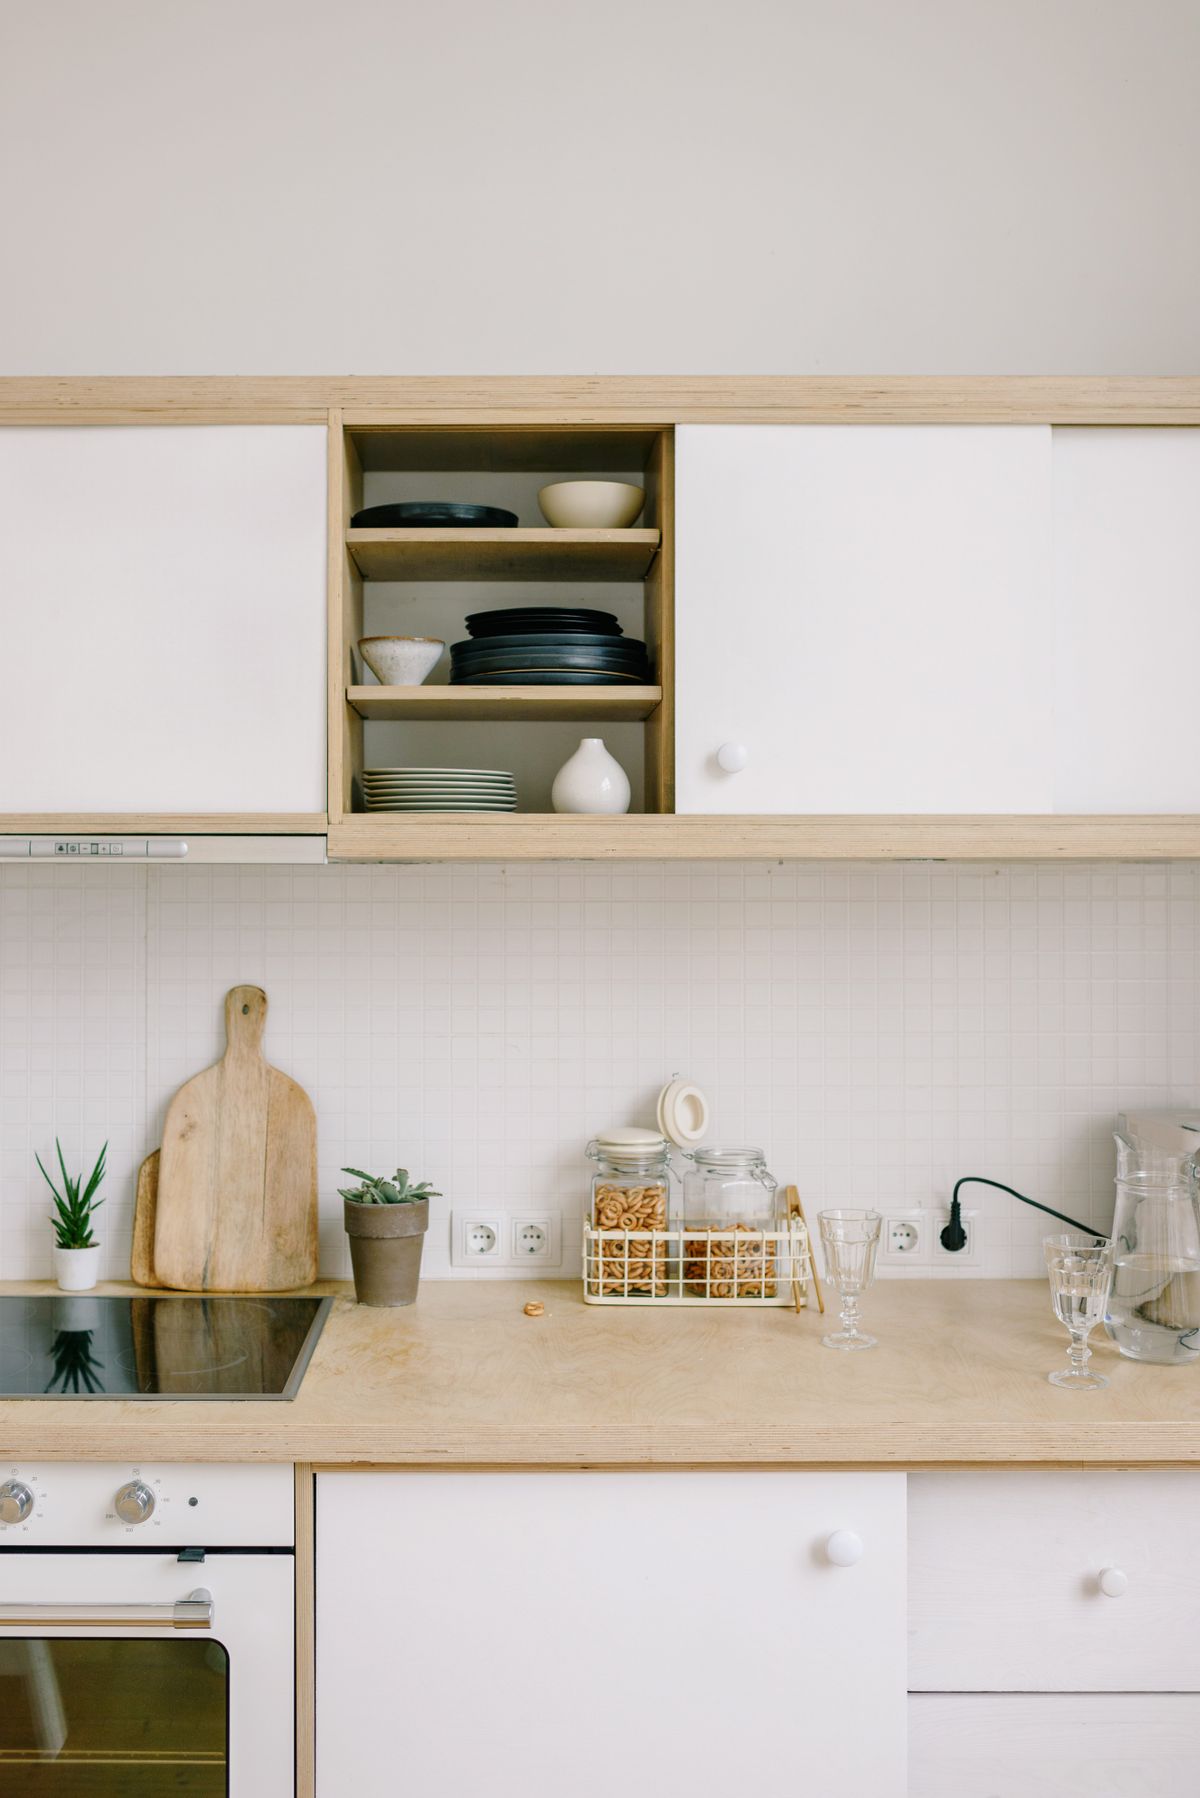
Cookie sheets, baking trays, and cooling racks are flat, awkward, and always in the way — stacked flat, they slide and scratch; stored vertically, they take inches. A vertical file organizer, a tension divider in a cabinet, or a narrow slot beside the oven holds a full set of sheets upright, so you pull one out without lifting the whole stack. The same organizer holds muffin tins and cutting boards. Measure your tallest sheet before buying an organizer — standard half-sheet pans are about 18 by 13 inches, so the organizer needs at least 13 inches of height clearance inside the cabinet. Budget roughly $10–$25, and keep the sheet you use most at the front of the row so holiday batches never start with a cabinet excavation.
6. Build a Cooling and Packing Landing Strip
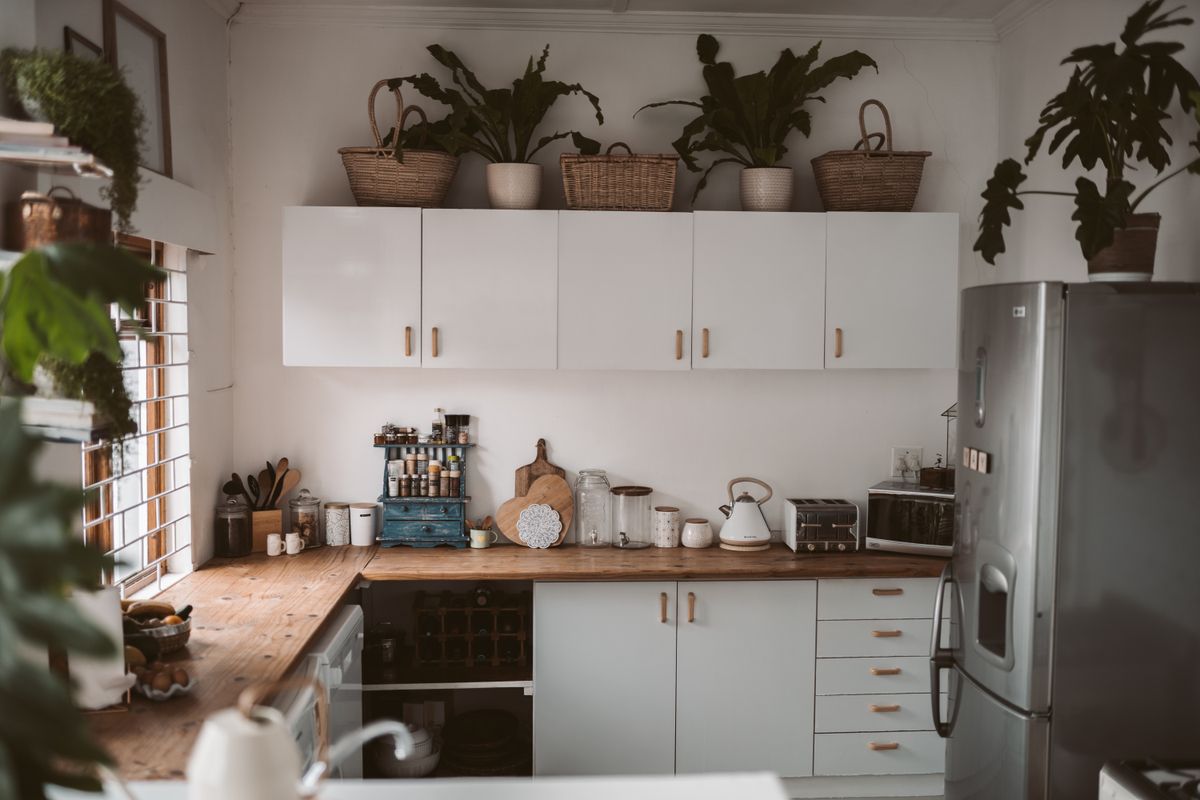
Fresh cookies need somewhere to cool, and in a tiny kitchen that somewhere is usually the only clear counter — which is also where the next batch needs to go. Solve it with a landing strip: a cooling rack set over a sheet pan on a small table, a stool, or even the stovetop (burners off and cool), dedicated to cooling while the counter stays free for mixing. A folding cooling rack that collapses flat (roughly $12–$20) stores in the vertical organizer from idea 5 when not in use. For packing, keep a box of parchment, gift bags, and ribbon in one bag or bin near the station, so cooled cookies go straight into gifts instead of sitting out and going stale. The landing strip is what turns baking day from a traffic jam into a flow.
7. Hang Measuring Tools and Small Utensils on a Rail
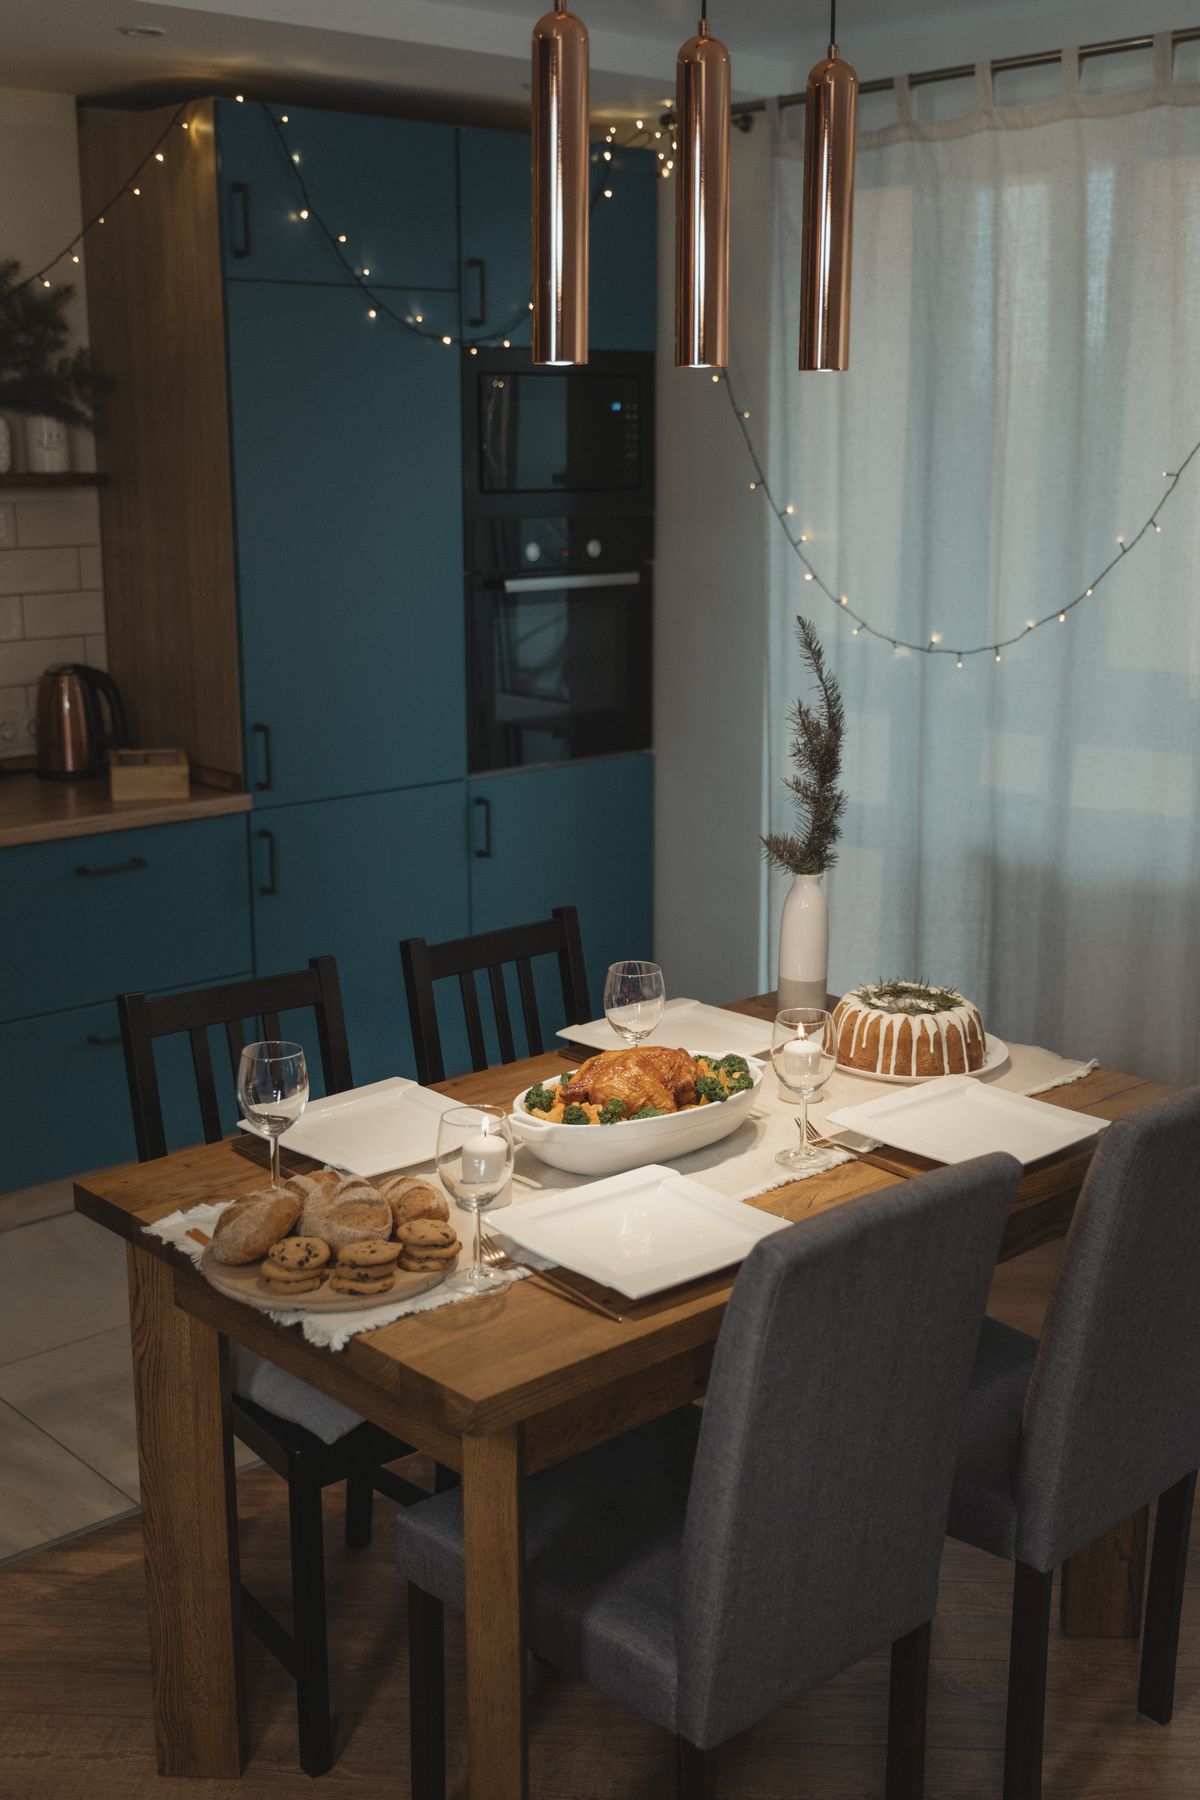
Measuring cups, spoons, whisks, and spatulas are small, numerous, and always at the bottom of a drawer when you need them mid-recipe. A short wall rail with S-hooks inside the baking zone — mounted with adhesive hooks if drilling is off-limits — holds the five tools you reach for most, visible and grabbable with floury hands. Keep the rail away from the stove's direct heat and at a height where hooks clear the counter but stay within reach, about 18 inches above the surface. Budget roughly $12–$25 for a rail and hooks. The rule from the rest of this guide applies here too: only the most-used tools earn rail space; specialty cutters and once-a-year gadgets live in a labeled bin elsewhere.
8. Keep a Holiday Baking Bin for Seasonal Tools Only
Cookie cutters, piping tips, holiday sprinkles, and themed liners are used for about six weeks a year — and they will colonize a drawer for the other 46 if you let them. Give them one labeled bin, roughly shoebox-sized, that lives on a high shelf or in a closet from January through October and moves into the baking zone for the season. Inside the bin, small zip bags separate cutters by shape, piping tips stay in their case, and sprinkles stay upright so lids never pop off in the drawer. Budget $0–$15: a shoebox, a small plastic bin, or a zip bag set all work. When January comes, the bin goes back up high in one motion, and the kitchen instantly returns to its normal self.
9. Plan Batches Around One Oven and One Counter
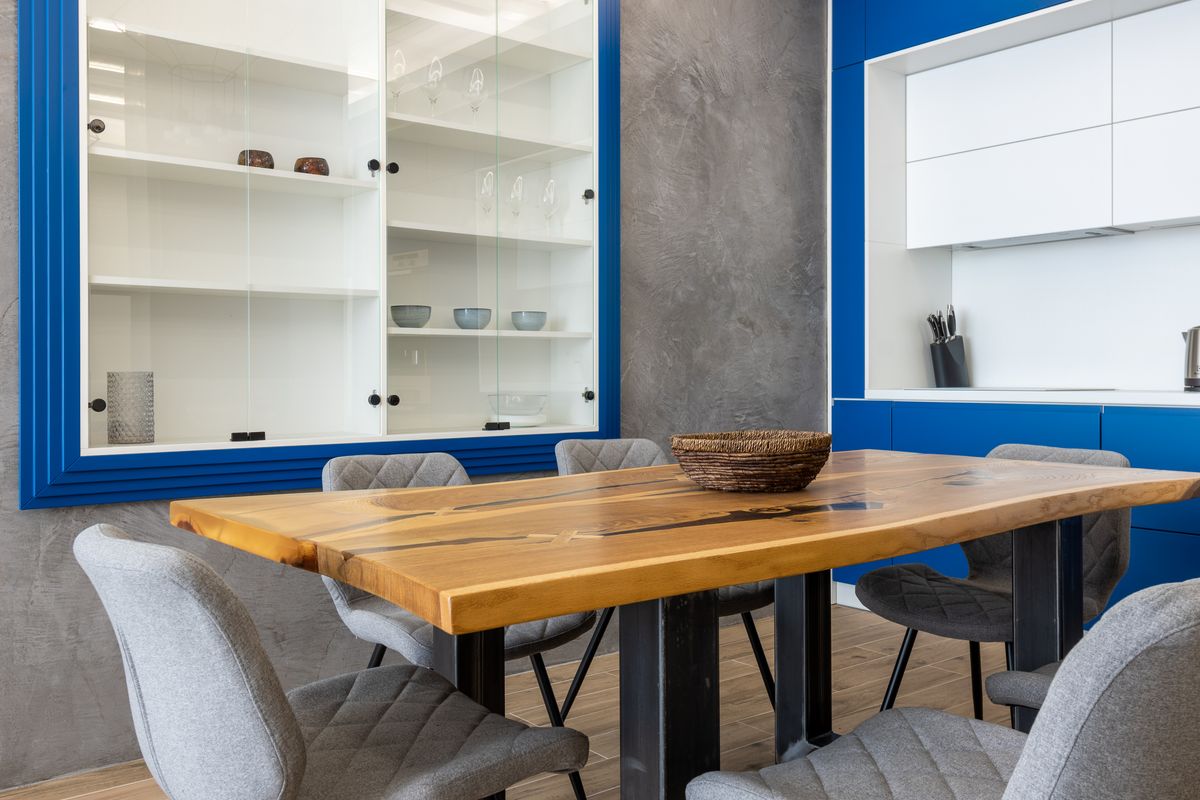
Holiday baking in a tiny kitchen fails most often on scheduling, not space. With one oven, plan batches in oven-temperature order: bake everything that needs the same temperature together where possible, start with items that hold well (shortbread, biscotti) and finish with items best served fresh (pies, bread), and use the cooling landing strip from idea 6 so the oven never waits for counter space. Write the day's order on a sticky note on the fridge — recipe, temperature, time in, time out — so you are not re-reading recipes with floury hands. A simple plan lets one oven and one counter produce four or five batches in an afternoon, while an unplanned day produces two batches and a sink full of bowls by noon.
10. Protect the Counter With a Silicone Mat and Parchment Habit
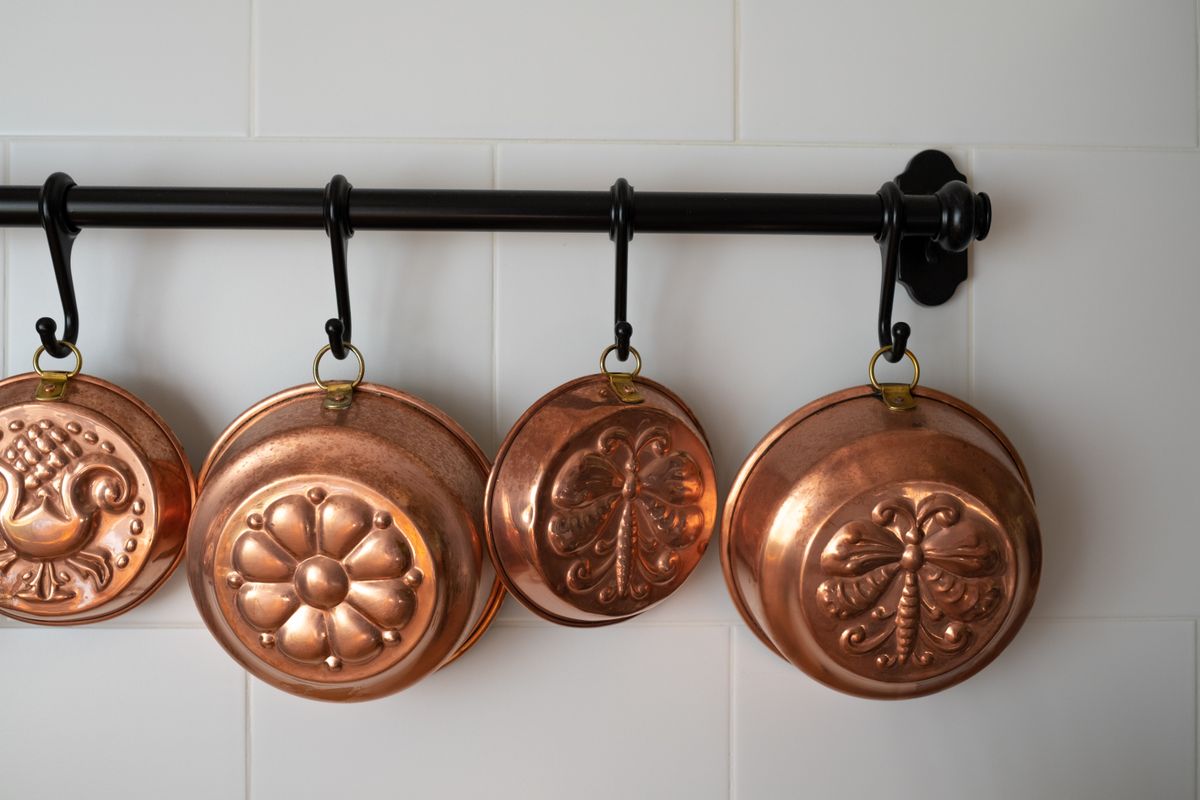
Flour, butter, and sticky dough will find every seam in a small counter — and in a rental, stains are deposit deductions. A large silicone baking mat (roughly $12–$20) under your mixing and rolling area catches flour, contains dough, and wipes clean in seconds, while a roll of parchment paper lines every tray so cookies never stick and trays never need scrubbing. Roll dough on the mat, not directly on the counter, and keep a damp cloth in the zone for the inevitable dusting of flour that escapes anyway. The mat also protects the counter from hot trays set down in a hurry — a small habit that saves both the surface and the tray. Parchment and a mat together cost less than one professional counter repair.
11. Set Up a Kid- or Guest-Friendly Decorating Spot
Holiday baking is often a group activity, and a tiny kitchen gets chaotic when everyone crowds the same counter. Set up a separate decorating spot — a small table, a cleared section of dining table, or a tray on a stool — with its own supplies: a few piping bags, sprinkles in small bowls, and a parchment-covered tray for finished cookies. Helpers decorate there while the baker works the oven zone, and the separation keeps flour out of the frosting and elbows out of the dough. Keep the decorating spot's supplies in the holiday bin from idea 8 so setup takes five minutes, and cover the spot with an old tablecloth or parchment for instant cleanup. The best holiday memories happen at the decorating spot, not at the oven.
12. Pack the Station Away Cleanly in January
A baking station that never packs away becomes permanent clutter by February. In the first week of January, run the reverse of setup: wash and dry all tools, return the holiday bin to its high shelf, decant leftover flour and sugar into sealed jars or freeze them to keep fresh, wipe down the zone, and return the counter to its everyday layout. Keep a short note in the bin listing what ran out — a missing cutter, an empty sprinkle jar, a worn mat — so next November's setup starts with a shopping list instead of a surprise. A station that packs away cleanly is a station you will happily set up again next year, which is the real test of any seasonal system.
Before you buy anything, measure first: your baking zone's width and depth, the clearance above your mixer spot, and the inside dimensions of the cabinet where sheets will stand vertically. Keep at least one clear counter stretch for non-baking cooking all season — the household still needs dinner — and keep anything flammable (parchment, towels, ribbon) away from burners and the oven door. Start with the zone, the jars, and the vertical sheet storage: those three moves alone make holiday baking feel possible in a tiny kitchen, and the cart, rail, and landing strip build on them. Never leave the oven unattended, and let trays cool fully before packing cookies away.
Final Thoughts
Start by claiming your zone, decanting your staples, and standing your cookie sheets upright — those three moves alone will make this holiday baking season feel organized instead of overwhelming. Then add the rolling cart, the cooling landing strip, and the batch plan, and finish by packing it all away cleanly in January. For more tiny kitchen ideas, see our guides on small kitchen pantry organization ideas and tiny kitchen countertop organization ideas. If you only do one thing this weekend, pick your baking zone and move everything baking-related within one step of it — the first batch you bake from a real station will convince you it was worth it.



0 Comments